
This post contains affiliate links.
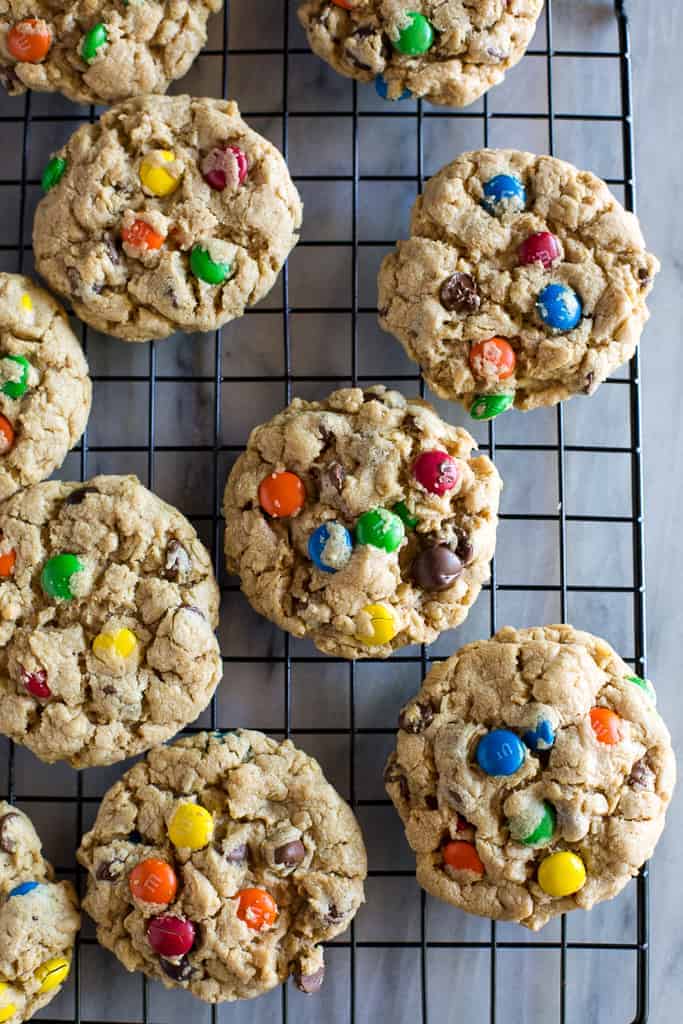
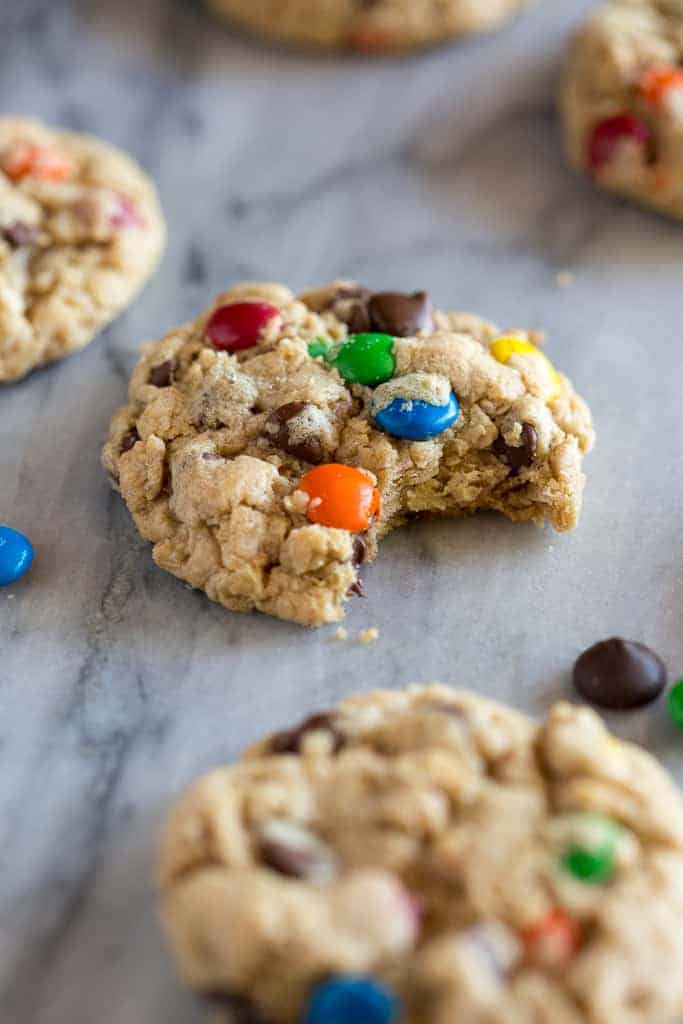
These Thick and Chewy Monster Cookies are loaded with peanut butter, oats, M&M's and chocolate chips. They’re a cross between a chewy oatmeal chocolate chip cookie, and a peanut butter cookie, and they’re sure to be a huge hit with family and friends.
I LOVE making cookies, and since I don't usually have fresh-baked cookies available on the spot, I like to freeze them for when friends come over or when we just want a little treat. In my freezer currently are Jumbo Chocolate Chip Cookies, Red Velvet Sandwich Cookies, and Chewy Pumpkin Chocolate Chip Cookies. Who wants to come over?!
Monster Cookies
Don't ask me to choose a favorite type of cookie because I just wouldn't be able to! There are too many fun variations. These Monster Cookies are always popular and I love the great texture from the oats and the subtle peanut butter flavor.
Why are they called Monster Cookies?
There’s not an exact answer for why these cookies are called “Monster” Cookies. Some people think it’s because they look like monsters, with their bumpy texture and fun colors. I like to think it’s because they’re stuffed with so much “stuff”, making them the “monster” of all cookies.
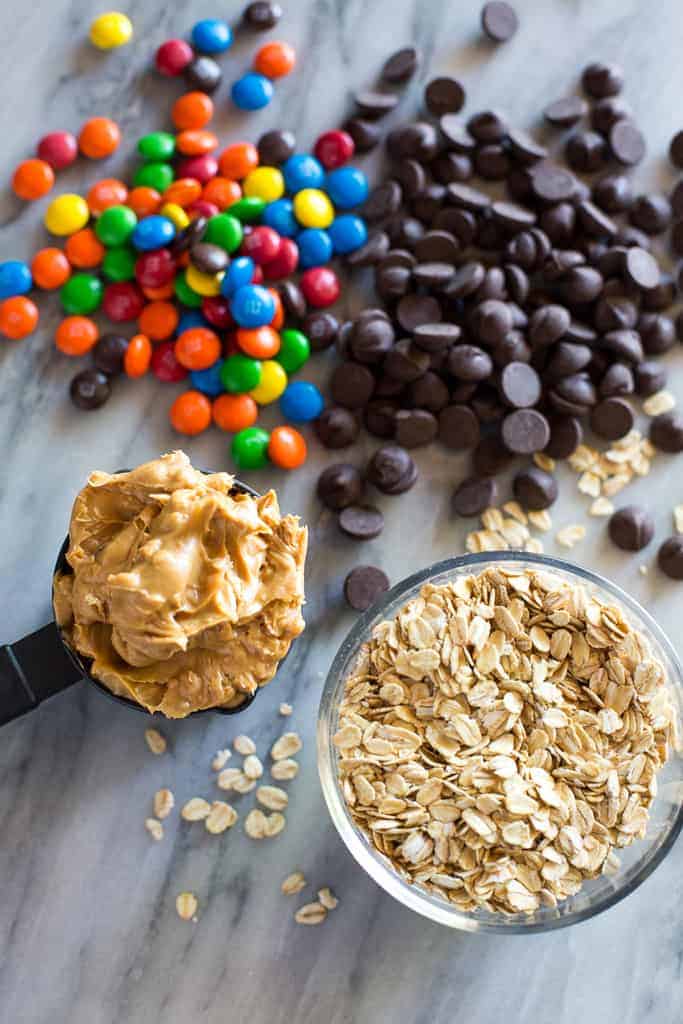
Whatever the reason, all Monster Cookies have these ingredients in common: peanut butter, oats, chocolate chips and m&m chocolate candy.
How to make Monster Cookies:
- Cream the butter and sugars. Use REAL butter and cream it with the sugar for at least 2-3 minutes until really light and fluffy. This is adding air to the mixture and is the base for the texture we want in our cookies.
- Mix wet ingredients. Add the peanut butter and mix well. Add egg and vanilla and mix.
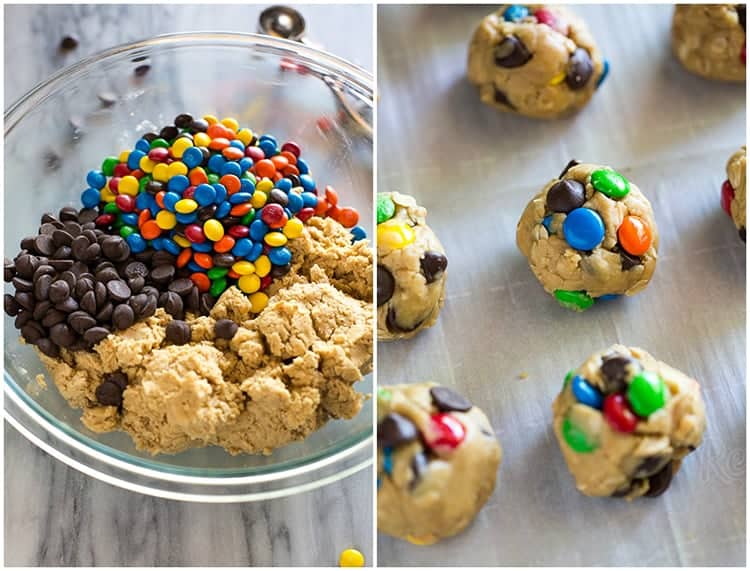
- Measure flour properly and mix dry ingredients. When measuring the flour be sure to fluff it a bit first, allowing air to fill in (like sifting) before you spoon it lightly into the measuring cup. Stir together the flour, oats, salt, baking powder and baking soda. Stir into wet mixture with m&m's and chocolate chips.
- Slightly under-bake. Bake at 350, being careful not to over bake the monster cookies. The tops will look just set and they will continue to harden and set up as they cool on the baking sheet.
How do I keep my cookies from spreading?
During baking, cookies naturally spread, but the key is to make sure they don't spread too much. To keep your monster cookies from spreading, be sure to use exact measurements (no guesstimating) and use room temperature ingredients, particularly the butter and eggs. You can also stop cookies from getting flat by chilling the dough for 15-30 minutes before baking.
Storage and Freezing Instructions:
These cookies will keep well in an air-tight container for 1-2 days, or you can freeze the cookie dough or baked cookies. To freeze them after they’re baked, allow them to cool completely and store them in a freezer safe container for up to 3 months. Freeze cookie dough balls in a freezer safe container and when ready to bake, place the frozen cookie dough on a baking sheet and add 2-4 minutes to the baking time.
CONSIDER TRYING THESE POPULAR COOKIE RECIPES:
- Jumbo Chocolate Chip Cookies
- Super Soft Sugar Cookies
- Triple Chip Blondies
- M&M Cookie Bars
- Chocolate Mint Cookies
You can also FOLLOW ME on FACEBOOK, TWITTER, INSTAGRAM and PINTEREST for more great recipes!

Thick and Chewy Monster Cookies
Equipment
- Stand Mixer optional
Ingredients
- 1/2 cup butter
- 1/2 cup granulated sugar
- 1/2 cup light brown sugar
- 1/2 cup peanut butter
- 1 egg
- 1 teaspoon vanilla extract
- 1 cup all-purpose flour
- 1 1/4 cups old-fashioned rolled oats
- 1/4 teaspoon salt
- 1/2 teaspoon baking powder
- 1/2 teaspoon baking soda
- 3/4 cup M&M candies
- 1/2 cup semi-sweet chocolate chips
Instructions
- Preheat oven to 350 degrees F.
- Cream the butter and sugar together really well—at least 2-3 minutes until light and fluffy.
- Add peanut butter and mix well. Add egg and vanilla and mix.
- In a separate mixing bowl stir together the flour (be careful to measure correctly, spooning the flour into a measuring cup, then leveling off), oats, salt, baking powder and baking soda.
- Add to the wet mixture and mix to combine. Stir in chocolate chips and M&M’s.
- Bake at 350 degrees for 10-12 minutes, or a little longer if you make them bigger than a 1 inch cookie scoop. Don't over bake--they will look just set.
- Remove them from the oven and allow them to cool completely on the pan.
Notes
Nutrition
Nutrition information is automatically calculated, so should only be used as an approximation.
Text me new recipe ideas!
Simple, tasty ideas sent once a week. No spam.
HAVE YOU TRIED THIS RECIPE?!
RATE and COMMENT below! I would love to hear your experience.


OMG, these cookies are to die for. 10/10 would recommend. the only part I regret is eating them all. haha 😅
How many tablespoons per cookie?? I wish she would clarify the instructions.
I’m so sad I didn’t bake a double batch 😭
I should have never made these cookies because they are so so delicious and I will eat them all!!
Every year I do a “bake off” where I try several recipes of the same type of cookie. This year was monster cookies, and this came out the winner! Best of the top four recipes on the internet. Thanks for sharing!
BEST MONSTER COOKIES EVER! They’re crisp on the outside and chewy on the inside. We used the pack of M&M’s with peanut, peanut butter, and regular in it and it was a great choice.
I love monster cookies so much and these are delicious. Nice and chewy they don’t get hard if they sit out or in the fridge. They’re literally perfect.
I have made this recipe so many times and decided it was time to comment. These are the best monster cookies. thank you. we make them all the time.
Can I leave out the peanut butter?
We haven’t tested it without the peanut butter – it’s a pretty key ingredient here for both the flavor and the texture, so I wouldn’t recommend leaving it out entirely. If you need a substitute, another creamy nut or seed butter would work better than skipping it.
These cookies are sooo delicious. I’m in the process of making them again, but can I substitute quick oats for old fashioned oats? Hoping I don’t need to make a trip to the store…..
questions:
– what kind of peanut butter?
– what size dough balls?
Great questions! I’d use regular creamy peanut butter for these, and make the dough balls about 1 inch, so roughly a small cookie scoop or around 1 to 1½ tablespoons each.
Whatever kind you want… and she said 1 inch but if you make them bigger you might need to add to the time