This post contains affiliate links.
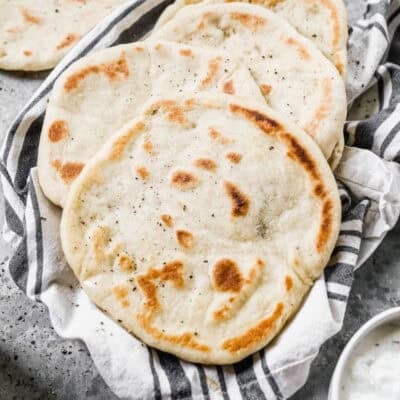
Homemade Pita Bread couldn't be easier to make! It's soft, delicious, and only requires 10 minutes to prep! They are versatile and freezer friendly too!
 The easiest bread you'll ever make yourself, is Homemade Pita Bread.
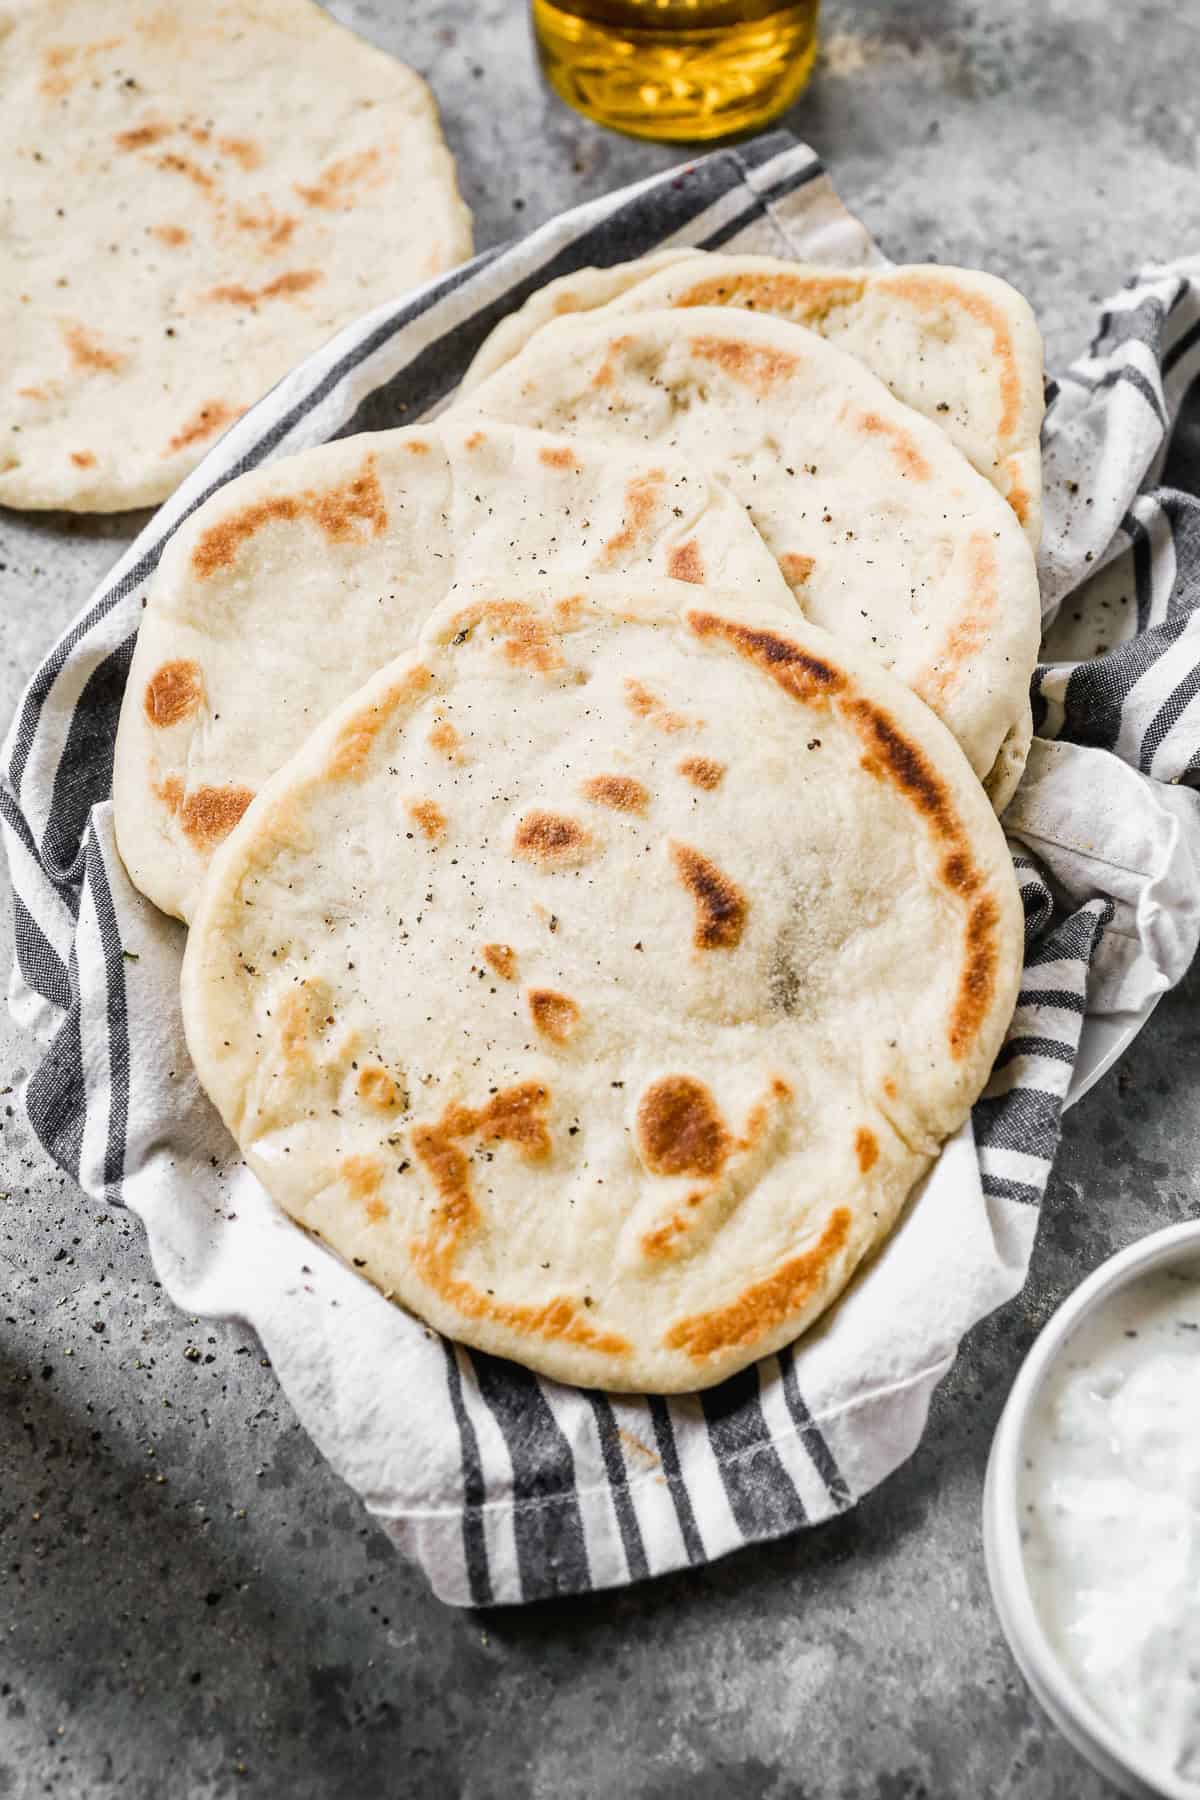
It takes just MINUTES! You don't need a fancy mixer, no kneading the dough, and there's no long rise time, plus you can make the pita bread dough days ahead and leave it in the fridge, cooking it whenever you want fresh, warm pitas!
The ingredients are dirt cheap, and the cooked pitas freeze really well; basically making these yourself is a no brainer! Affordable, easy, and tastes so much better than store bought. This pita bread recipe is a staple at our house when making Gyros for dinner, or to serve with Shawarma bowls, Chicken Tikka Masala or Hummus.
Don't miss all of my bread recipes like English Muffins, Cheesy Breadsticks, Buttermilk Biscuits, or Pizza Dough!
How to make Pita Bread:
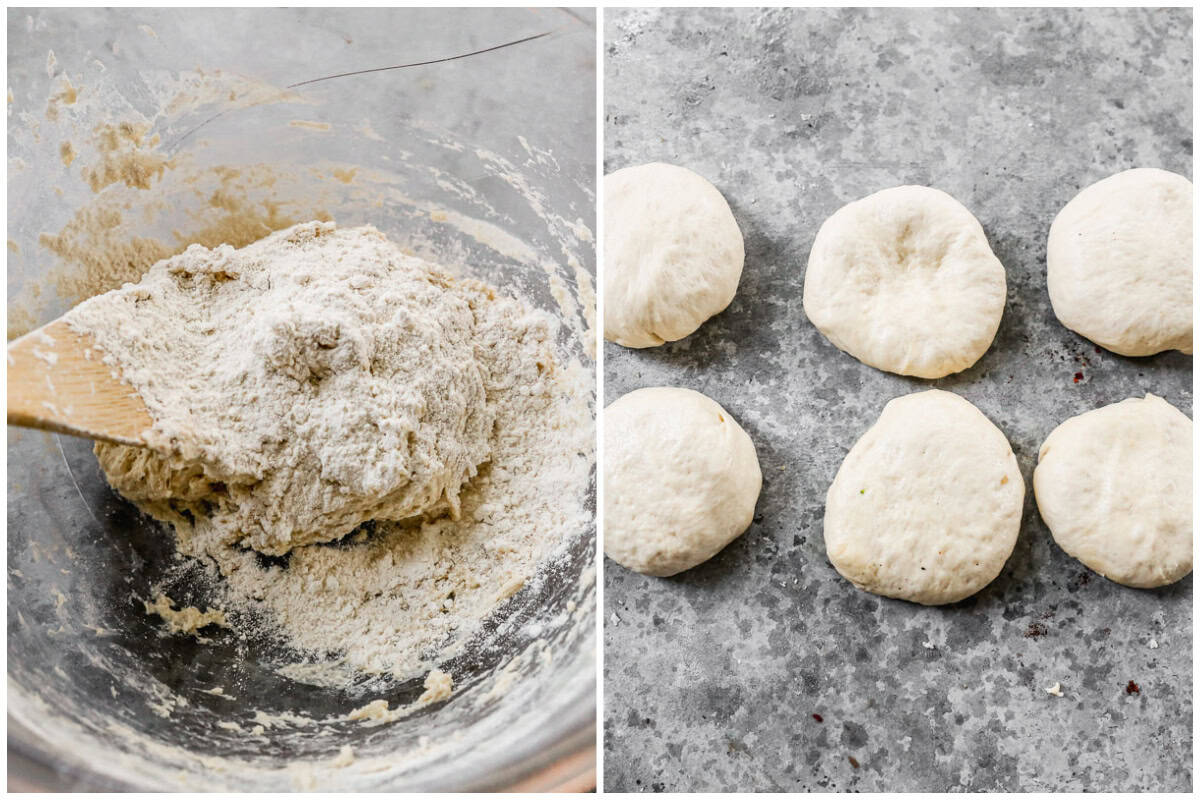
Prepare Dough: Combine water, yeast, sugar, salt, olive oil, and 1 cup flour. Gradually add more flour, a little at a time, until the dough comes together but is a little sticky. Rub some flour on your hands then knead the dough in the bowl for a minute or so, until smooth. The pita dough should be very soft and not too sticky. Place in a well-greased bowl, cover, and allow it to rest for 40 minutes (or refrigerate until ready to cook). Divide into 8 equal pieces.
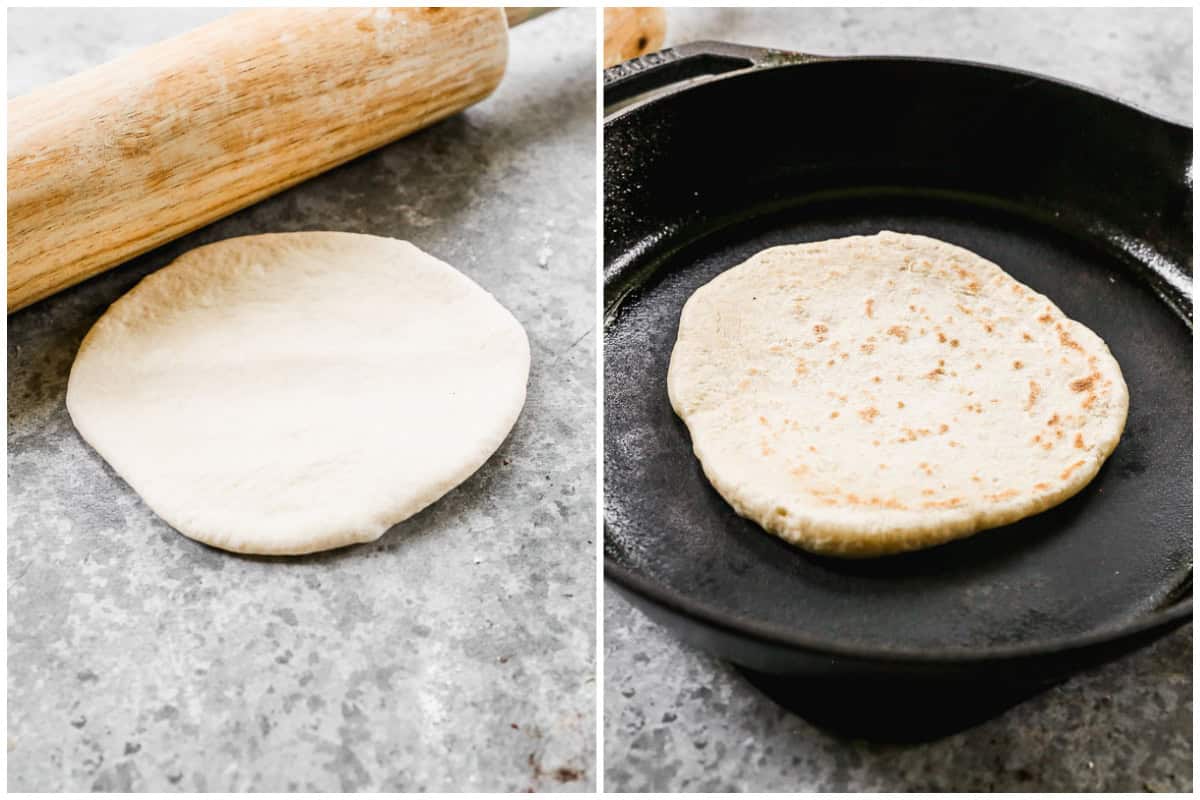
Cook: Roll each pita bread into a thin circle then heat a large skillet or griddle over medium high heat. Lightly grease the pan with oil then lay a pita flat in the center. Cook for 2 minutes, or until lightly golden on the bottom. Flip and cook for another minute then remove and place inside a clean, dry kitchen towel to keep warm. Cook remaining pitas in the same way.
Enjoy as gyros, dipped in hummus, broken on a salad, or see more ideas below.
Make Ahead and Freezing Instructions:
To Make Ahead: The pita bread dough can be prepped ahead and kept in an airtight container in the refrigerator for up to 5 days. Let the cold dough sit at room temperature on the counter for at least 30 minutes before dividing and cooking. The rolled pita circles can be kept covered in the refrigerator for a few hours ahead of time before cooking.
To Freeze: Follow the recipe to make the dough then transfer to a freezer safe container and freezer for up to 3 months. Thaw in the fridge, then allow to rise at room temperature for at least 30 minutes before continuing. To freeze cooked pitas place a piece of parchment paper between them and store in an airtight freezer bag for up to 3 months. Rewarm in the microwave for a few seconds.
Enjoy Pita Bread With:
- Gyros: Lamb, Chicken, or Beef Gyros
- Hummus
- Buddha Bowls
- Chicken Kabobs or Steak Kabobs
- Toasted on Burrata Salad
- Chicken Shawarma Bowls
- Charcuterie Board
- Buffalo Chicken Dip
- Kid's Lunch
- Pita Bread Sandwich
- Yellow Curry, Red Curry or Chickpea Curry

Pita Bread
Ingredients
- 1 cup warm water, (237g)
- 2 1/4 teaspoons instant yeast, (1 packet)*
- 1 teaspoon granulated sugar
- 1 teaspoon fine sea salt
- 1 Tablespoon olive oil
- 2 ¼ cups all-purpose flour, (281g)
Instructions
- Make Dough: Mix water, yeast, sugar, salt, olive oil, and 1 cup of flour together. Add more flour, a little at a time, until the dough comes together but is still a little sticky. Flour your hands and knead it in the bowl for a minute or so until it’s smooth. The dough should be very soft and not overly sticky.
- Rest: Place dough in a well-greased bowl, cover, and rest for 40 minutes (or refrigerate until ready to use).
- Divide dough into 8 equal pieces. Roll out each piece into a very thin circle.
- Cook: Heat a griddle or large skillet over medium high heat. Once the pan is hot, lightly grease the pan with oil and lay pitas flat. Cook for 2 minutes, or until lightly golden on the bottom. Flip and cook for another minute or so, then remove from heat and place inside a clean, dry kitchen towel to keep warm while you cook remaining pitas.
- Store leftover cooked pitas in an airtight container at room temp for 2-3 days, in the fridge for 5 days, or freeze (see notes). Leftover pitas can also be made into pita chips (see notes).
Notes
Nutrition
Nutrition information is automatically calculated, so should only be used as an approximation.
Text me new recipe ideas!
Simple, tasty ideas sent once a week. No spam.
Follow Me
I originally shared this recipe August 2023. Updated March 2025.


Made these tonight for some lamb/beef gyros and they were SO soft and delightful! I was surprised at how easy it was, and my hubby said the meal as a whole was one of his favorites I’ve ever made (and that the homemade pita bread really made the meal!). My toddler was also a huge fan, which is a big deal in my book lol. Thank you so much!!
this is funny but I wasn’t sure my yeast was proofing (it was a bit old) so I made another batch of dough just in case. Both worked! So I ended up with more dough than my desire for pita bread – I decided to form the second batch into bagels, boiled and baked them and they were also divine!!! Thought I’d just leave that here for anyone else with more dough than they know what to do with. Thank you for the recipe!
Turned out perfectly. Fluffy, flavorful, and with dark/golden spots from the skillet. This is the only recipe that I will use now!
I liked these pitas enough, and it’s about as simple as it gets. However, I felt like they were missing some flavor. Maybe a different flour would give it that. Still better than store bought, though!
I love pita bread not only for hummus but even by itself warm with some type of season butter on it yum 😋
You need 3 cups of flour rather than the 2&1/4 but it’s still a fantastic recipe. I make it every second week with gyros. If you don’t over cook it, It holds its form and is very tasty.
Way too little flour listed in the recipe. Basically needed 3x more than what was mentioned.
Yep totally agree, but I am a man so probably messed it up somewhere. As someone who was just making some stuff with his daughter I found the recipe never became “less sticky” so just left it cooked it and it tasted perfect.
Any chance of a gluten free version of your recipes?
Yes, you can make this gluten-free by using a 1:1 gluten-free all-purpose flour.
I just asked this question on your post! Thanks a lot!
I bought two after my Doctor’s. Ham and cheese melted on pita bread and they were absolutely beautiful. Glad I bought two of these. Brisbane.