
This post contains affiliate links.
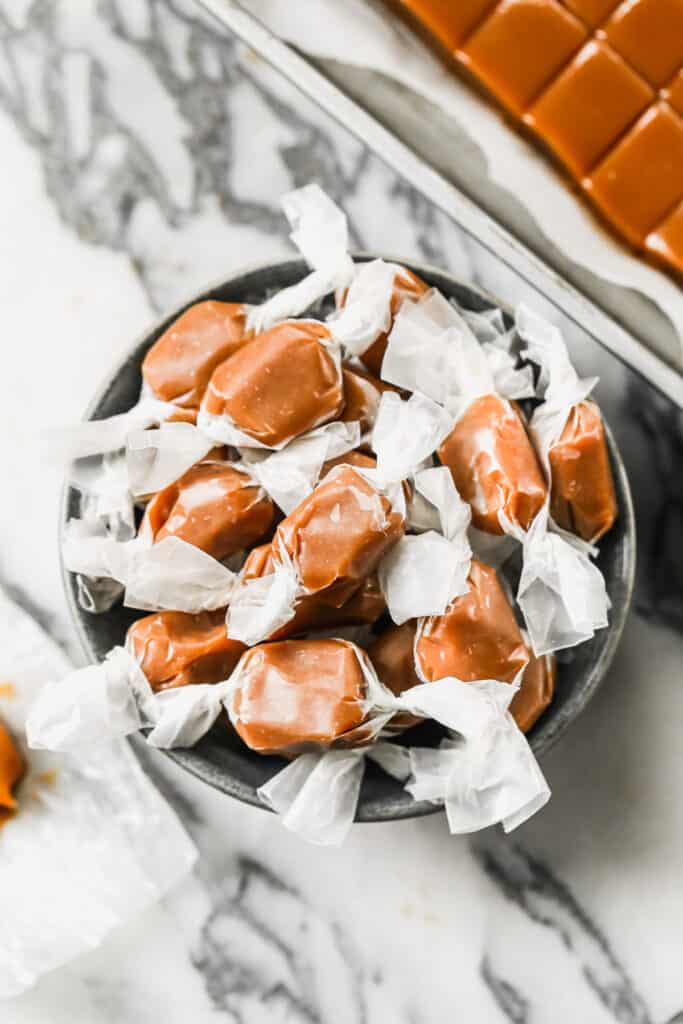
These Homemade Caramels are perfectly soft and chewy and easy to make with a few pantry ingredients. We love to gift them to friends and family.
Want more candy recipes? I love these Chocolate Turtles, Buckeyes, Homemade Almond Joys, Chocolate Fudge, and Rocky Road!

Why I love these caramels:
- Family Tradition – This is my Mom's homemade caramel recipe we've been making at Christmas time for decades. They were always our food gift for friends and neighbors during the holidays.
- Perfect – They really are soft, chewy, melt-in-your mouth delicious caramels! They truly couldn't be any better! This is a treasured family recipe.
- Easy – This easy caramel recipe only uses pantry ingredients and the steps are simple. But the magic is in the cooking process – it's important to not rush these! Read my tips below for the best caramels every time.
How to make Homemade Caramels:
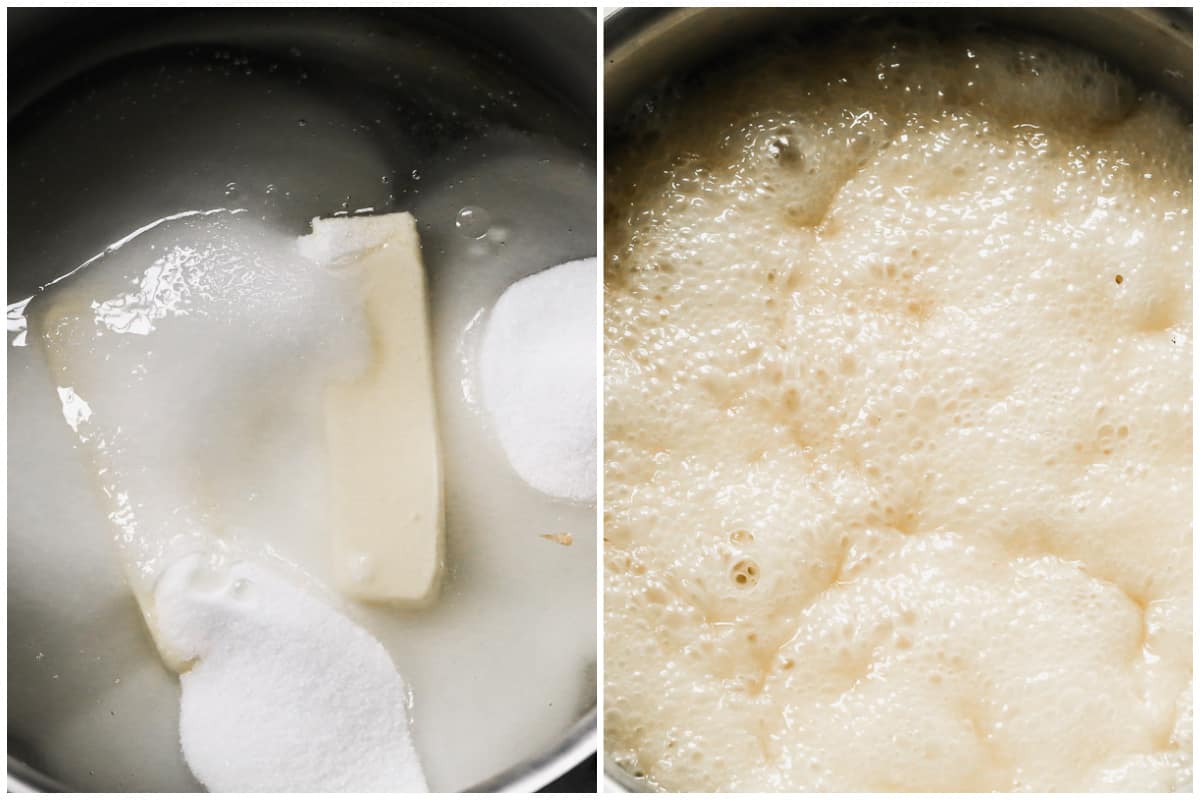
Combine: Add butter, sugar, and karo syrup to a large heavy-bottom saucepan then stir over medium heat until mixture begins to boil, about 5-10 minutes.
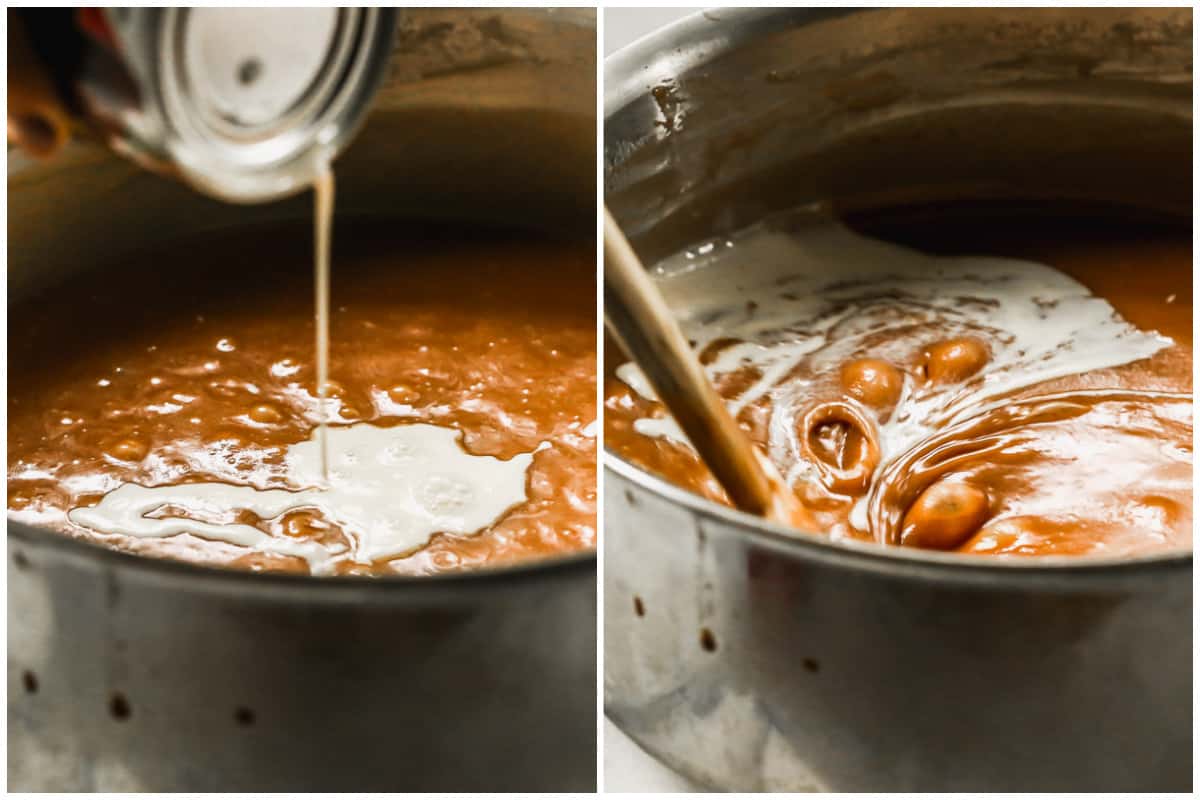
Add Evaporated Milk: Gradually add the evaporated milk, one can at a time, taking about 12-15 minutes PER CAN, while stirring constantly. Make sure the mixture maintains a constant boil, otherwise your caramels can curdle.
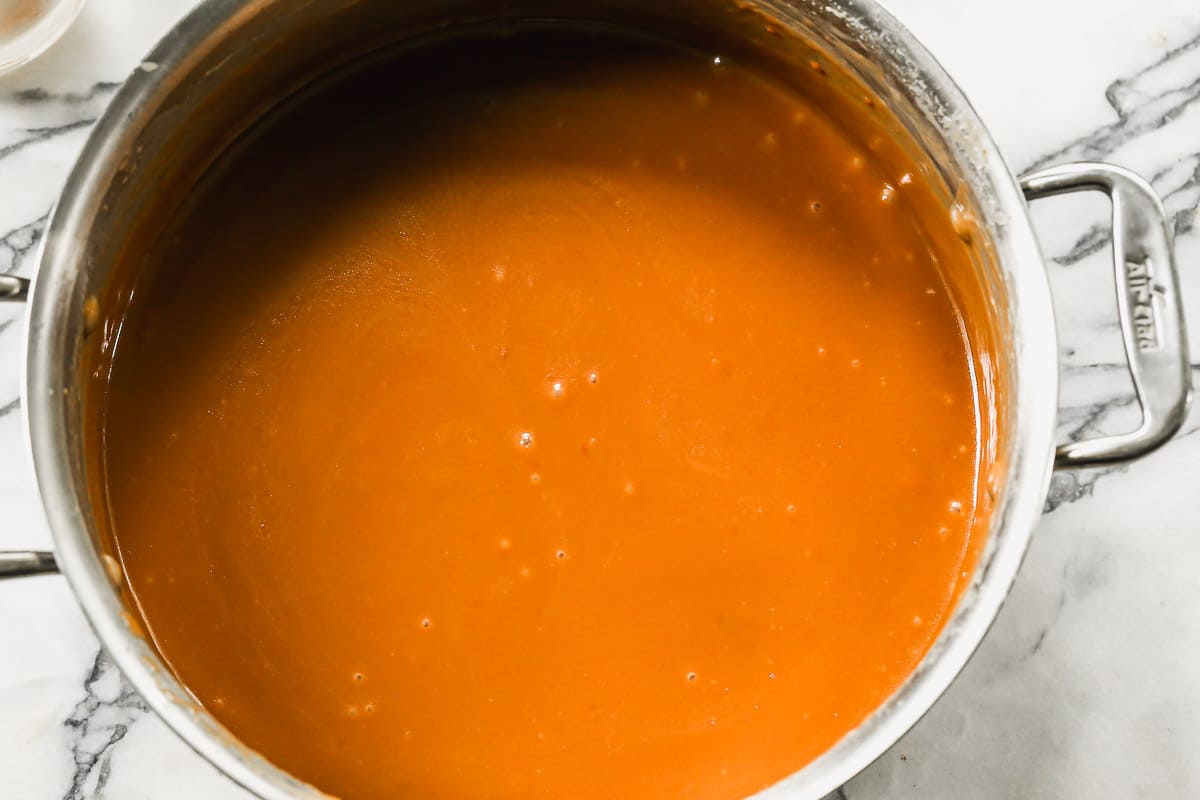
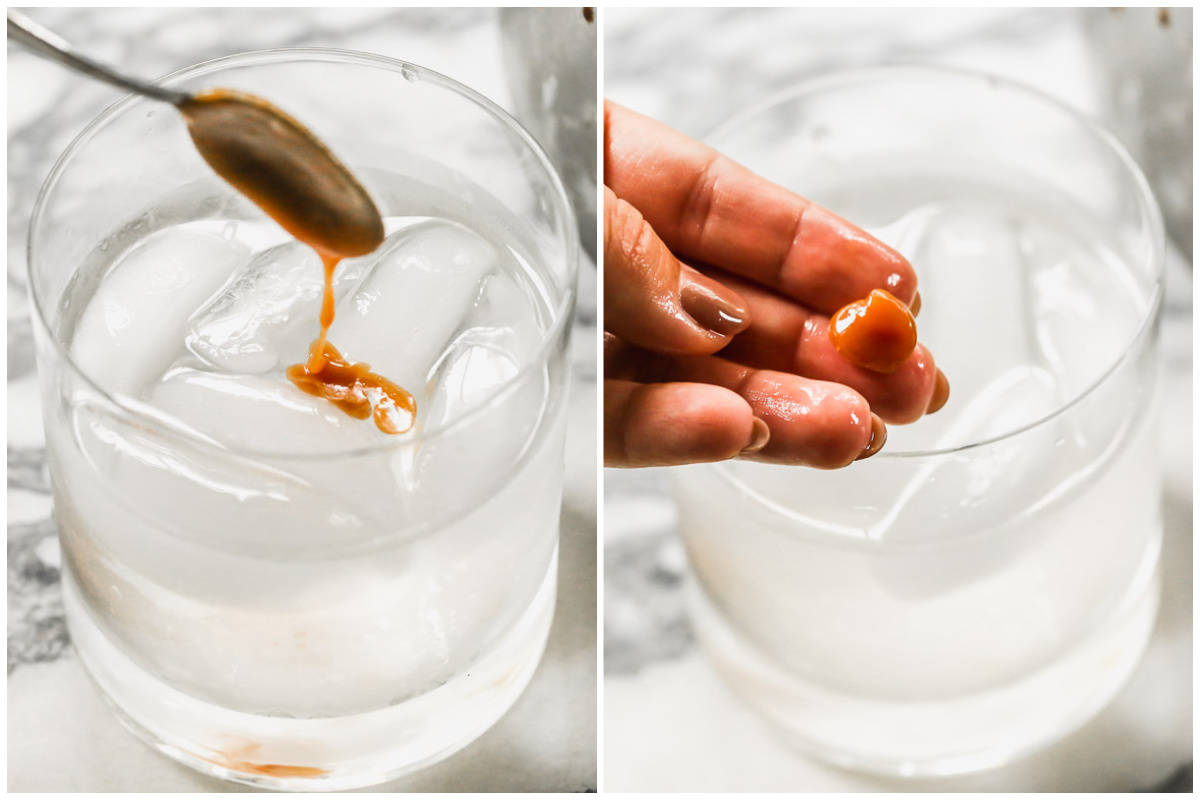
Caramelize: Stir the mixture constantly, scraping the sides occasionally, until it reaches a firm ball stage. I don't rely on a candy thermometer. I use the ice water test: Drop a spoonful of the hot caramel into a cup of ice water then mold the caramel with your fingers into a ball. You will know the caramels are ready when they feel pretty firm and pliable. Remove from heat then stir in vanilla.
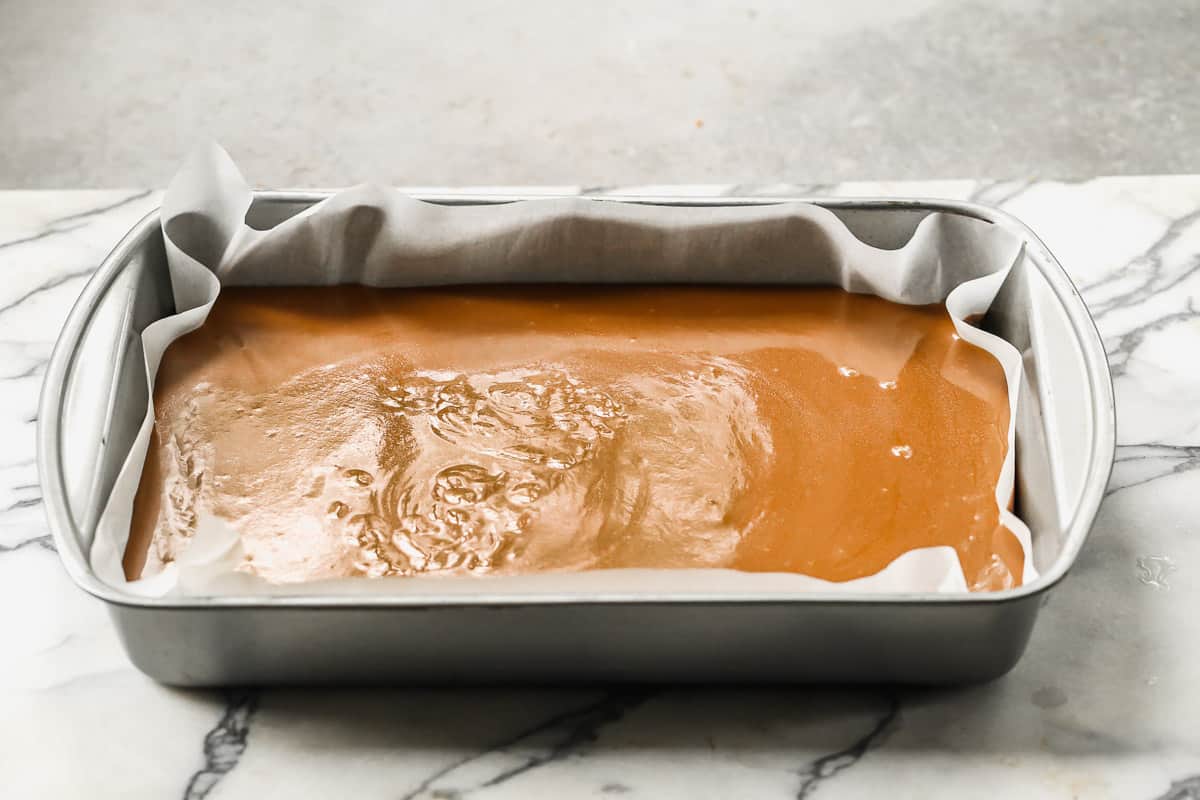
Cool: Pour caramels into prepared pan then refrigerate until cooled and hardened. (Best if you refrigerate them overnight, or for several hours. They will be easier to cut and wrap).
Cut: I like to use a stainless steel scraper to get perfectly even lines.
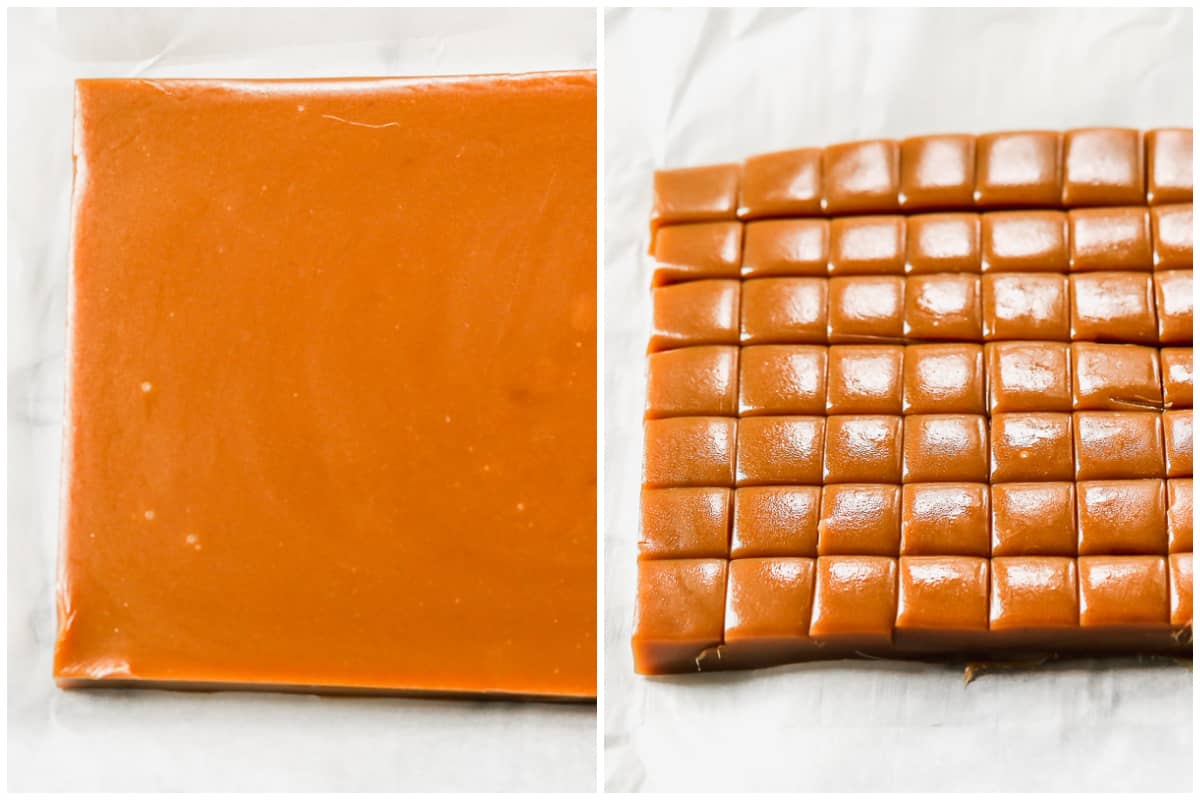
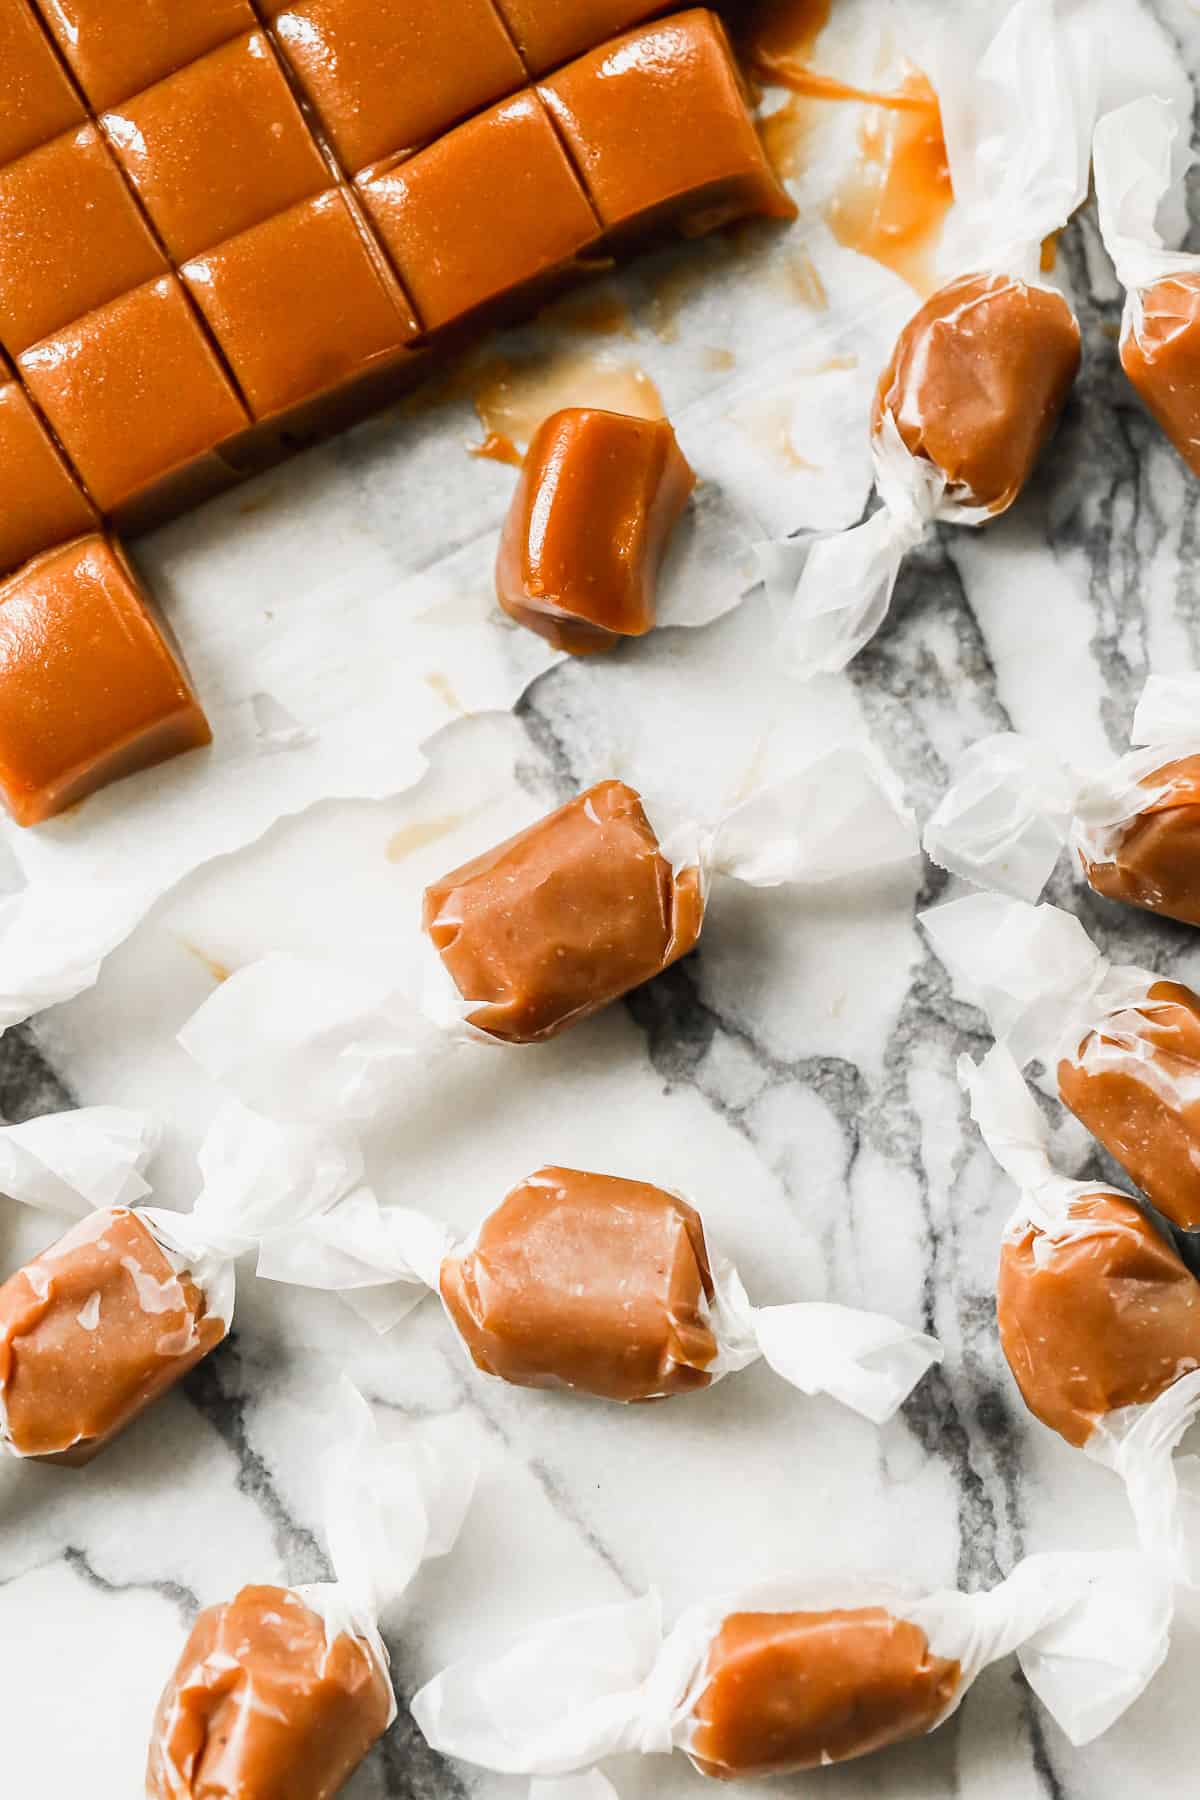
Wrap: The caramel will seem hard in the fridge after they're set, but they should be soft at room temperature. Cut soft caramels into small pieces then wrap like a tootsie roll in wax paper, if desired.
Tips for Perfect Caramels Every Time:
- SLOWLY stir in evaporated milk: This should take about 15 minutes per can, pouring in a little bit at a time (or warm your evaporated milk a little, to make the process faster). The caramel must maintain a constant boil the entire time.
- Maintain steady heat: Keep your burner/stove on medium heat to avoid any changes of temperature. Maintaining heat the same is why the milk gets added so slowly.
- Candy Thermometer vs Ice Water Test: I personally don't trust candy thermometers. Unless you take the time to calibrate yours, they can often be “off”. And depending on your location (altitude and humidity) 238°F may not be the perfect temperature for you. The best (and easiest) way I've found is using the ice water method. Drop a spoonful of the hot caramel into a cup of ice water then mold the caramel with your fingers into a ball. You will know the caramel candy recipe is ready when they feel pretty firm and pliable.
- Wrap them cold – I like to make them 24 hours ahead of time so they can get nice and cold in the fridge, making them easier to cut and wrap.
Make Ahead Instructions:
To Make Ahead: These easy homemade caramels will keep well in the fridge for several weeks. Take them out to come to room temperature for them to be soft and chewy.
More Caramel Recipes:
- Caramel Apples
- Caramel Popcorn
- Caramel Sauce
- Chocolate Covered Pretzel Rods
- Chocolate Covered Marshmallows
- Salted Chocolate and Caramel Pretzel Bars
Homemade Caramels
Ingredients
- 1 cup butter, (2 sticks)
- 4 cups granulated sugar
- 2 cups light corn syrup
- 24 ounces evaporated milk*, (2 cans)
- 1 teaspoon vanilla extract
Instructions
- Line a 9×13” pan or jelly roll pan with parchment paper. (If you don't have parchment paper you can generously butter the pan.) Either size pan will work–9×13” will yield thicker caramels.
- Add 2 sticks butter, sugar, and karo syrup to a large heavy-bottom saucepan over medium heat. Stir over medium heat until mixture begins to boil, about 5-10 minutes.
- Gradually add the evaporated milk, one can at a time, taking about 12-15 minutes PER CAN to slowly add it, while stirring constantly. You want to make sure the mixture maintains a steady heat and constant boil (no drastic changes in temperature) otherwise your caramels can curdle.
- Stir the mixture constantly, scraping the sides occasionally until it reaches a firm ball stage (about 240-245 degrees F on a candy thermometer). It takes patience and time, but it's sooo worth it! (Also, I don't really trust or rely on a candy thermometer–I like to test it the old fashioned way. Drop a spoonful of hot caramel sauce into a cup of ice water and mold it with your fingers into a ball. When ready it will feel pretty firm and pliable, but still slightly sticky.)
- Once you reach 240-245 degrees F / or the firm ball stage, remove from heat. Stir in vanilla.
- Pour caramels into prepared pan. Refrigerate until cooled and hardened. (Best if you refrigerate them overnight, or for several hours. They will be easier to cut and wrap).
- The caramel will seem hard in the fridge after they're set, but they should be soft at room temperature. Cut caramel into small pieces and, if desired, wrap like a tootsie roll in wax paper.
Notes
- Candy Thermometer: I don't always trust candy thermometers, and depending on your location (altitude and humidity) temperature will vary. A good way to test them is the ice water method. Drop a spoonful of the hot caramel into a cup of ice water and mold the caramel with your fingers into a ball. The caramel should feel pretty firm but pliable in the ice water.
- Caramel is too soft after it has set up: It needed to cook longer. You can pour the whole batch back in to a pot and warm it up again!
- Caramel is too hard: it cooked for too long. Use the ice water method to avoid this.
Nutrition
Nutrition information is automatically calculated, so should only be used as an approximation.
Text me new recipe ideas!
Simple, tasty ideas sent once a week. No spam.
Follow Me
I originally shared this recipe November 2017. Updated May 2020 and November 2023.

Came out great!! Followed the recipe to the T. Was a hit at my son’s birthday party with kids and adults. Gold star and A ++ ?
So is this supposed to boil out from a liquid to some form od solid? Because its boiling right now and its so liquid in my pan, help me what happening? I followed the directions plzz help
Have you watched the video? The mixture will thicken but it wont boil from a liquid to a “solid”. Use the ice water method or a candy thermometer to test if it’s done.
Lost this pin in a sea of pins on my board. Looked through almost 3000 pins to find it. So happy I did! Love these so much!!
I loooooove this recipe. Have made it twice so far and the second time I made it, I used 1/2 light corn syrup and the other half dark corn syrup. The latter produced, I think, a nicer flavor. I have made this in anticipation of melting them later on to dip pretzel sticks; I will then dip into chocolate followed by sprinkles for baby shower favors.
I am contemplating making this recipe again with light brown sugar in place of the regular granulated sugar followed by dark corn syrup. Do you think its ok?
The only problem I have encountered is that towards the end, the butter seems to separate from the caramel. My first batch, I used unsalted butter, the second, I used salted, based on suggestions I read when I Googled this situation. Any suggestions?? Also, how would you recommend I melt the caramel for future use? microwave or stovetop so I can dip my pretzels?
Maria, if you do that, with brown sugar, you will be making butterscotch, not caramel.
This recipe is perfect if you follow the directions precisely as written. A must when making candy. I made this recipe twice. The first time I inadvertently boiled the candy for a bit without stirring after adding the condensed milk which, of course caused a slight burning then added roasted walnuts which, surpisingly tasted like the old caramel theater popcorn without the popcorn! Kids loved it! Second time I added 1/2 teaspoon nutmeg with 2C roasted whole walnuts and 1 1/2 C whole roasted almonds which tastes like nutty caramel
doughnuts without the doughnuts. A person can use fewer or a few more nuts to one’s taste. Recipe is so adaptable to creative candy making!
Would you know if reducing the sugar and using sweetened condensed milk work at all with this? I’m going to do this recipe either way but just atm i only have the SCM eek. these look amazing, hoping the texture of them would work as a drizzle over oatcakes.
Sweetened condensed milk wont work for this recipe. I worry that reducing the sugar would keep them from setting up properly. Hope you get to try them soon 🙂
I have yet to try these, but I have a great go-to recipe that does use sweetened condensed milk…and the sugar and corn syrup are reduced:
2 c sugar
1 can sweetened condensed milk
1/2 c water
6 oz butter
1 c light corn syrup
1/2 tsp salt (omit if using salted butter)
1 tsp vanilla
Cook to 245 *F, stirring constantly. Add vanilla after you take it off the heat.
I found that a pizza cutter works well to cut the pieces. I took a few passes to cut gradually. If you use parchment paper and remove from the pan to cut, you can move each row to the side a little to keep them from sticking together again. Same when you cut the pieces.
Thanks for the tip!
This took me a surprisingly long time. You will notice that there are plateus to the temperature. For instance it will stay at ~212F until the water is boiled out, then plateaus at ~220F u til another compound boils out, and the temperature can go up again. By the time it reaches the right stage, you will think you are stirring melted caramels.
These where delicious and easy to make, even for me (who has no idea what I am doing) 🙂
Don’t use wax paper!! What a joke. Tasted great if you had the patience to chew it off of the paper like a dog! Use butter in your pan
It looks like you misunderstood–The pan should be lined with PARCHMENT paper (not wax paper). The wax paper is for wrapping the caramels after they have cooked and cooled.
Lol, I have done that before and will never do it again either. Your comment is so funny , made me laugh!