This post contains affiliate links.
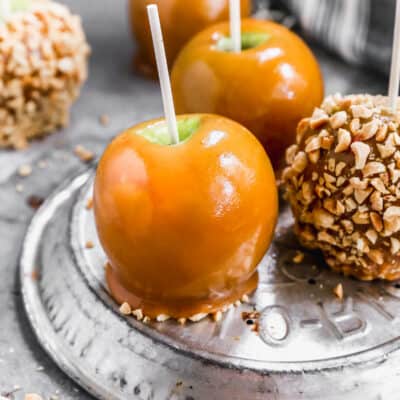
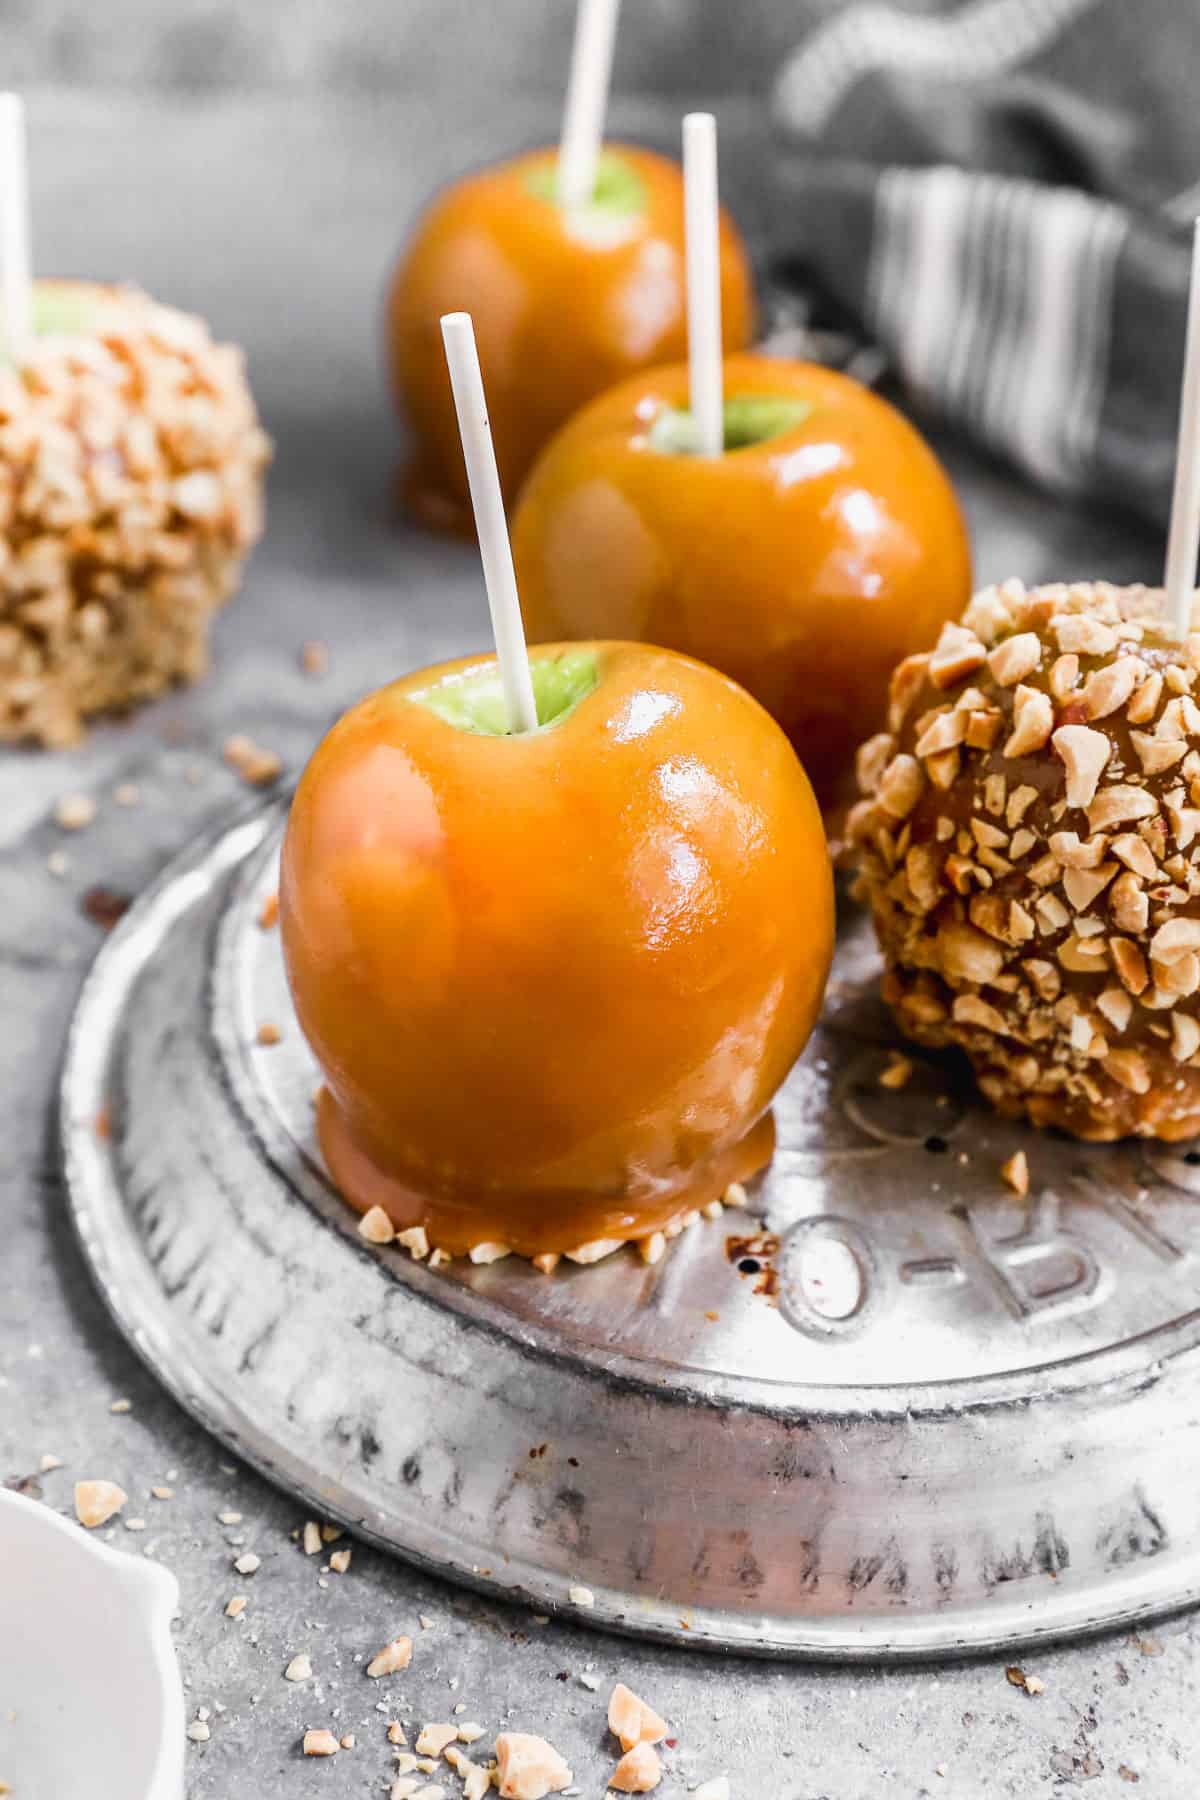
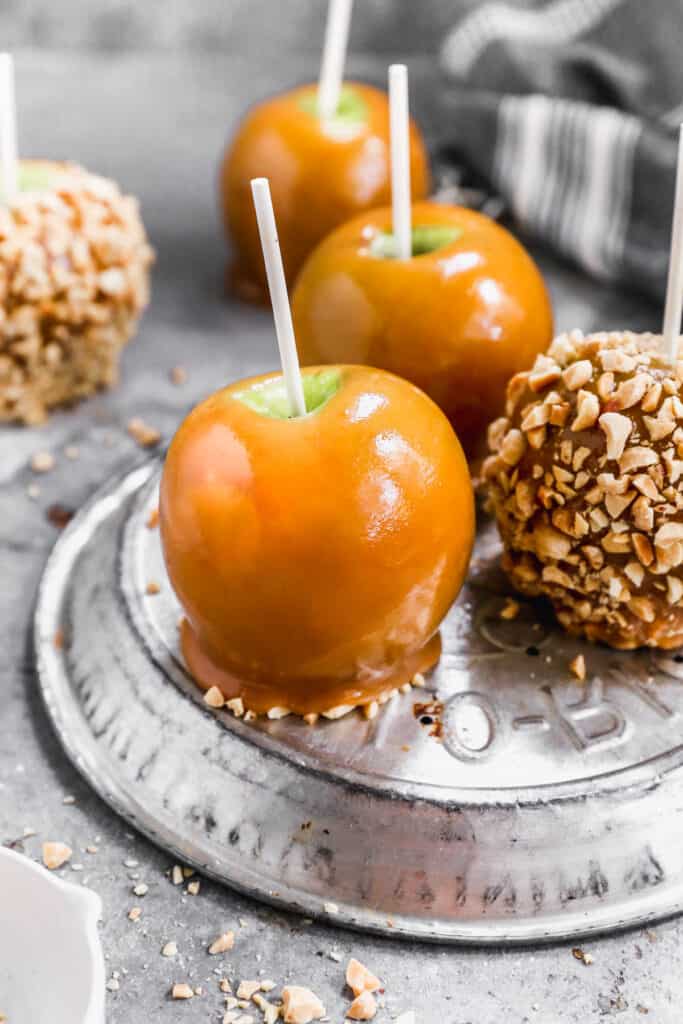
This delicious Caramel Apple recipe is easy to make with homemade caramel, fun toppings, and step-by-step instructions and tips for success.
Looking for more homemade candy? Try Oreo Balls, Caramel Popcorn, Rocky Road, or Homemade Almond Joys!
Why I love this recipe:
Inexpensive: homemade caramel is very low cost and you can use any apples that are on sale. Make a huge batch for the price of one or two gourmet caramel apples from the store.
Nostalgia: Growing up in Park City, Utah we would always beg to stop at the Rocky Mountain Chocolate Factory for caramel apples. The toppings I've suggested in this recipe are some of my favorites from the store.
High Quality: Store-bought caramel can't even compare to Homemade caramel! These dipped apples are amazing.
How to make Caramel Apples:
Prep Apples: Remove apple stems, rinse the apples under very hot water for a few seconds, then scrub dry with a paper towel to help remove the wax around the apple. If possible, place the apples in the refrigerator for several hours or days in advance so they are well chilled before dipping.
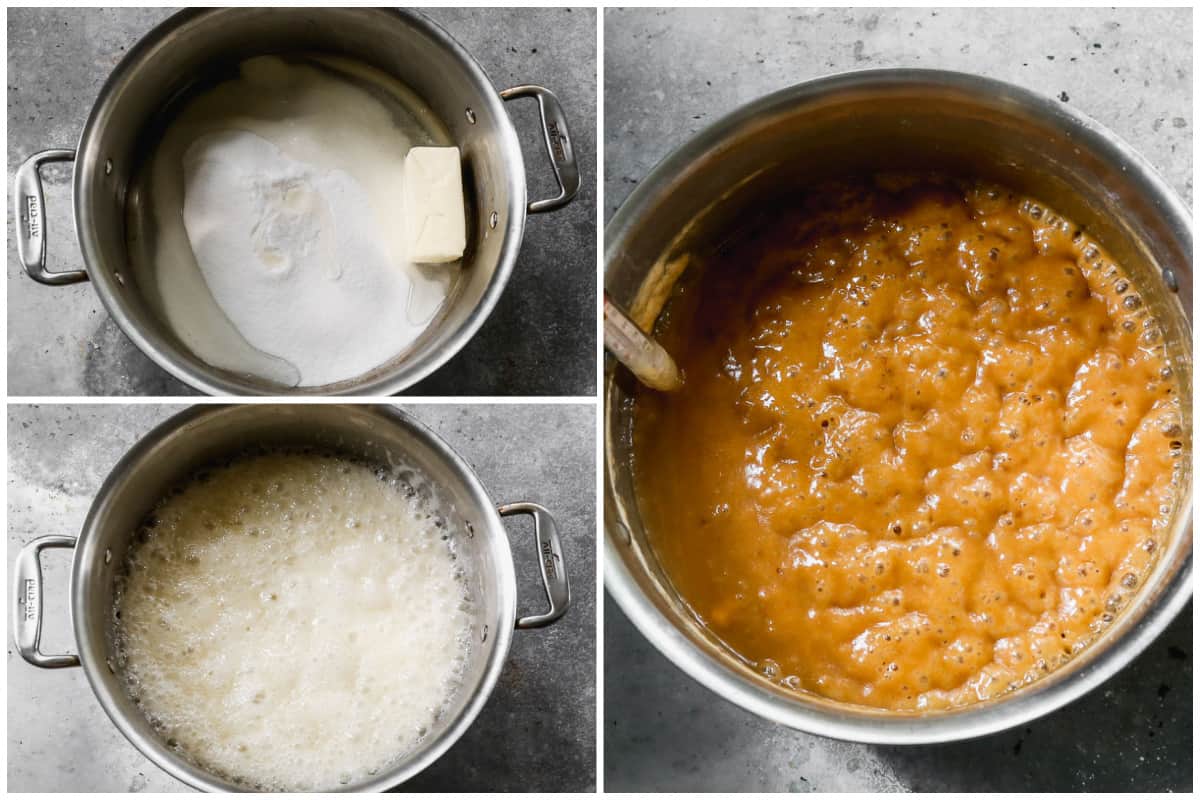
Make Caramel: Add butter, sugar, and karo syrup to a large heavy-bottom saucepan over medium heat. Stir over medium heat until mixture begins to boil, (about 5-10 minutes). Gradually add the evaporated milk, a little at a time, stirring constantly, making sure it maintains a boil. (I suggest warming the milk slightly ahead of time, otherwise you need to add it in extra, extra slowly, maintaining a boil).
Attach a candy thermometer and constantly until it reaches 235 to 240 degrees F. (about 20-30 minutes). Remove from heat and stir in vanilla. Pour into a heat-proof bowl for dipping. I like to use a smaller bowl than the saucepan, so that my apples will submerge in the caramel when dipping. Attach your candy thermometer and set caramel aside to cool down to 200 degrees while you grab your apples.
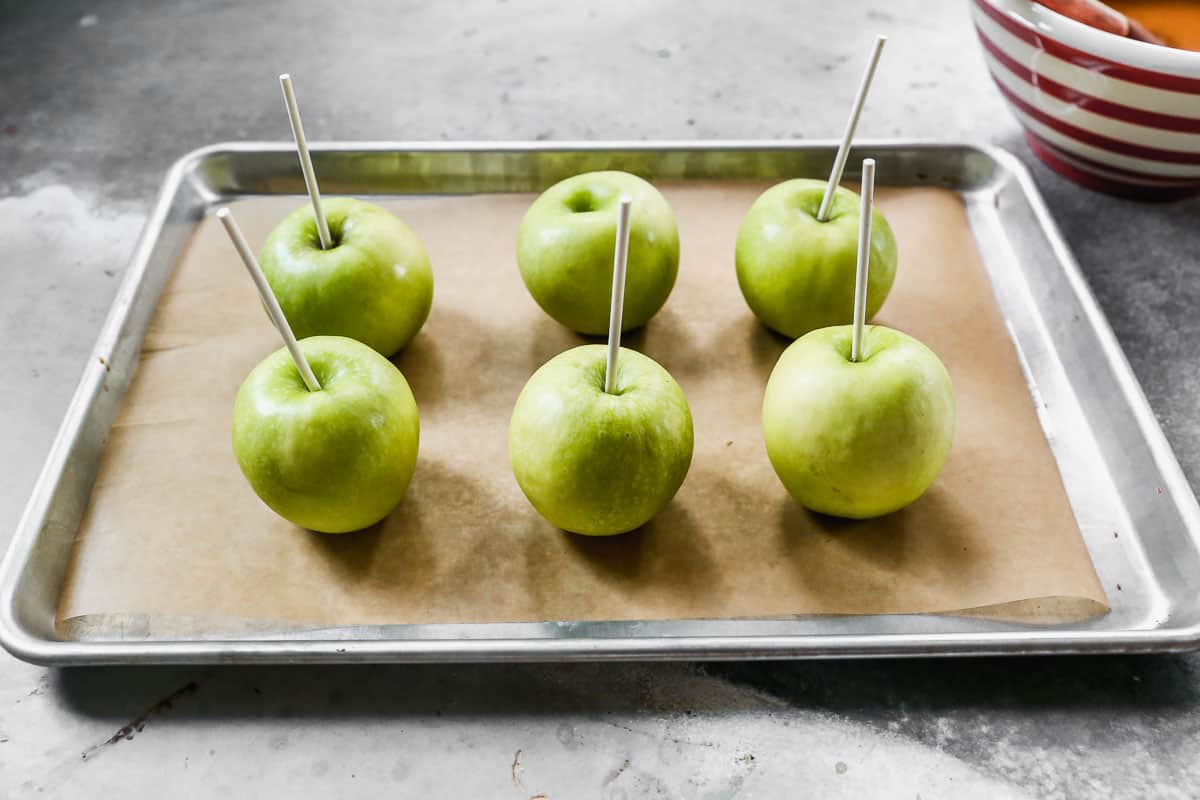
Dry Apples thoroughly with paper towels and insert craft sticks. Line a baking sheet with parchment paper. Add any toppings, if using to plates or shallow bowls.
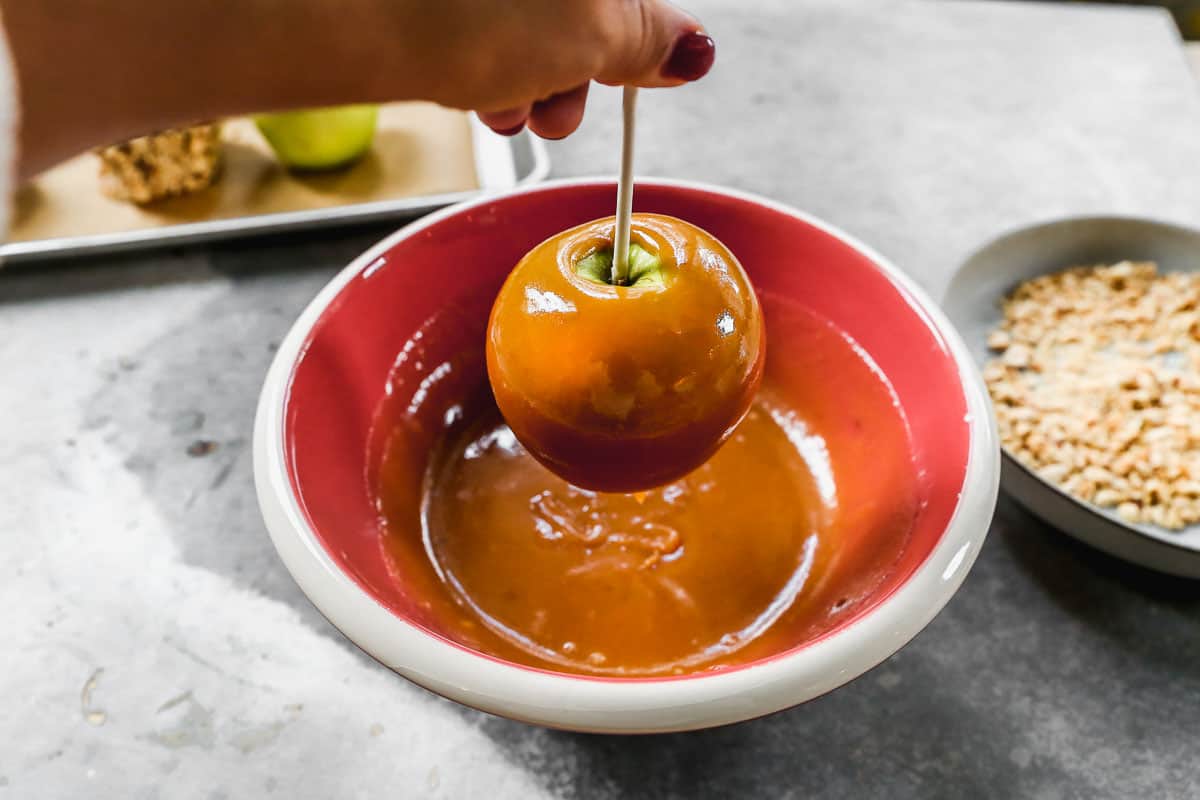
Dip: Once the caramel has cooled to about 200 degrees, it's time to dip the apples! Holding an apple by the stick, dip it into the caramel, gently swirling it around to coat all sides. Lift up and let any excess caramel drip off. I use a spoon to lightly spoon away excess around the bottom of the apple, so it doesn't pool when I set it down. Then set on a parchment lined pan. (I like to stick my pan in the fridge so the caramel sets up faster)
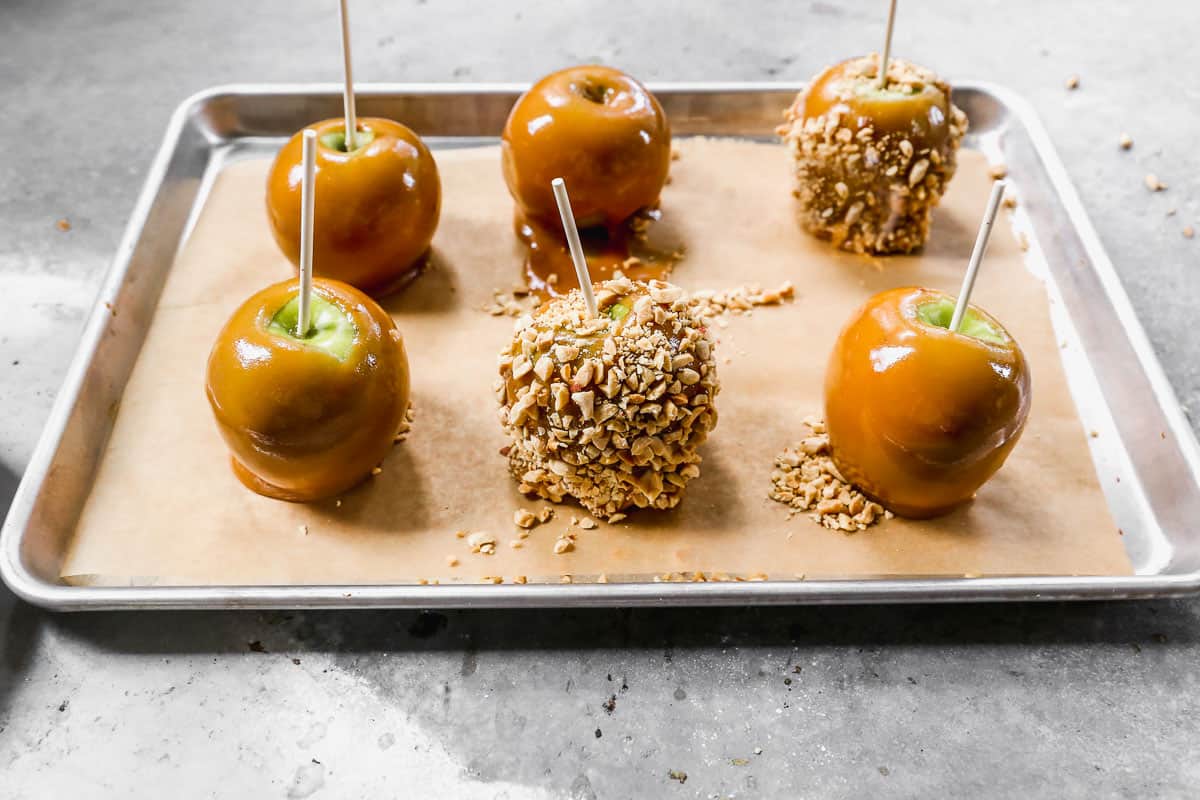
Toppings: If coating in crushed candies or cookies, do so when the caramel is hot, then set on parchment lined pan. If dipping in melted chocolate or drizzling with chocolate, wait until the caramel has set up in the fridge first.
Repeat with remaining apples then store dipped apples in the refrigerator for up to two weeks.
*If you'd like to add melted chocolate (and toppings on top of the chocolate), allow these easy caramel apples to set in the fridge before dipping them in melted chocolate.
Storage Instructions:
To Store: These beautiful dipped caramel apples will last for about 2 weeks, stored in the refrigerator. They make great gifts for teachers, friends and neighbors! I like to wrap them in a piece of cellophane with a cute ribbon.
Topping Ideas:
- Melted Chocolate: You can make these truly gourmet by drizzling them with melted chocolate or adding other toppings. Be careful not to load them with too many toppings or the coating around the apple will become too heavy and may slide off.
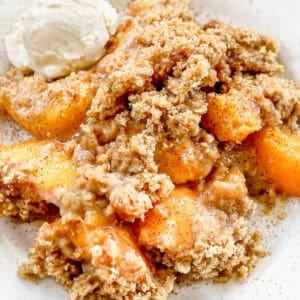
- Apple Pie: Once the homemade caramel apple has cooled in the refrigerator, dip it in melted white chocolate then sprinkle with a mixture of brown sugar and cinnamon.
- Oreo: Place crushed Oreos on the warm caramel, or coat the cooled caramel apples in melted milk chocolate or white chocolate and then add the crushed Oreos.
- Nutty: Add your favorite kind of crushed nuts!
- Candy Bar: Add crushed candy bars to the caramel apples, like Reese's peanut butter cups, butterfingers, m&m's, heath bars, mini chocolate chips or snickers.
More Specialty Treats:
- Gourmet Chocolate Covered Strawberries
- Chocolate and Caramel Dipped Marshmallows
- Chocolate Peanut Butter Pretzel Bars
How to make Caramel Apples
Ingredients
Caramel:
- 1/2 cup salted butter, (1 stick)
- 2 cups granulated sugar
- 1 cup light corn syrup
- 14 oz can evaporated milk, , warmed*
- 1 teaspoon vanilla extract
Apples:
- 10-12 small/medium Granny Smith apples
- 10-12 craft sticks
- parchment paper
Additional Topping Ideas – see notes.
Instructions
- Prep Apples: Remove apple stems, rinse the apples under very hot water for a few seconds, then scrub dry with a paper towel to help remove the wax around the apple. If possible, place the apples in the refrigerator for several hours or days in advance so they are well chilled before dipping.
- Make Caramel: Add butter, sugar, and karo syrup to a large heavy-bottom saucepan over medium heat. Stir over medium heat until mixture begins to boil, (about 5-10 minutes). Gradually add the evaporated milk, a little at a time, stirring constantly, making sure it maintains a boil. (I suggest warming the milk slightly ahead of time, otherwise you need to add it in extra, extra slowly, maintaining a boil).
- Attach a candy thermometer and constantly until it reaches 235 to 240 degrees F. (about 20-30 minutes). Remove from heat and stir in vanilla. Pour into a heat-proof bowl for dipping. I like to use a smaller bowl than the saucepan, so that my apples will submerge in the caramel when dipping. Attach your candy thermometer and set caramel aside to cool down to 200 degrees while you grab your apples.
- Dry Apples thoroughly with paper towels and insert craft sticks. Line a baking sheet with parchment paper. Add any toppings, if using to plates or shallow bowls.
- Dip: Once the caramel has cooled to about 200 degrees, it's time to dip the apples! Holding an apple by the stick, dip it into the caramel, gently swirling it around to coat all sides. Lift up and let any excess caramel drip off. I use a spoon to lightly spoon away excess around the bottom of the apple, so it doesn't pool when I set it down. Then set on a parchment lined pan. (I like to stick my pan in the fridge so the caramel sets up faster)
- Toppings: If coating in crushed candies or cookies, do so when the caramel is hot, then set on parchment lined pan. If dipping in melted chocolate or drizzling with chocolate, wait until the caramel has set up in the fridge, first. See Notes, for topping ideas.
- Repeat with remaining apples. Store dipped apples in the refrigerator for up to two weeks.
Notes
Nutrition
Nutrition information is automatically calculated, so should only be used as an approximation.
Text me new recipe ideas!
Simple, tasty ideas sent once a week. No spam.
Follow Me
I originally shared this recipe October 2013. Updated October 2020 and October 2023.


Other recipes call for heavy cream but I see you use evaporated. Will this change the creaminess of the caramel?
Does this call for sweetened condensed milk? It says 14 oz can of evaporated milk but evaporated milk comes in a 12 oz can and sweetened condensed milk comes in a 14 oz can.
Caramel didn’t set and get chewy like we like. It was soft on there. But had a nice flavor which is why I gave 4 stars.
Hi Leslie, next time cook it a little longer and it will set up more!
Can the caramel be made in advance and reheated when you are ready to do apples?
Yes, I would just slightly undercook it, so that it cooks perfectly when reheated.
Honestly, this sounds super easy, especially if using the store bought caramel candies. That definitely takes out any hard work involving the homemade caramel dip. Lol. I’m really happy I have found this recipe, can’t wait 2 try it out, I might even spice it up by using a couple different added candy toppings to the caramel outside. Sounds so yummy.‼️.Thanks 4 such a simple way 2 make a really fun and awesome treat 4 everyone..
👍👌🤗‼️
My caramel was too thick and hard to bite through. Not sure what I should do differently next time as the flavor was so delicious!
Next time cook the caramel for less time :-).
I had problems with my apples oozing juice from where the stick is inserted. What do you suggest for that. My caramel was good, my chocolate was good, my candy dip was good, but all oozed juice near the stick and ruined the caramel, the choc and the candy.
Can this caramel recipe be doubled or even tripled? Thanks.
I wouldn’t recommend doubling this recipe.
I used popsicle sticks instead of the straw-like sticks!
I love these from Rocky Mountain Chocolate Factory but we recently moved so I decided to try to make my own! Great, easy recipe!