
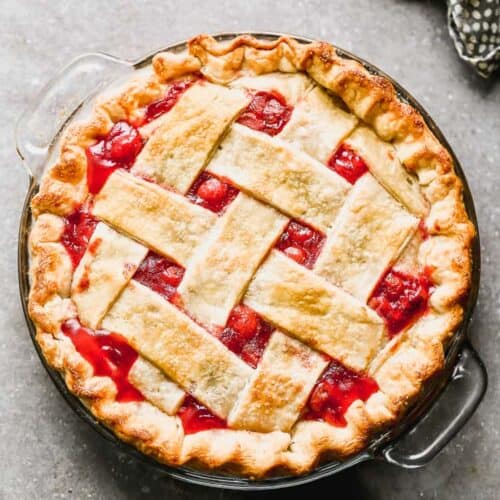
Even the most novice baker can achieve success with this easy and delicious Cherry Pie recipe. It includes a homemade cherry pie filling made with fresh or canned cherries, baked inside a flaky pie crust.
I have too many favorite pie recipes to count and most can be enjoyed all year round, like cherry pie, Coconut Cream Pie, and Key Lime Pie.
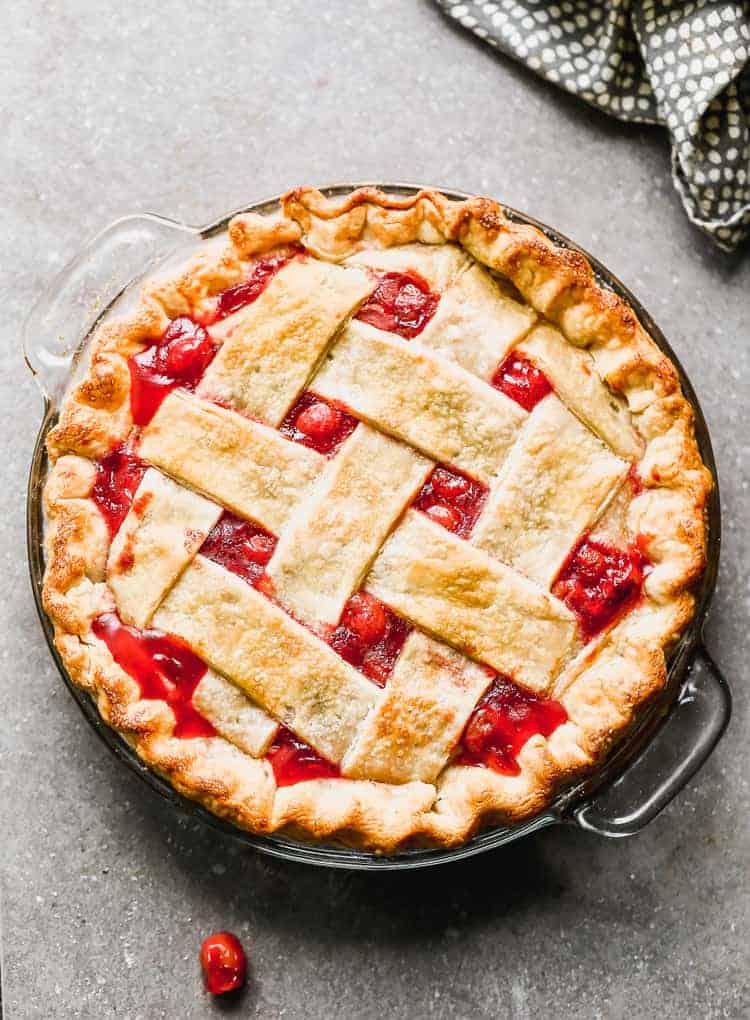
Of all the pies in the world, Cherry Pie tops the list as one of the easiest pies to make, and I'm excited to share the simple, delicious recipe with you all!
How to make Cherry Pie:
If using fresh cherries:
-
Pit and halve the cherries. Add them to a saucepan with sugar and lemon juice and toss to combine. Cook over medium heat for a few minutes until juices are released. Use a slotted spoon to spoon cherries out into a bowl. Spoon some of the sauce into a cup and stir in the cornstarch until dissolved. Return to pot with remaining juices and cook for a few minutes until sauce has thickened. Pour over cherries and set aside while you prepare the pie crust.
If using canned cherries:
-
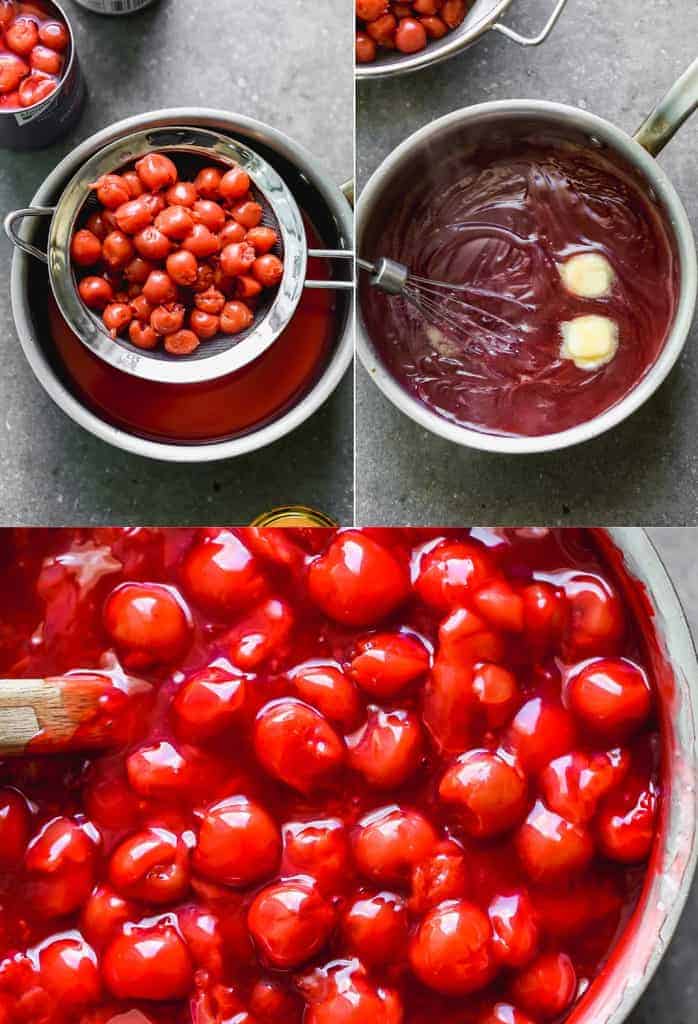
Drain the juice from the cans of cherries into a saucepan, reserving ⅓ cup in a small bowl. Set the cherries aside.
-
Add cornstarch to the bowl with the reserved ⅓ cup of juice and stir well to combine.
-
Heat the saucepan (that has the juice in it) over medium heat. Add the sugar and stir well. Bring mixture to a low boil. Stir in dissolved cornstarch mixture. Cook, stirring, until thickened, about 2-3 minutes. Stir in butter and lemon juice. Fold in the cherries. Add a few drops of red food coloring, if desired.
-
Allow mixture to cool to room temperature while you prepare the pie crusts.
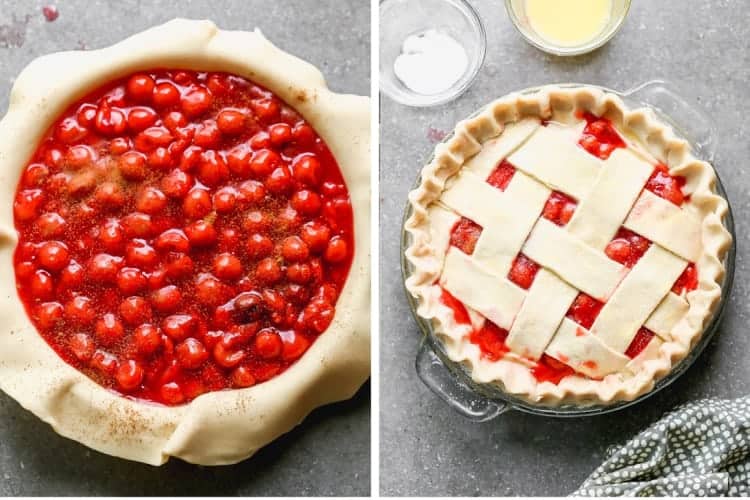
- Line pie plate with pie crust and cherry pie filling into it. If desired, cut the top crust into wide strips to lay a lattice crust on the pie, or place the whole, uncut pie crust over the filling and poke a hole in the top for steam to release as the pie bakes. (Here's a lattice top tutorial if you've never made one on a pie.)
-
Pinch the edges of the top and bottom pie crusts together and crimp the edge, if you like. Brush a thin layer of beaten egg white over the top of the pie crust and sprinkle the crust pieces lightly with granulated sugar.
-
Bake at 400 degrees F for 40-45 minutes.
Some Tips for perfect cherry pie:
Should you use Sweet or Sour Cherries for cherry pie? Sour, tart cherries (sometimes called “pie” cherries) are most commonly used in desserts like cherry pie. If using sweet cherries, decrease the sugar in this recipe by at least ⅓ cup.
Use a homemade pie crust! For pies like this that bake for longer in the oven, a homemade pie crust will make a difference in how the crust holds up as it bakes.
Most store-bought pie crusts are super thin and flimsy so the edges brown and dry out more quickly when baking. (Store-bought crusts work better for custard or pudding type of pie that only requires a pre-baked pie shell).
The good news, is my favorite pie crust recipe can be made weeks or even months in advance so that your pie dough is ready to “roll” (pun intended 🙂 ) when you need it!
Make ahead Instructions:
Both the cherry pie filling and pie crust can be made a few days in advance, stored in the fridge until ready to use.
Freezing Instructions:
Baked and cooled cherry pie can be covered tightly and frozen for 2-3 months. Thaw overnight in the refrigerator. The prepared cherry pie filling and pie crust can also be frozen, stored separately.
CONSIDER TRYING THESE HOMEMADE PIES:
- Lemon Sour Cream Pie
- Pumpkin Pie with Caramel Pecan Topping
- Chocolate Mousse Cheesecake Pie
- Key Lime Pie
- Chocolate Cream Pie
- Oreo Cheesecake Pie
You can also FOLLOW ME on FACEBOOK, TWITTER, INSTAGRAM and PINTEREST for more great recipes!
Recipe
Cherry Pie
Equipment
Ingredients
- 1.5 lbs fresh, sour cherries or three (14.5 oz) cans sour cherries
- 3/4 cup granulated sugar
- 2 Tablespoons lemon juice
- 1/3 cup cornstarch
- 2 Tablespoons butter
- 1/2 teaspoon ground cinnamon
- homemade pie crust (this recipe makes 2 crusts: one for the bottom and one for the top)
- 1 large egg white , beaten with a fork
- granulated sugar , for sprinkling on top
Instructions
If using fresh cherries:
- Pit and halve the cherries. Add them to a saucepan with sugar and lemon juice and toss to combine. Cook over medium heat for a few minutes until juices are released. Use a slotted spoon to spoon cherries out into a bowl. Spoon some of the sauce into a cup and stir in the cornstarch until smooth. Return to pot with remaining juices and cook for a few minutes until thickened. Pour over cherries and set aside while you prepare the pie crust.
If using canned cherries:
- Drain the juice from the cans of cherries into a saucepan, reserving ⅓ cup in a small bowl. Set the cherries aside. Add cornstarch to the bowl with the reserved ⅓ cup of juice and stir well to combine.
- Heat the saucepan (that has the juice in it) over medium heat. Add the sugar and stir well. Bring mixture to a low boil. Stir in dissolved cornstarch mixture. Cook, stirring, until thickened, about 2-3 minutes. Stir in butter and lemon juice. Fold in the cherries. Add a few drops of red food coloring, if desired.
- Allow mixture to cool to room temperature while you prepare the pie crusts.
Prepare Pie:
- Preheat oven to 400 degrees F. Set aside a 9'' pie pan. (If using canned cherries, there will be enough filling for a deep dish pie dish).
- Remove one chilled pie crust dough from the fridge. On a lightly floured counter, roll out your dough to about 12'' in diameter. Gently place in the bottom of pie dish. Spoon the cherry filling into the unbaked crust and sprinkle a little cinnamon over the filling. (If using fresh cherries, add a few small pieces of butter on top).
- Remove the second pie crust from the fridge and roll it out in a similar manner. Use a pizza cutter, knife or pastry wheel to cut the crust into long strips, about 1/2'' wide. Lay strips over the crust in a lattice pattern. (If you're lazy, like me, you can just lay half of the strips going one direction, and the others on top, going perpendicular, leaving a small space between each.)
- Pinch the edges of the top and bottom pie crusts together and crimp the edge, if you like. Brush a thin layer of beaten egg white over the top of the pie crust and sprinkle some granulated sugar on top.
- Bake at 400 degrees F for about 40-45 minutes. Check after about 25 minutes and gently place a piece of tinfoil over the top crust to keep it from getting too brown.
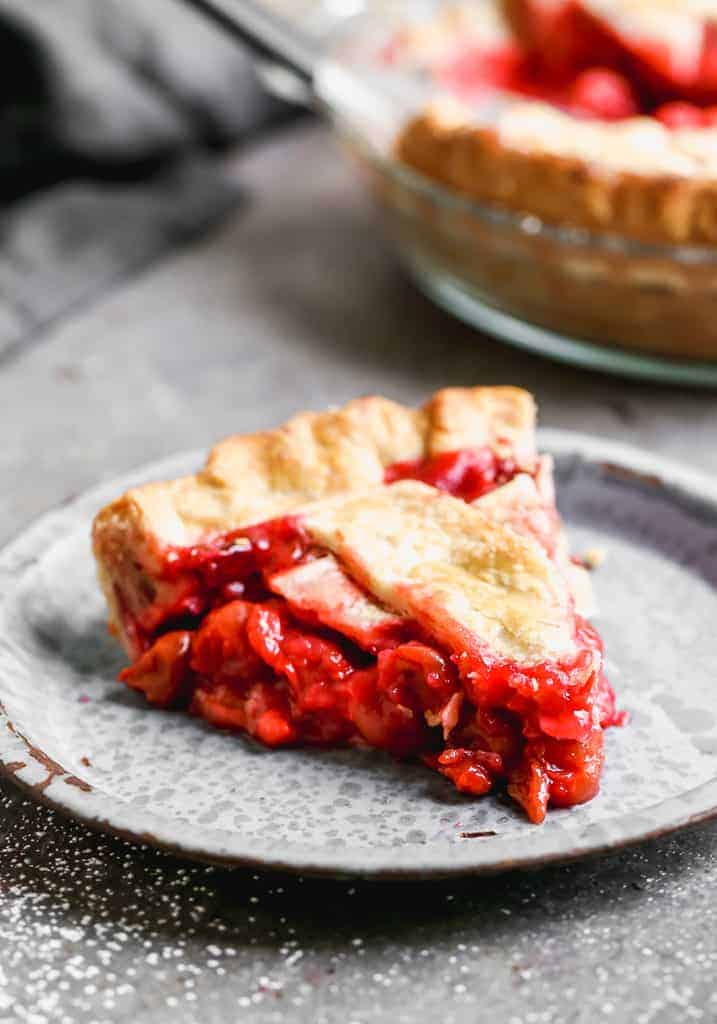
- Remove to a wire cooling rack and allow to cool for several hours. Once cooled completely you can cut and serve it, or cover it and refrigerate it overnight to serve the next day.
- Leftover cherry pie will last up to 5 days, stored in the fridge.
Notes
Nutrition
Create a FREE Account to save your favorite recipes and create meal plans
Have you tried this recipe?!
RATE and COMMENT below! I would love to hear your experience.
I originally shared this recipe June 2017. Updated April 2020 with process photos and more detailed instructions.
This post contains affiliate links.


Holy Moly! This is so good! I forgot to put the cinnamon on top though. It is the absolute best cherry pie I have ever had. I used fresh sour cherries 🍒
Usability tip: Make your print versions of these recipes a lot less than 17 pages. That’s entirely unnecessary and unsustainable.
Colin, not sure what happened for you but I’ve tested the print button and it prints a single page of this recipe every single time. Hope you love the pie.
Would give it 5 stars, but I too had trouble with fresh cherries setting up based on cooking time. It was still very watery. Glad I did the lattice top or I would not have known until serving. I ended up dropping my oven temp to 375 and baking the pie (still covered to keep crust from browning more) for about 65 min total to get filling to bubble and gel.
Turned out great! I did some things different though. I used fresh sour cherries but I still cooked it before I put it in the crust. I mixed the cherries, sugar, corn starch, and lemon juice (also a tiny bit of salt and some almond flavoring that I added) and cooked it until it thickened. I left out the cinnamon. I’d use this recipe again with those tweeks!
Thank you for leaving this comment! It is helpful.
Just made, wish I would have read further into the comments before. The filling never thickened. All liquid and cherries. Looked beautiful when it came out. Next time I will cook the filling prior to putting in the shell, fresh cherries are filled with water and need to cook to release that.
Delicious pie! One question, I may have just overlooked the info but do I use the butter in fresh cherry version?
So first off, the crust linked to this recipe was easy to make and very good. The whole pie itself was fairly easy to make, just a little time consuming due to halving and pitting the cherries. The pie itself was pretty tasty, but I agree with some of the other comments that say it was a bit watery. I let it sit out for a few hours to cool after cooking, then refrigerated it for another several hours to really let it thicken. Overall, I would say that this pie was very fun to make on a rainy day at home with my daughter and it did taste good, but due to it being watery, I probably won’t make it again and if I did, it’s not a pie that I’d take to an event.
I made with fresh cherries. Didn’t work out at all. Crust cooked too fast for filling to catch up. I could still see the cornstarch on the cherries during baking, I pressed down with a spatula. We ate 2 pieces and threw away the remaining.
Best Cherry Pie ever!
As many other comments have said, the flavor was very nice and the pie looked great when it came out of the oven. But after fully cooling and cutting a “piece,” the entire filling was very runny and it was basically a piece of golden crust with cherry juice spooned over. I followed the recipe exactly, using canned sour cherries. My filling was nice and really thick before baking. Flavor wise, it tasted like my late grandmother’s beloved cherry pie but was overall a let down. Think some recipe tweaks made need to be suggested and reposted?
Same here. Was very disappointed as the pie was beautiful but when you cut into it the filling was runny. When you spend the time to pit fresh cherries it is a shame. The recipe needs to be tweaked for fresh cherries. Glad I did not take it as a dinner gift. It would have been embarrassing. Going to use pie filling as a topping fir ice cream sine you can’t serve as a slice.
I cooked the juice mixture for over 10 minutes and it never got as thick as yours. Don’t understand what I did wrong? I used all the same proportions. Do you pack your cornstarch or loosely measure it? It tasted great only it was runny
I think cornstarch has to come to a boil for a minute for it to thicken. If it cooked, but never actually bubbled you’d have the thin consistency.
Sorry!