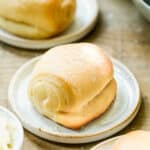
Nothing compare to these soft and fluffy Homemade Rolls, and they’re so easy to make! We enjoy them all year round, and they freeze well too!
One thing is for sure, not all roll recipes are created equal! This one absolutely lives up to its name in making light and fluffy rolls that taste better than a bakery!
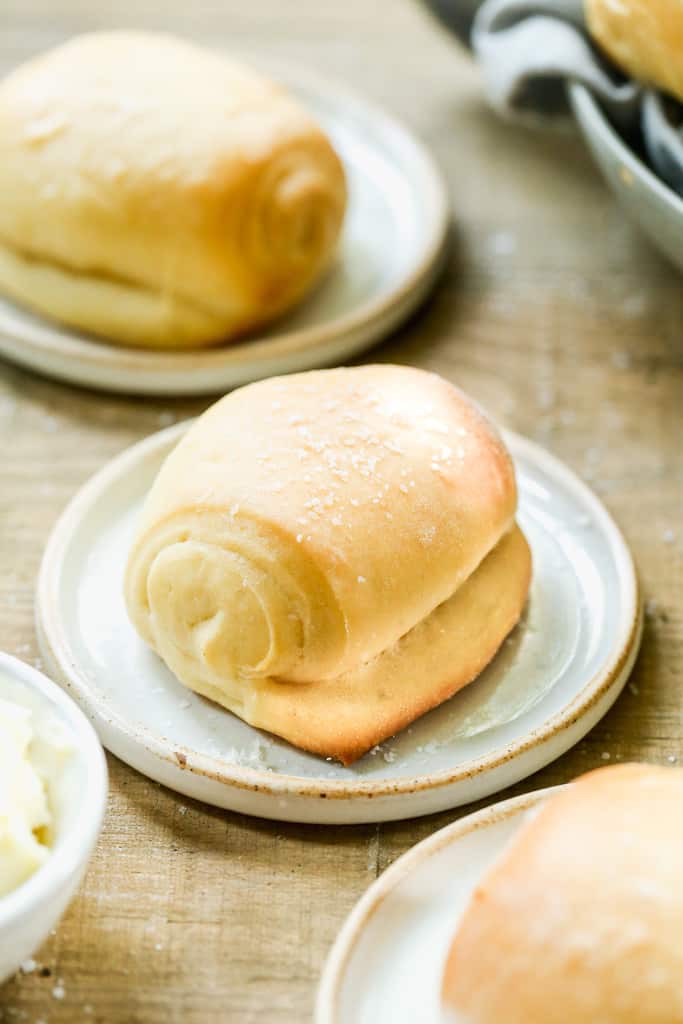
I think a lot of people get intimidated by homemade rolls, but follow the instructions below and you’ll see just how easy they are! The only thing you need is time to allow the rolls to rise, but every other element is very fast and simple. I’ve included clear process photos and instructions so that even the most novice baker will succeed with this recipe!
How to Make Homemade Rolls:
Proof the yeast. Combine warm water, yeast, sugar and stir–allow to rest for 5-10 minutes until foamy. Then add it to a mixing bowl with remaining sugar, cup sugar, warm milk, butter, egg and salt. Blend mixture until combine. (If using instant yeast you can skip the “proofing” and just add everything to the bowl at once).

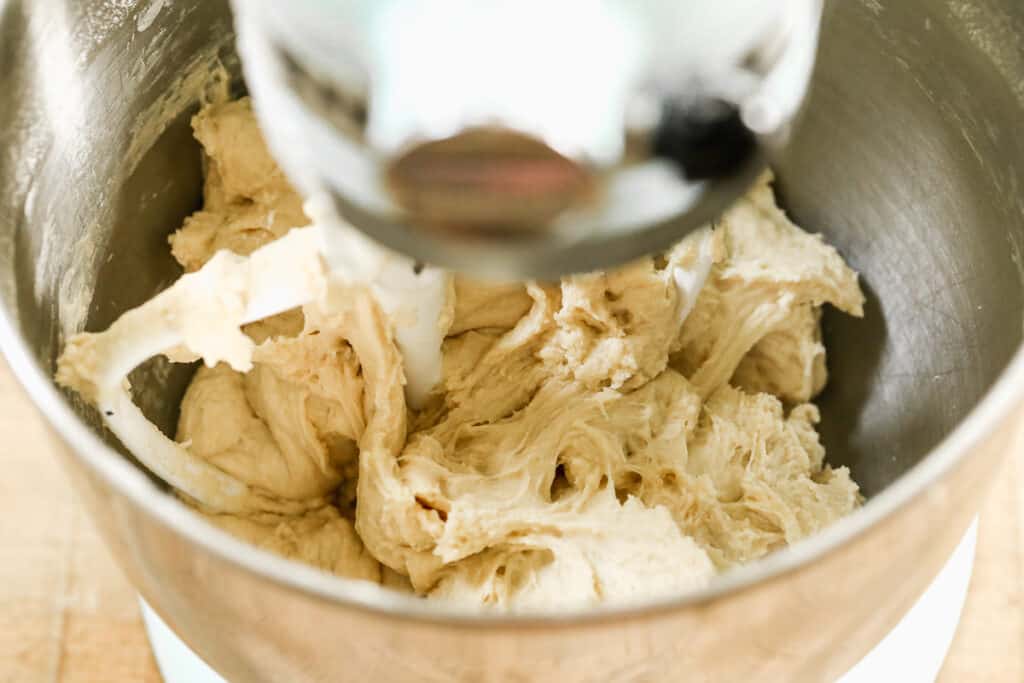
Add flour. While mixing on low speed, slowly add the flour, mixing until the dough is smooth and elastic, about 5 – 6 minutes. It’s very important that you don’t add too much flour. Watch for the dough to start pulling away from the sides of the bowl. The dough should be soft, and when touched with a clean finger, it should be just very slightly sticky.
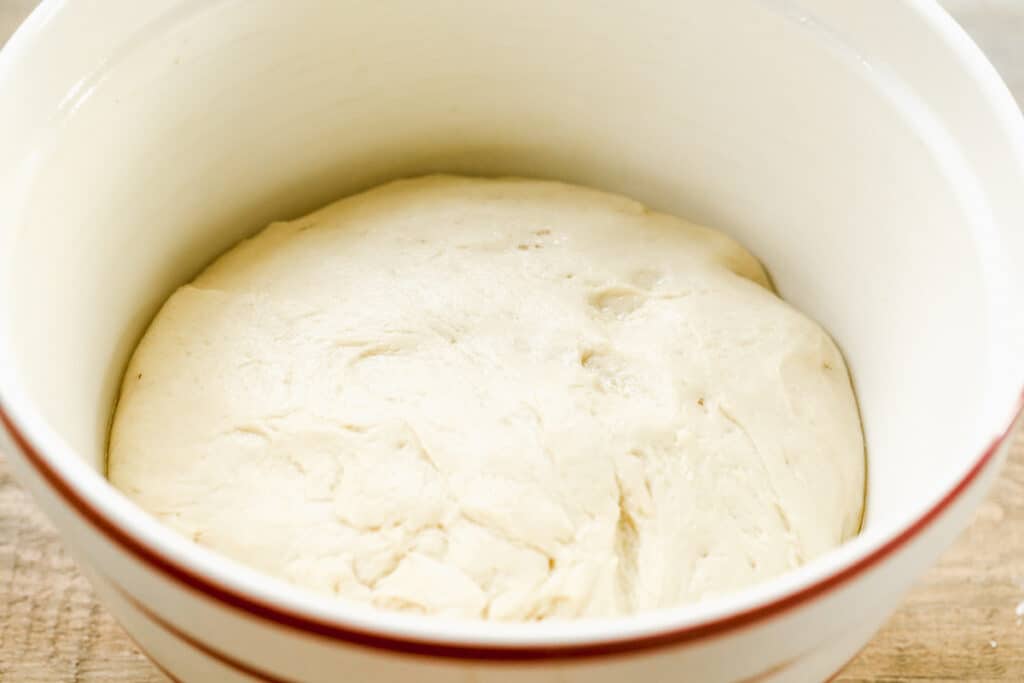
First Rise. Grease a large bowl with cooking spray and place the dough in the bottom of the bowl (turn it over once to coat all sides in cooking spray) Cover with plastic wrap. Allow to rise in a warm place for an hour.
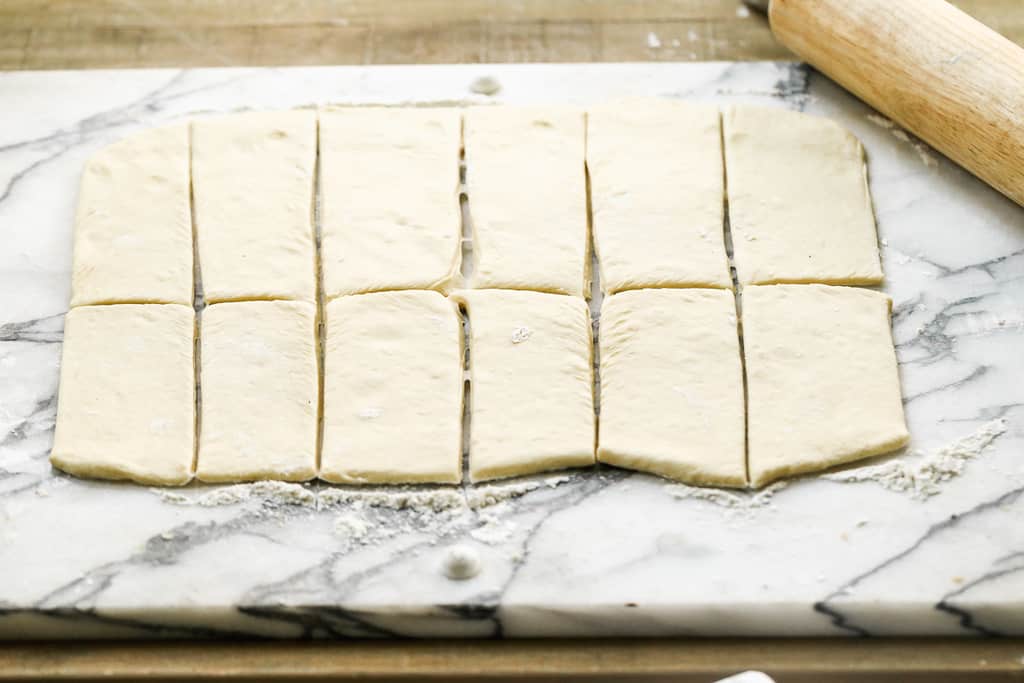
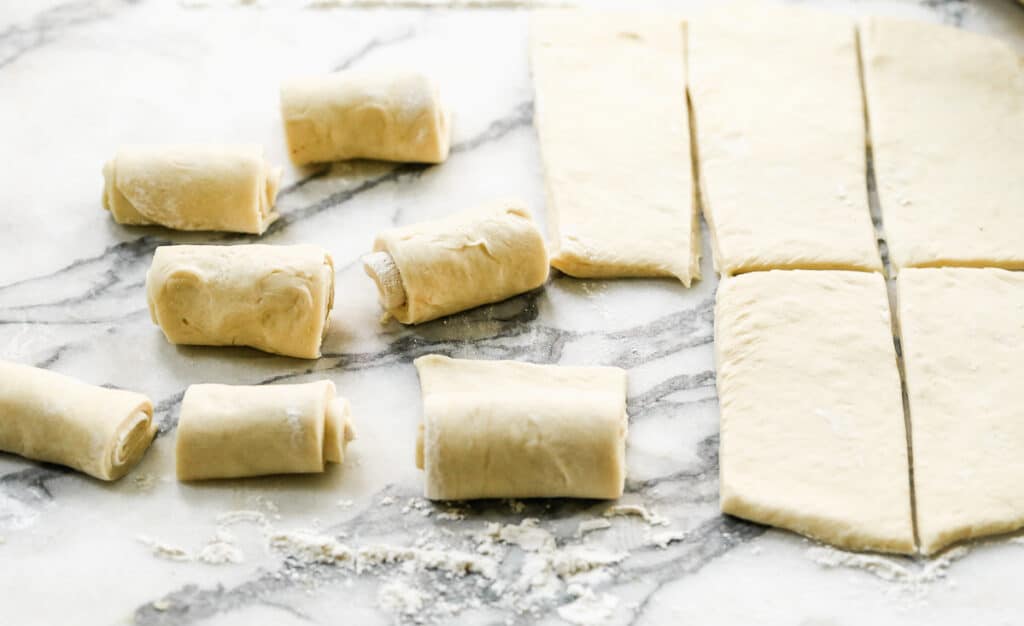
Roll Dough. Divide dough into two equal portions. Roll each dough ball out on a lightly floured surface into a large, thin rectangle about 1/4’’ thick. Use a pizza wheel or sharp knife to cut the dough, lengthwise, into two pieces. Then slice the dough into six strips across so you end up with 12 rectangles.
Shape Rolls. Roll each small rectangle up like a snail and place, open edge down, on a lightly greased or lined baking sheet. Repeat with the second portion of dough.
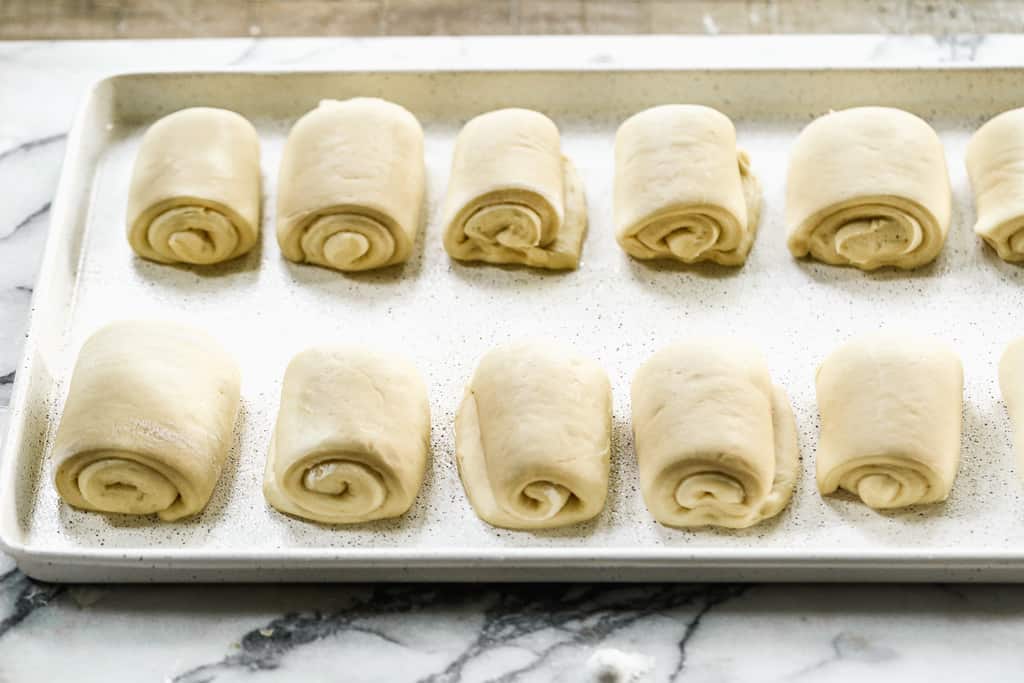
Second Rise. Cover rolls loosely with plastic wrap and allow to rise again in a warm place until double in size, about 1 hour.
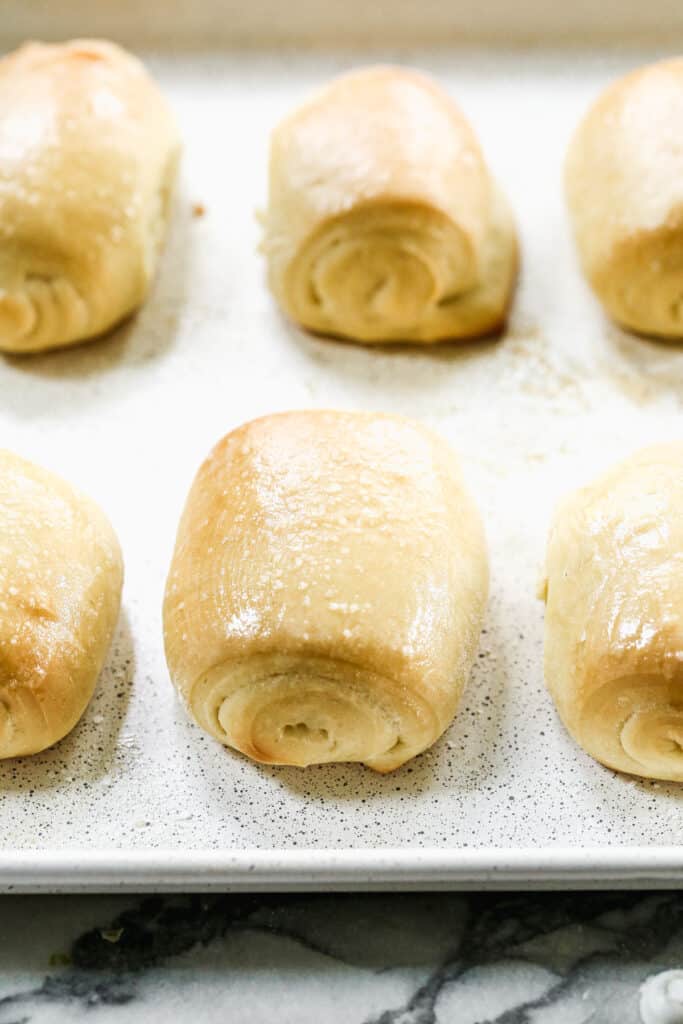
Bake. Preheat oven to 375 degrees F. Remove plastic wrap and bake rolls for 10 – 13 minutes until cooked and golden brown. Remove from oven and brush tops with butter.
Make Ahead Instructions:
Make the dough up to 1 day ahead of time. Put the roll dough in the refrigerator during one of two phases:
- After mixing: place kneaded dough in a very large, clean greased mixing bowl with an airtight lid and refrigerate for the first rise. The dough will rise slowly in the fridge, overnight, or over several hours.
- After you’ve formed them into rolls, for the second rise. Allow them to come to room temperature before baking.
Freezing Instructions:
To freeze baked rolls: Bake rolls as instructed and allow them to cool completely. Place in a freezer-safe bag and store for up to three months. When ready to eat, allow them to come to room temperature or pop one in the microwave for a few seconds, and serve warm.
To freeze roll dough: You can freeze the dough after kneading it in the mixing bowl. Allow it to come to room temperature before roll it out and shaping them into rolls. Proceed with recipe as instructed. Shaped roll dough can also be frozen. Place the shaped rolls in the freezer on a sheet pan for 30 minutes to “flash” freeze them. Then transfer them to a freezer safe bag or container and freeze for up to 3 months. When ready to bake, place them on a baking tray and allow them to thaw and rise overnight in the fridge, or at room temperature on the counter. Once they are thaw and have risen on the sheet pan, bake as directed.
Homemade rolls freeze really well and are great to have on hand. My kids love them at lunchtime as a sandwich or with some tunafish and pickles. My husband loves them as a side with dinner.
Storing Instructions:
Store dinner rolls at room temperature in an airtight container or ziplock bag. They will stay fresh for 1-2 days. (I think they taste most fresh stored in the freezer and then re-heated for a few seconds in the microwave.)
Follow me for more great recipes
Recipe
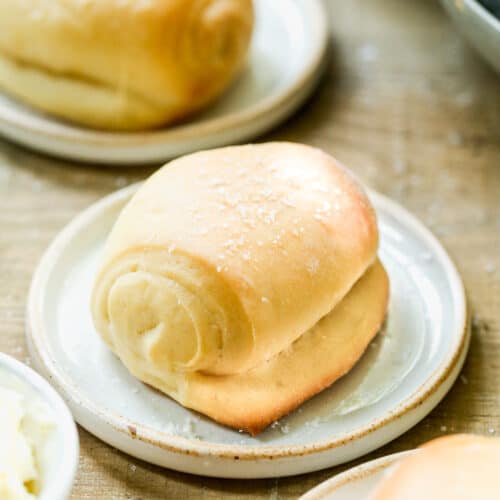
Best Homemade Rolls

Ingredients
- 1/3 cup warm water
- 2 1/4 teaspoons active dry yeast
- 1/3 cup + ¼ teaspoon granulated sugar
- 1 1/3 cups milk , warmed
- 5 Tablespoons salted butter , softened
- 1 large egg
- 1 1/2 teaspoons salt
- 4 – 4 1/2 cups all-purpose flour
Instructions
- Proof Yeast: Combine warm water, yeast, and ¼ tsp sugar and stir–allow to rest for 5-10 minutes until foamy. (If using instant yeast, skip this step and add water and yeast to the mixing bowl with everything in step 2).
- Mix Dough: Pour yeast mixture into the bowl of an electric stand mixer (or into a large bowl if you plan on kneading by hand). Add remaining ⅓ cup sugar, warm milk, butter, egg and salt. Mix until combined.
- Knead: While mixing on low speed, slowly add the flour, mixing until the dough is smooth and elastic, about 5-6 minutes. You may not use all of the flour called for! The dough should be soft, very slightly sticky when touched with a clean finger. It should be pulling away from the sides of the mixer.
- First Rise: Grease a large bowl with cooking spray or a tiny bit of oil. Place the dough in the bottom of the bowl and turn it over once to coat all sides in oil (this helps keep it from drying out.) Cover the bowl with plastic wrap. Allow to rise in a warm place until double in size, about 1 hour.
- Roll out: Divide dough into two equal portions. Roll each dough ball out on a lightly floured surface into a large rectangle about 1/4’’ thick.
- Shape Rolls: Use a pizza cutter or sharp knife to cut the dough, lengthwise, into two pieces. Then slice the dough into six strips across so you end up with 12 small rectangles. Roll each small rectangle up like a snail and place, open edge down, on a lightly greased or lined baking sheet. Repeat with the second portion of dough.
- Second Rise: Cover rolls loosely with plastic wrap and allow to rise again in a warm place until double in size, about 1 hour.
- Bake: Preheat oven to 375 degrees F. Remove plastic wrap and bake rolls for 10 – 13 minutes until cooked and very lightly golden brown. Remove from oven and brush tops with butter.
Notes
- After mixing: place kneaded dough in a very large, clean greased mixing bowl with an airtight lid and refrigerate for the first rise. The dough will rise slowly in the fridge, overnight, or over several hours.
- After you’ve formed them into rolls, for the second rise. Allow them to come to room temperature before baking.
Nutrition
Did You Make This Recipe?
Tag @TastesBetterFromScratch on Instagram with #TastesBetterFromScratch!
Recipe adapted from Cooking Classy.
Have you tried this recipe?!
RATE and COMMENT below! I would love to hear your experience.
I originally shared this recipe August 2017. Updated with improved instructions November 2019.
This post contains affiliate links.




Great job
How warm should the water and milk be?
For homemade rolls, the water and milk should be warm to the touch, ideally between 105°F and 115°F (40°C to 46°C). This temperature range is warm enough to activate the yeast without killing it. Using a kitchen thermometer can help ensure accuracy. Happy baking!
Can this dough be made in a bread maker?
Can the dough be made in a bread machine if put into breadmaker in order that manufacturer suggests?
Thank you for sharing this recipe:) Will try it for our Christmas dinner coming up!!!
I have made these rolls multiple times. They have become my family’s favorite rolls. I have tried many recipes. This is the best roll recipe ever! Thank you.
These are really good! They are also pretty forgiving. I am not perfect about rolling out the dough so evenly. So Sometimes they are not that uniform, and they are still delicious!
I just made these rolls and they turned out beautifully! However, I misread the instructions and cut each half of the rolled out dough into 6 pieces instead of 12. I should have watched the video first! LOL
Can I shape them into regular dinner rolls?
Yes, sure!
Oh my goodness, I am a very experienced baker. I have been baking since I could reach the knobs to turn oven on by myself and stand tall enough to knead dough on the counter. I have used my Great Grandmas recipe for years. Don’t even need a recipe, I know it by heart. This is a wonderful buttery delicious roll. A complete winner and I am very happy I decided to play a little this year and try something new. Thank you. I shaped them into regular dinner rolls and they turned out perfect. I love your recipes and asked my husband for your cookbook for Christmas! You make it all so easy. Thank you! And have a wonderful Thanksgiving 🙂