This post contains affiliate links.
Our easy Pie Crust recipe makes the most flakey, tender, and flavorful crust, thanks to butter, shortening, flour and salt. The recipe makes two crusts, so you can make a double-crust pie or save one for another day.
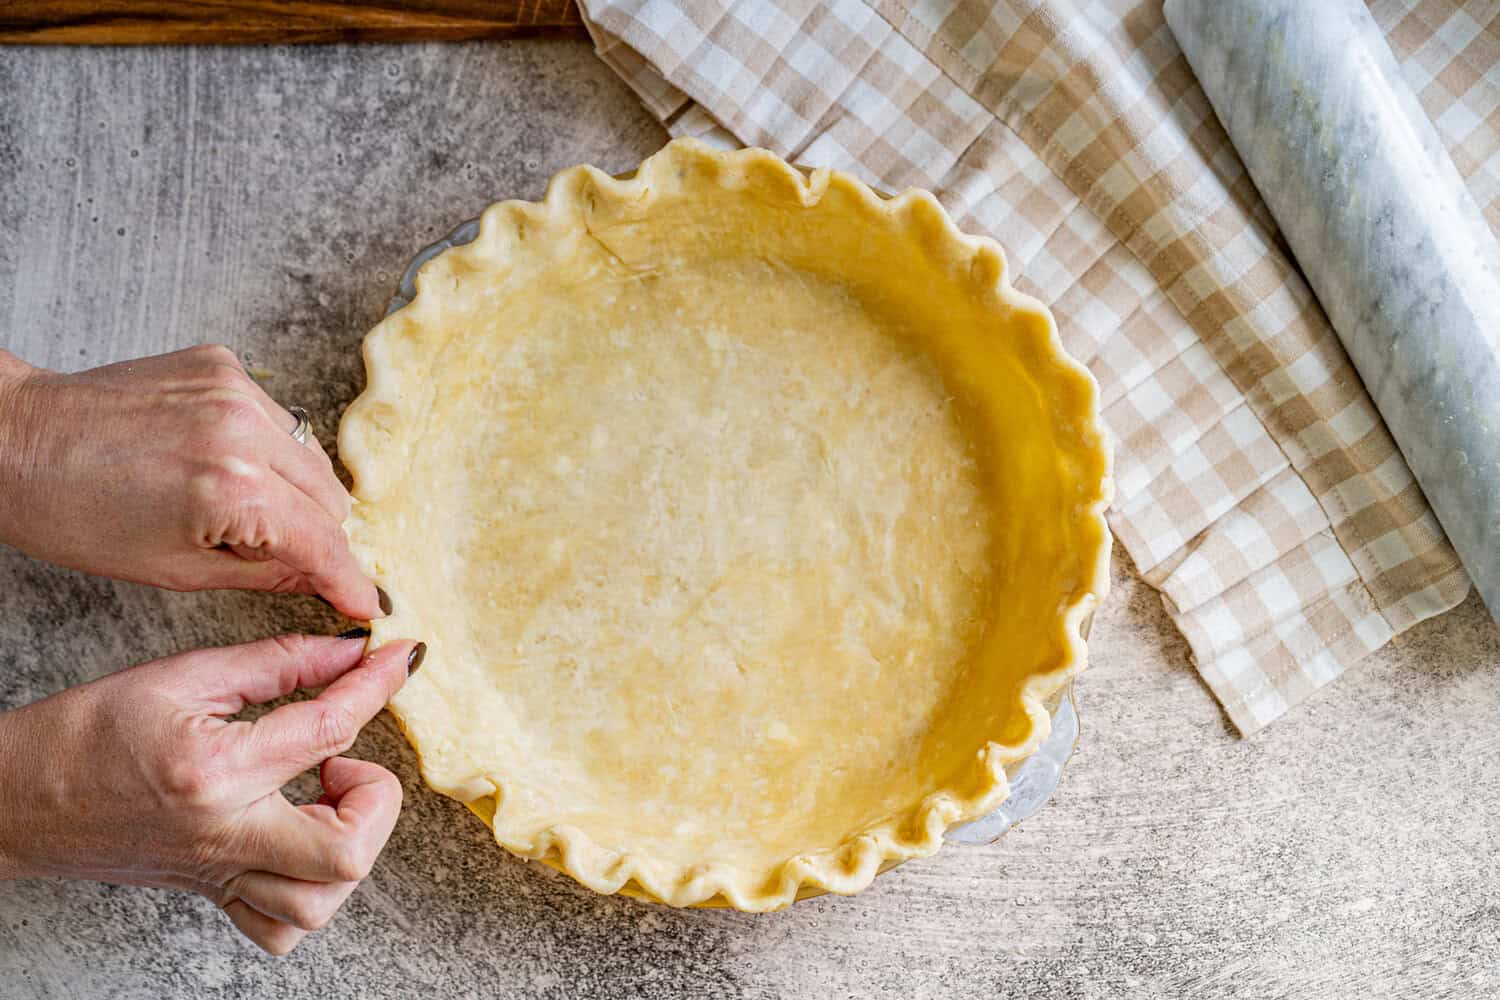
Homemade Pie Crust is easy and inexpensive!
If you are going to make anything from scratch, homemade pie crust is the right choice! You only need 4 ingredients, and it takes just a few minutes of time. I’ve been making homemade pies for decades (since I was a pre-teen!) and I have several tips for a fail-proof pie crust.
Why use butter and shortening in pie crust? After years of making pie, I’m convinced the best crust uses both butter and shortening. Butter gives you that rich flavor and flaky layers. Shortening makes the crust tender and the dough easier to work with, and it helps the crust hold its shape in the oven. You CAN use all butter in this recipe if you would like (I have done so and it’s still delicious).
Pro Tip: Pie dough freezes great, so I like to make this pie crust recipe weeks ahead of time (especially for Thanksgiving), so that it’s ready to roll (pun untended 🙂 ).
Use this pie crust in any of our pie recipes, like Chocolate Pecan Pie, Fresh Peach Pie, Chicken Pot Pie, Eggnog Pie, Apple Pie, Lemon Meringue Pie, and Coconut Cream Pie!
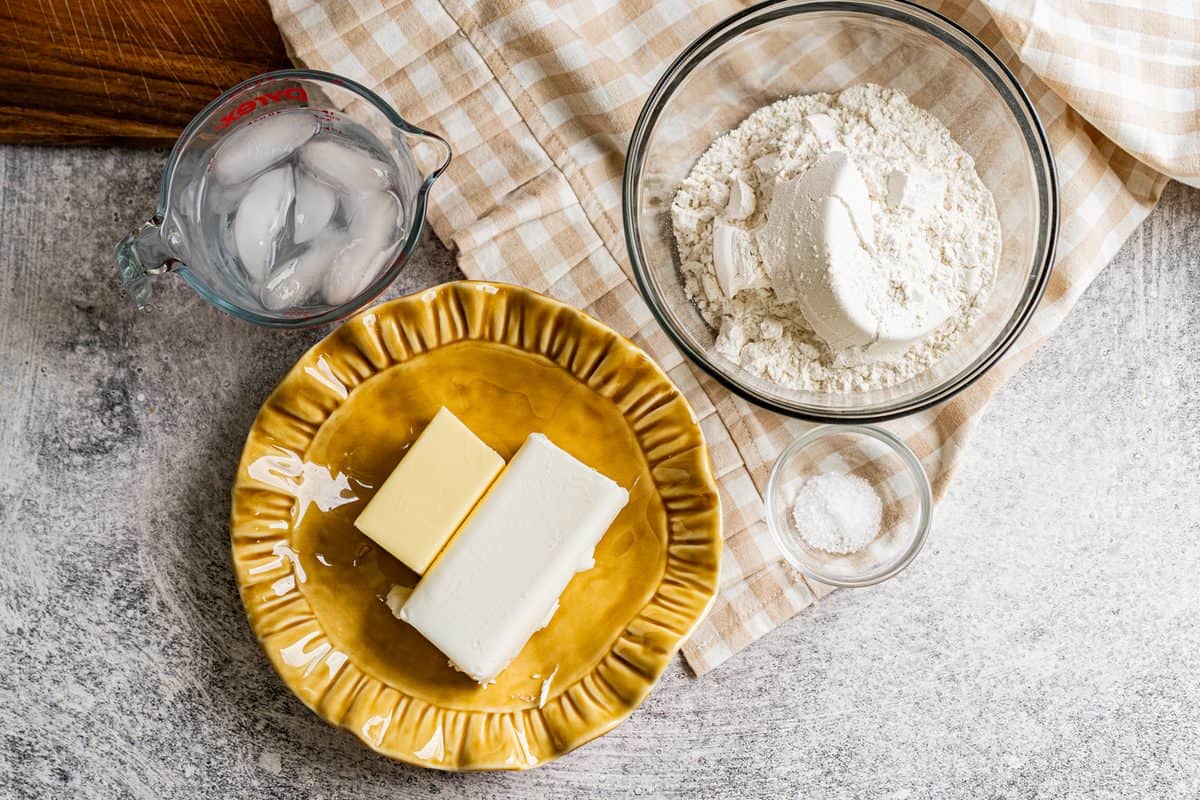
Pie Crust Ingredients:
- All Purpose Flour
- Kosher Salt – essential for flavor.
- Butter – helps with rich flavor and flaky layers. I use frozen butter and grate it into the flour, so that it stays cold but is easy to cut into the dough.
- Shortening – helps make the dough tender, easy to handle and prevents shrinking. I chill the shortening ahead of time. You want all the fats in the pie to be cold!
- Water – Using ice-cold water is critical because it helps keeps the butter and shortening firm throughout the mixing process. When those small pockets of cold fat melt in the hot oven, they release steam, creating the light, airy layers of a perfect pie crust.
How to make Pie Crust:
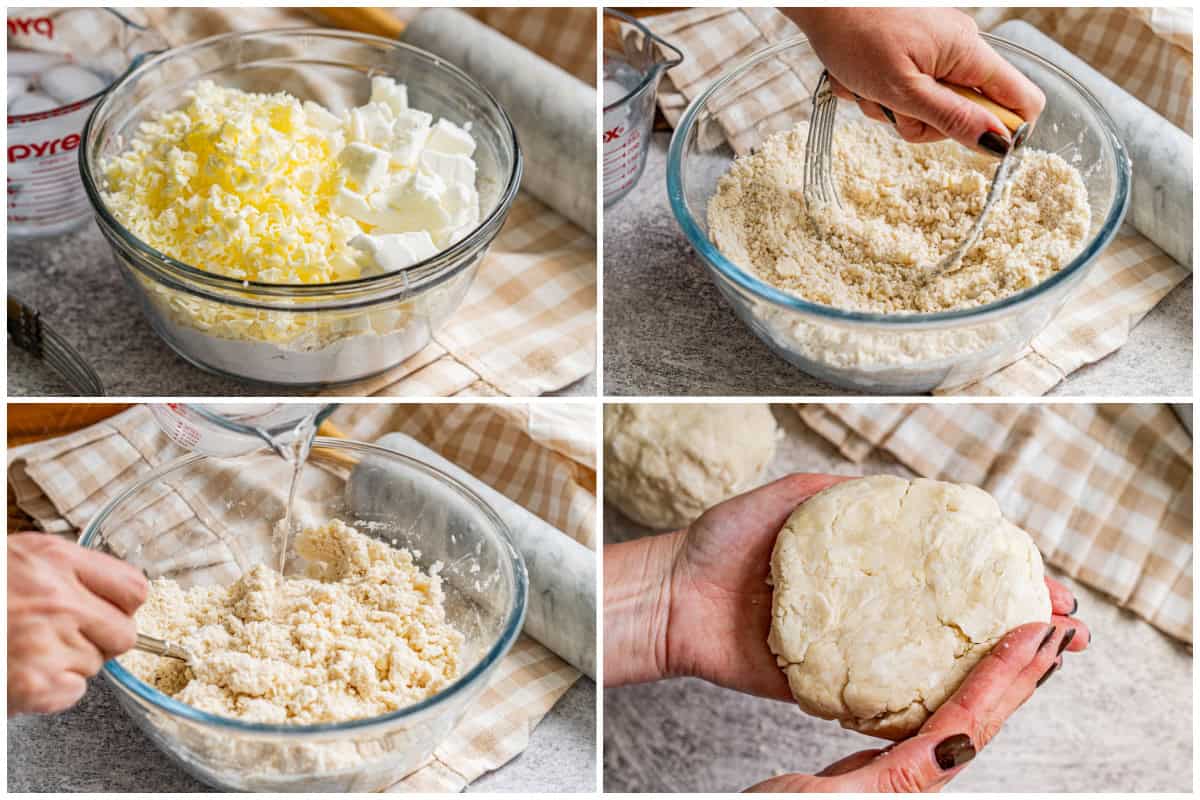
Make Pastry Dough: Mix the flour and salt in a large bowl.
Ice water: Add ice cubes to a measuring cup, fill with ½ cup cold water, and set aside.
Add fats: Grate the frozen butter into the flour, or cut it into very small pieces. Add the chilled shortening and use a pastry blender or fork to cut in both fats until well combined and crumbly.
Combine: Mix in ice water a spoonful at a time until the dough begins to form a ball; you may not need all the water. Avoid over-mixing, just gently shape into a ball and divide in two. Gently flatten each piece into a disk.
Refrigerate: Wrap in plastic and refrigerate for 2 hours, or freeze for 30 minutes (or you can stop here and freeze a few months if you want to make-ahead). This chill is required to keep the fats cold.
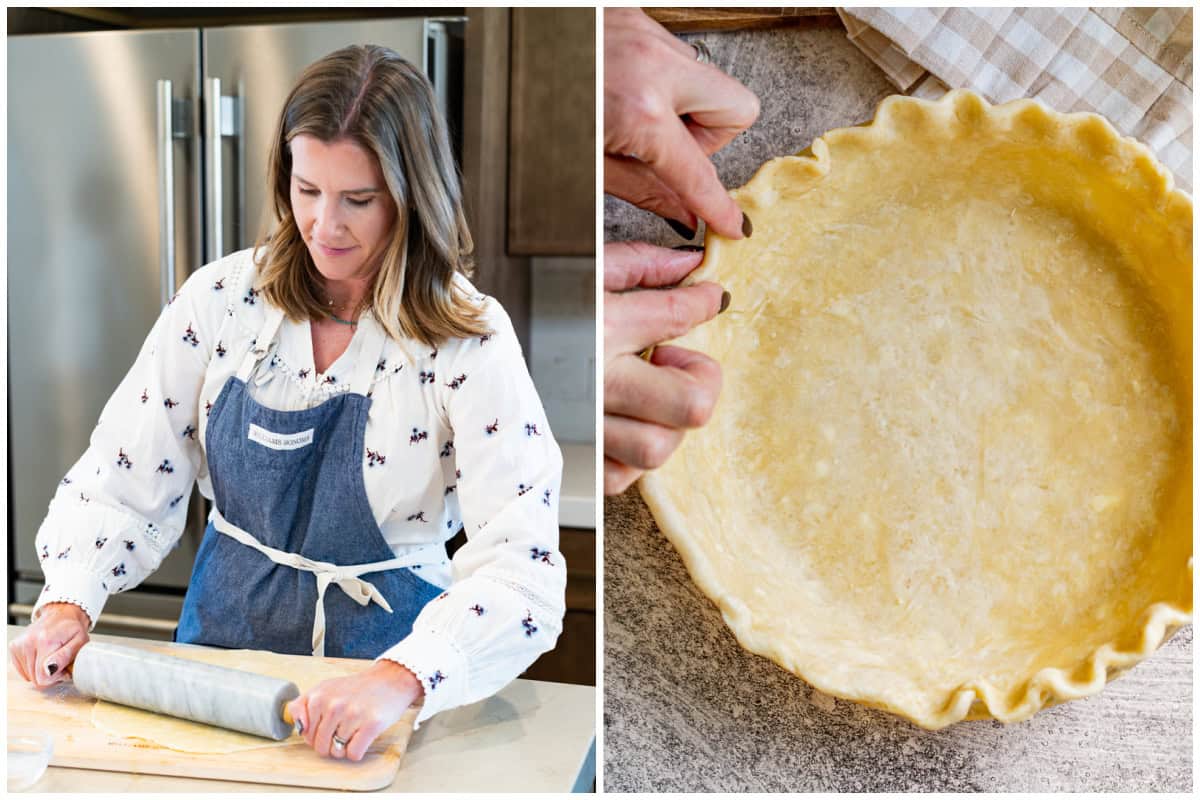
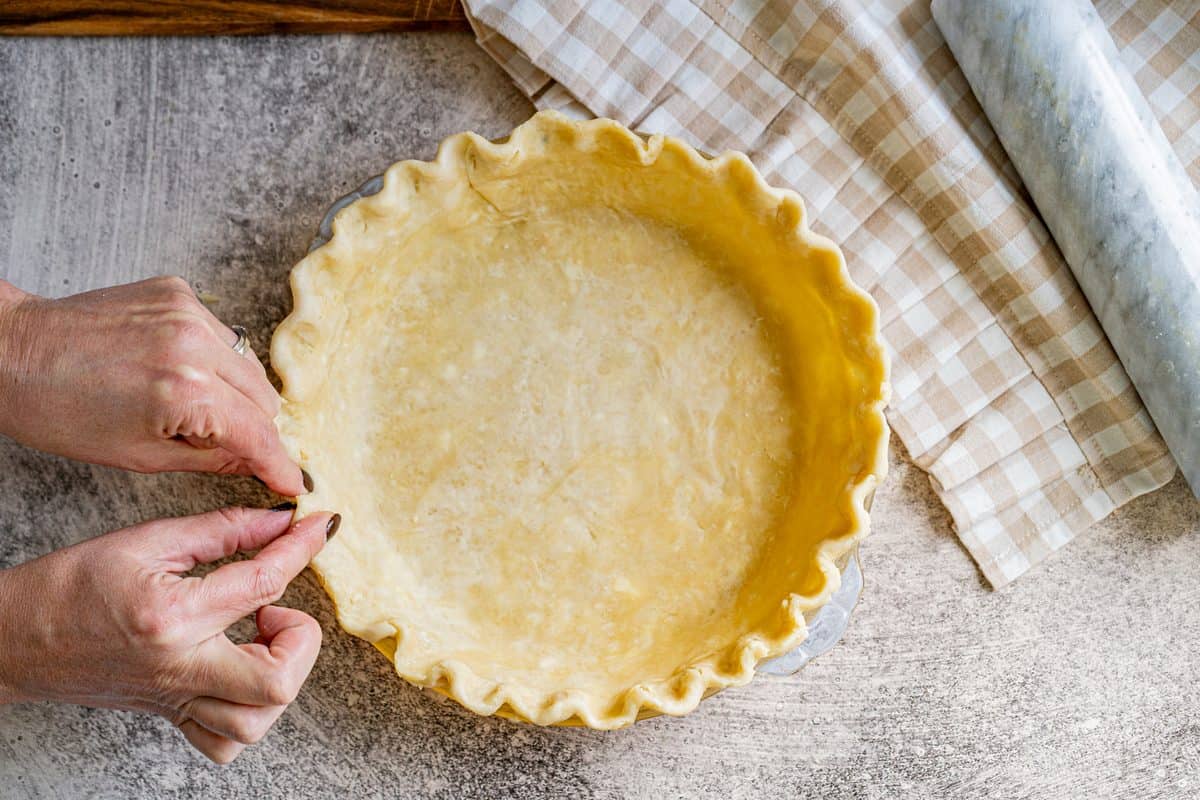
Roll and Shape: Roll the dough on a floured countertop, working from the center outward, into a circle about 1 inch wider than your pie dish. (If helpful, lay a damp cloth flat on the counter, cover with parchment, and lightly flour the parchment and dough. The damp cloth keeps the parchment from moving. Gently turn the pie crust dough into the pie dish and remove the parchment.) Settle rolled out dough into the bottom and sides of the pan (don’t stretch it), then trim and crimp the edges.
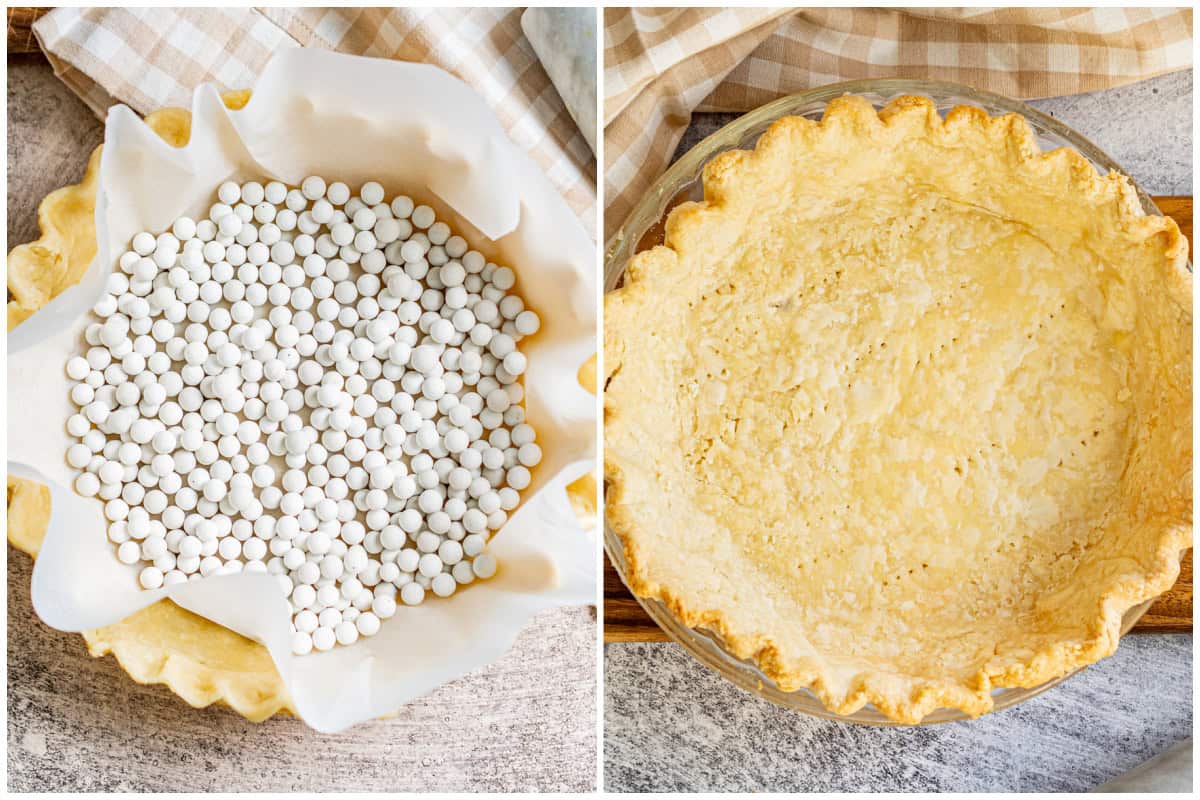
Fill or Blind Bake: For a pie that needs an unbaked crust, add the filling and follow that pie recipe’s baking instructions. To blind bake, line the crust with a large piece of parchment and add pie weights (or 1-2 cups dry beans or dry rice), to prevent shrinking. Bake at 375°F for 15-20 minutes. Carefully lift out the parchment and weights, prick the bottom with a fork, and bake another 10-15 minutes, until lightly golden. Let the homemade pie crust cool before filling.
Pie Crust Troubleshooting
My Biggest Tip: Keep your dough cold! I know it’s tempting to skip ahead, but let it chill before you roll it out (and even after you roll it out and place it in the pie pan). It really does make the difference between a good crust and a great one when the fats are cold going into the oven, so that you get the flakey layers you want.
Why is my crust tough instead of flaky?
This usually means the dough got overworked or had too much water. Both build up gluten, and gluten makes a crust chewy. Handle the dough as little as you can, and add ice water a little at a time, only until the dough holds together when you form it into a ball.
Why did my crust shrink down the sides of the pan?
Either the dough wasn’t chilled long enough or it got stretched to fit the pan. I like to chill it twice, once after rolling and again after it’s shaped in the pan, so the gluten has time to relax. Also, when you transfer the dough into the pie dish, let it drape in loosely and don’t pull/stretch it.
Why is my dough cracking when I roll it?
It’s either too cold or too dry. Let the chilled disc sit on the counter for 5–10 minutes before you roll it. If the edges still look dry and crumbly, sprinkle on a few drops of ice water.
How do I keep the edges from burning?
When the edges turn light golden, usually about halfway through baking, cover them loosely with a ring of foil or a pie shield. That keeps them from over-browning while the rest of the pie finishes baking.
Easy Pie Crust Recipe
Ingredients
- 2 1/2 cups all-purpose flour
- 1 teaspoon kosher salt
- 6 Tablespoons cold unsalted butter
- 3/4 cup vegetable shortening, , chilled
- 1/2 cup ice water
Instructions
- Mix flour and salt in a large mixing bowl. Add ice cubes to a measuring cup and fill with ½ cup cold water. Set aside.2 ½ cups all-purpose flour, 1 teaspoon kosher salt
- Add fats: Grate frozen butter into the bowl, or cut it into very small pieces. Add chilled shortening and use a pastry blender or fork to cut the fats into the flour until well combined and resembles coarse crumbs.6 Tablespoons cold unsalted butter, ¾ cup vegetable shortening
- Add ice water a spoonful at a time, mixing until the dough begins to come together into a ball. Be careful not to over mix, and you may not need all of the water. Gently mold the dough into a ball.½ cup ice water
- Divide dough into 2 pieces and press each to flatten into a disk.
- Refrigerate: Cover dough discs with plastic wrap and refrigerate the dough for 2 hours (or freeze for 30 minutes). Refrigeration is mandatory as you need the fats in the pie dough to be cold when it's rolled out and placed in oven).
- Roll out dough: Lightly flour the parchment and dough and roll the dough into a large circle, about 1-inch larger then the diameter of your pie dish. Always start at the center of the crust, and roll outwards. If you're new to pie making, it may be helpful to use this method: dampen a large cloth and lay it flat on your countertop, with a large piece of parchment paper over it (the damp towel will keep the parchment from moving). Roll out the dough and then use the parchment paper to help lift the pie and gently flip into the pie pan.
- Place in pie pan: Gently place the dough into your pie dish and settle it into the bottom and sides of the pan. (Don't pull the dough to fit–just drape it gently in to fill the pan. This will help prevent shrinking). Trim and crimp the edges of the crust. (At this point I like to stick the pie in the fridge again, while I prepare the filling, to make sure the dough is cold before it goes in the oven.)
- For Pies requiring an unbaked pie crust (like pumpkin, apple, or even chicken pot pie): Fill the unbaked crust with pie filling, add top crust if needed, and bake according to pie recipe instructions.
- For a Blind-Baked Pie Crust (pre-baked crust) you need pie weights, dry beans or dry rice. (Without pie weights the crust will shrink into the pan as it bakes). Place a large piece of parchment paper into the pan, over the unbaked crust and add pie weights, (or 1-2 cups dry beans, or dry rice) on top. Bake at 375° F for 15-20 minutes. Remove pie weights by carefully lifting up on parchment paper. Prick the bottom of the pie crust with a fork, then return to oven for 10-15 minutes, until lightly golden. Allow crust to cool before adding filling.
Notes
Nutrition
Nutrition information is automatically calculated, so should only be used as an approximation.
Text me new recipe ideas!
Simple, tasty ideas sent once a week. No spam.
Follow Me
I originally shared this recipe November 2016. Updated March 2018, November 2022, October 2024 and October 2026.



I use this recipe every time I make a pot pie or dessert and it has never failed me. If you are looking for a good crust recipe, this is the best imo. Flakey, tastes absolutely stellar.
I have tried this recipe for the first time and it turned out great. I will always use this one. Flakey, delicious. My pot pie was so good.
I should have added more water. Still learning. But the flavor was great and I will definitely use this recipe again
Great crust. First time making pie and recipe was easy to follow. Everyone I have given it to has loved the lemon sour cream pie. Thanks.
Great crust but next time I’ll make 1/2 again recipe.
I never have quite enough.
Maybe most recipes are for an 8” pan?
Mine are 9 1/2”.
So far, I feel that this recipe has failed me… after I rolled the dough, it fell apart when I went to transfer into the pie plate (sob!)… I went ahead & pieced it back together & then I baked it… still looks rather sad… It is the crust for a banana cream pie so I will proceed, but I am not feeling very confident…
This is the best pie crust so far that I have tried. I was pleased!
Thanks for all of this. I’ve been struggling through, along the years, a few pies here and there, and I was at the level of reinventing the two parchment sheets as key of no stick.
However, I did not see the “soft mat”, the towel, underneath of the above is the trick. Believe me, I’ll be trying this “very soon”. The development of the two parchment sheets is key in this progession.
After the notion of no stick with parchment became clear, a search found you. And there it is. The rest of it!
Not sure what happened- I followed this recipe exactly and it was an epic fail. Rolled out okay, but wouldn’t lift from the floured surface without crumbling all over the place. I ended up just pressing the dough into the bottom of the pie pan. For the top crust, I was able to do a lattice top. But the only way I could get any of the strips to stay together was using a butter knife to slide under it and very carefully moving it to the pie, but even that was a mess. After cooking, the crust just crumbled to the touch like powder.
I think I’ll be sticking to my traditional pie crust from now on.
Talia, Go back and note she used a sheet of parchment paper under the dough, it makes a world of difference. There is an old saying, “measure twice, cut once”, always read the instructions over until they feel familiar.
Hopefully me and my daughter will be able to make this, she does her school classes online and takes culinary, her teacher ask them to make something from stratch and record it and send it to her. Thanks and Happy Thanksgiving.
I’m a recent widower who needs/wants to learn to bake and cook. I’m not afraid to try things so this is exciting. After making sure that I have all ingredients necessary I will do this; and I’ll let you know how it turns out. I’ve already made a pumpkin pie using a Kroger crust. It was ok; but I’m not satisfied. Here goes!
This was fantastic pie crust. I did need to add about 2 Tablespoons more water.
The tips about chilling and blind baking were very helpful, Thank you,