This post contains affiliate links.
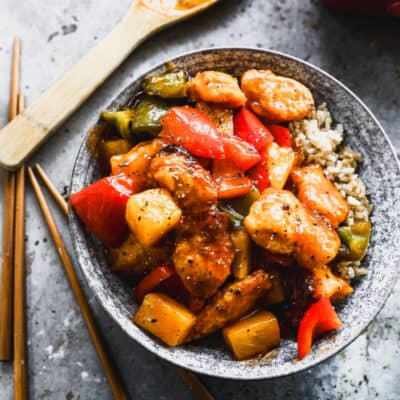
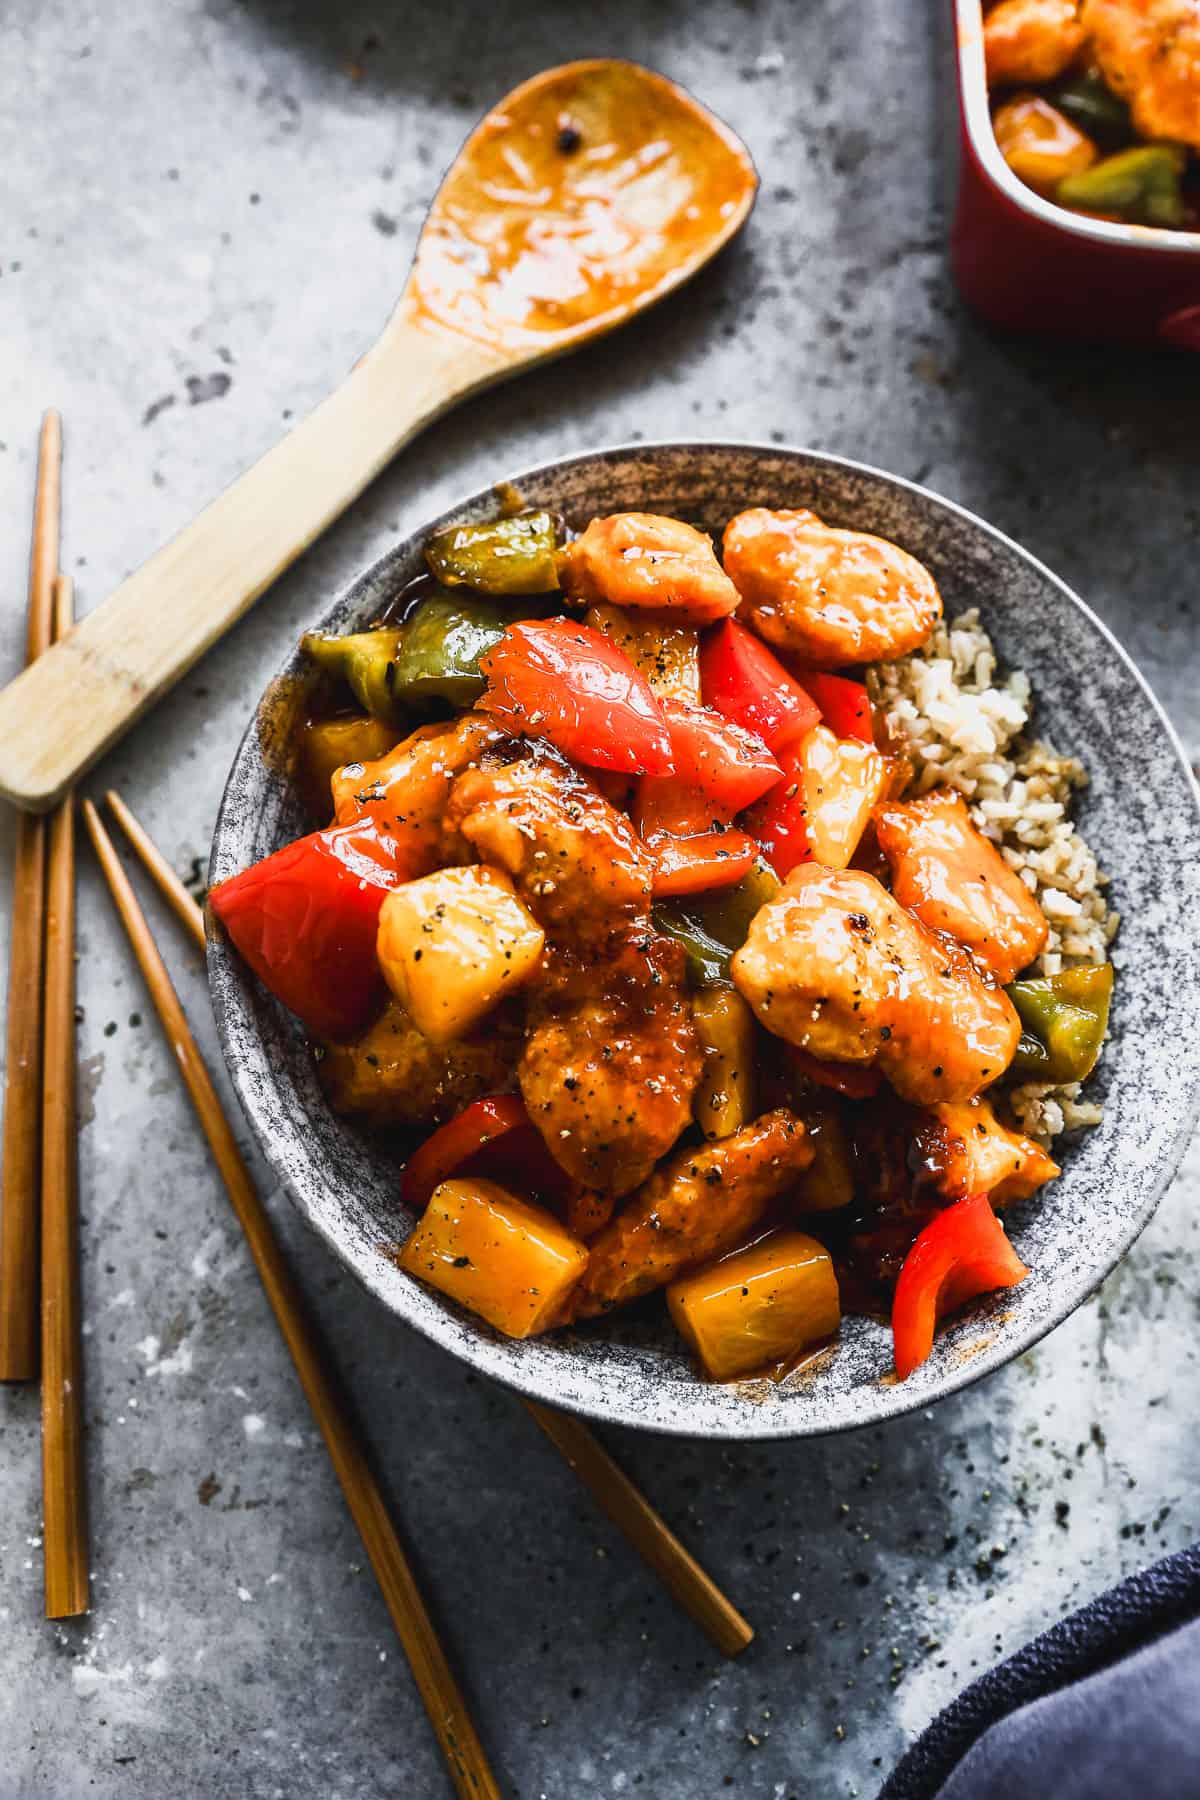
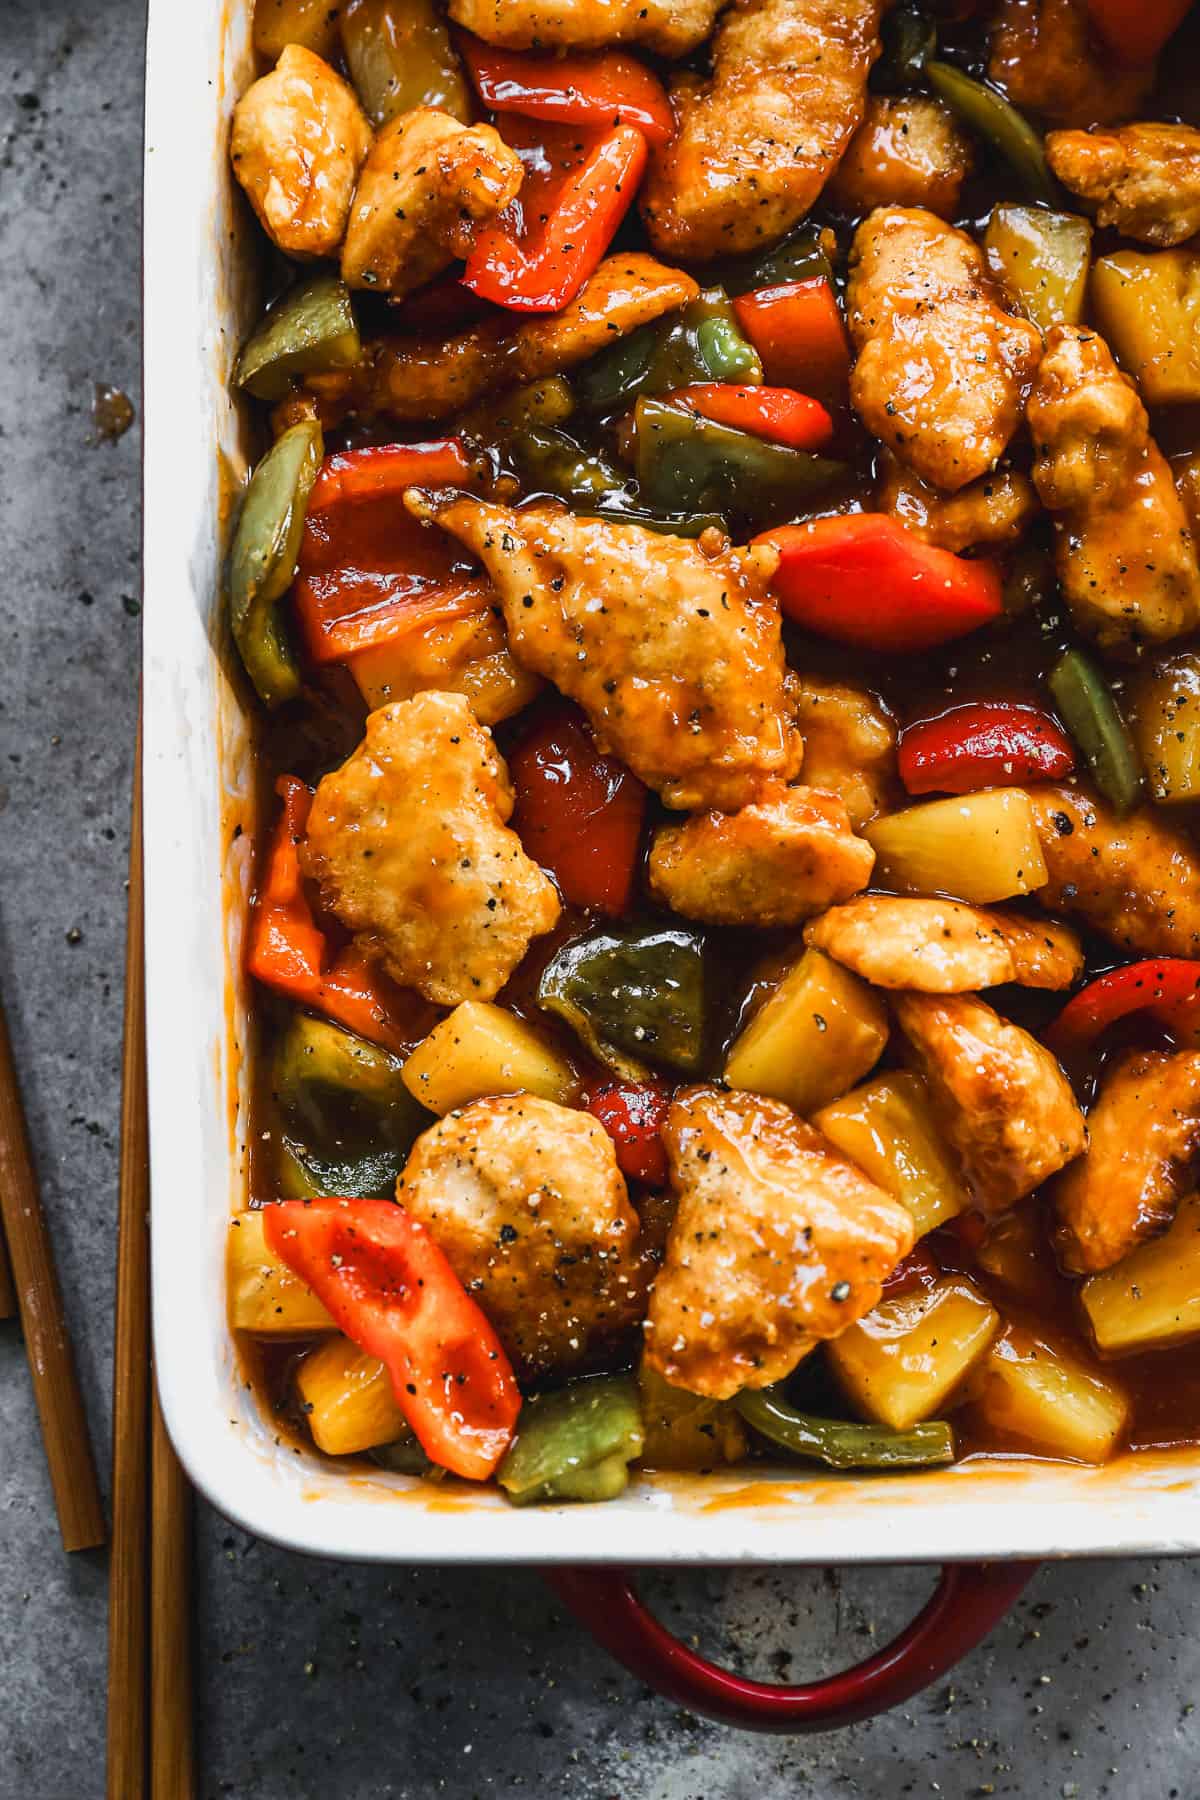
This easy Sweet and Sour Chicken is made with crispy chicken, bell peppers, onion, pineapple, and a quick and easy Sweet and Sour Sauce. It's simple and a meal the whole family will enjoy.
Check out more of my Chinese-Inspired recipes. I love Mongolian Beef, Chow Mein, General Tso's Chicken, and Kung Pao Shrimp!
Why I love this recipe:
- Delicious – Whenever we're craving take-out flavors from home, this sweet and sour chicken tops the list. I first made this recipe over a decade ago, from Mel's Kitchen Cafe, and this adapted version has been a family favorite ever since. It's definitely not authentic like this recipe, but it uses simple ingredients and is always devoured.
- The Sauce – nothing beats simple sauces made from home and this easy sweet and sour is no exception. It tastes so much better than anything bottled in the grocery store, and I love knowing the ingredients added.
- Make Ahead – I love to prep this recipe ahead, so It comes together effortlessly at dinner time.
How to make Sweet and Sour Chicken:
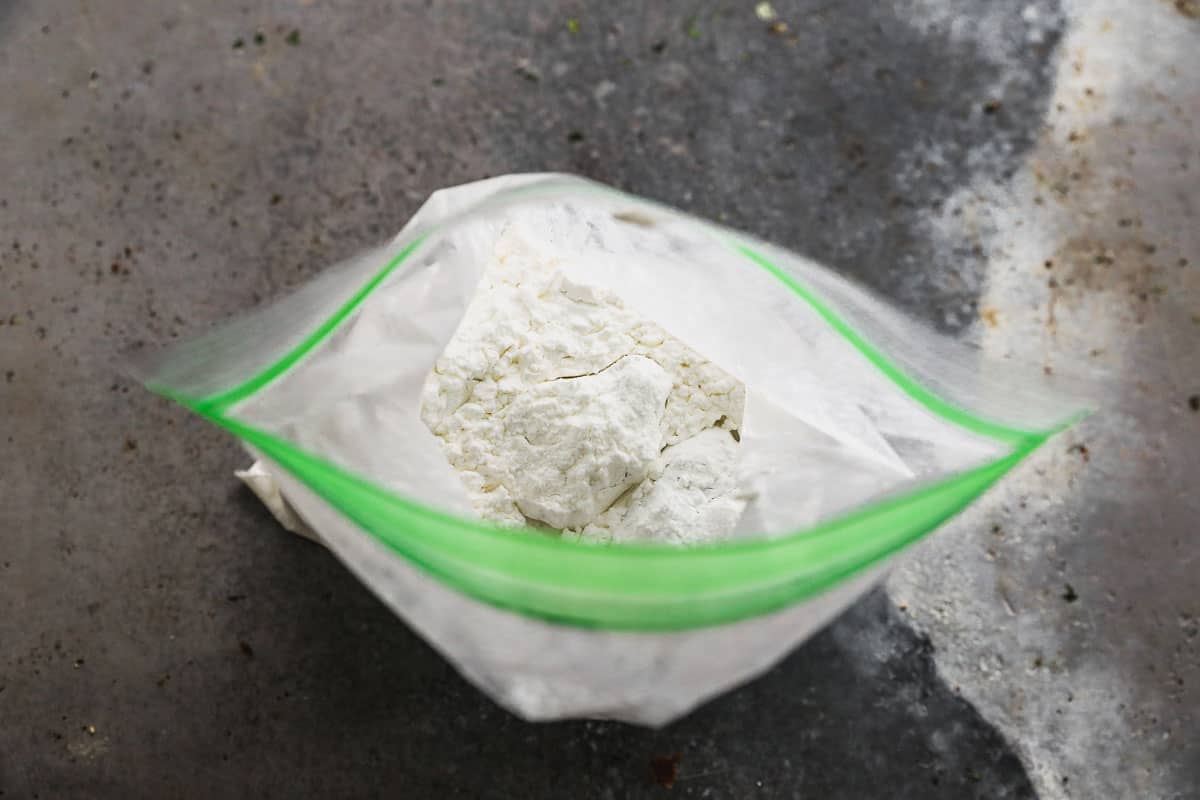
Prep Chicken: Cut the chicken breasts into 1-inch chunks then season with salt and pepper. Place the cornstarch in a large Ziploc bag; add the chicken pieces then toss to coat the chicken evenly.
Dip Chicken: In a shallow bowl beat the eggs together. Heat the oil in a large skillet over high heat. Dip the chicken pieces in the beaten eggs and place them carefully in the hot skillet (you may need to coat and cook the chicken in batches), and cook for just about one minute on each side, until golden and crispy, but not cooked through.

Bake: Add chicken to a large rimmed baking dish. Bake at 400 degrees F for 12-17 minutes or until the chicken is cooked through.

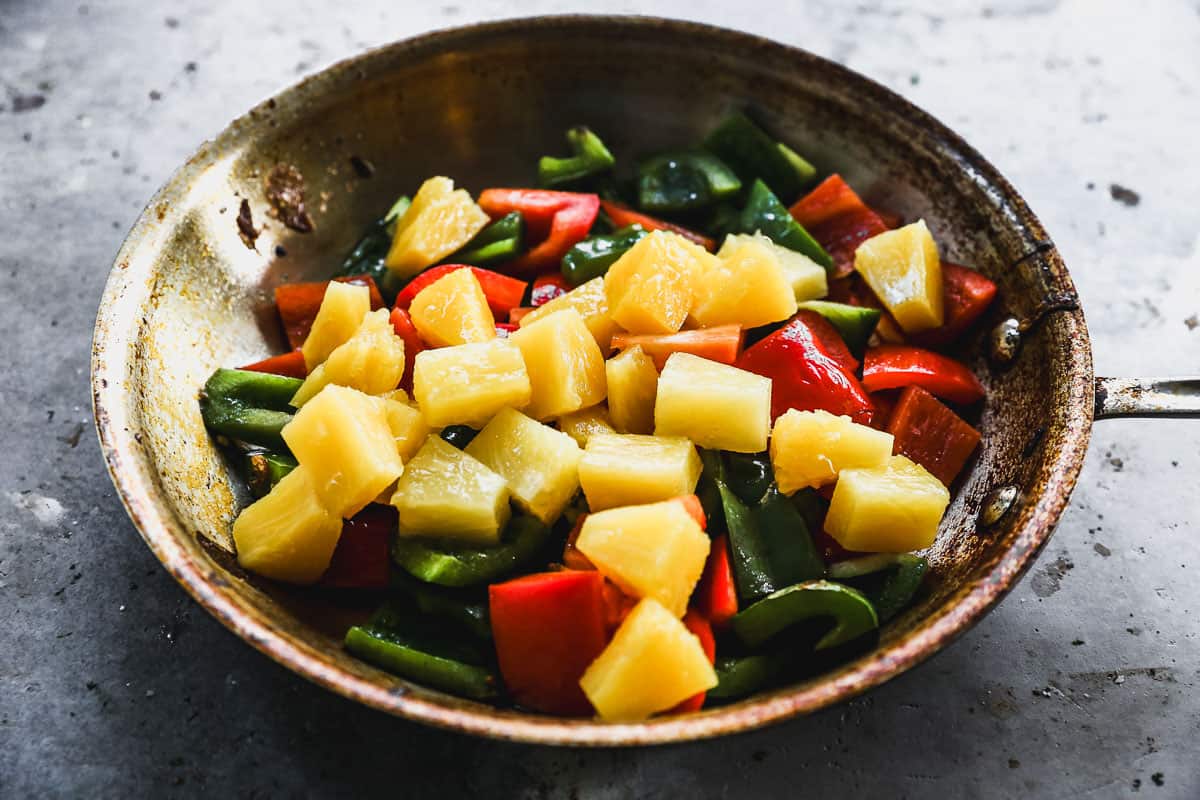
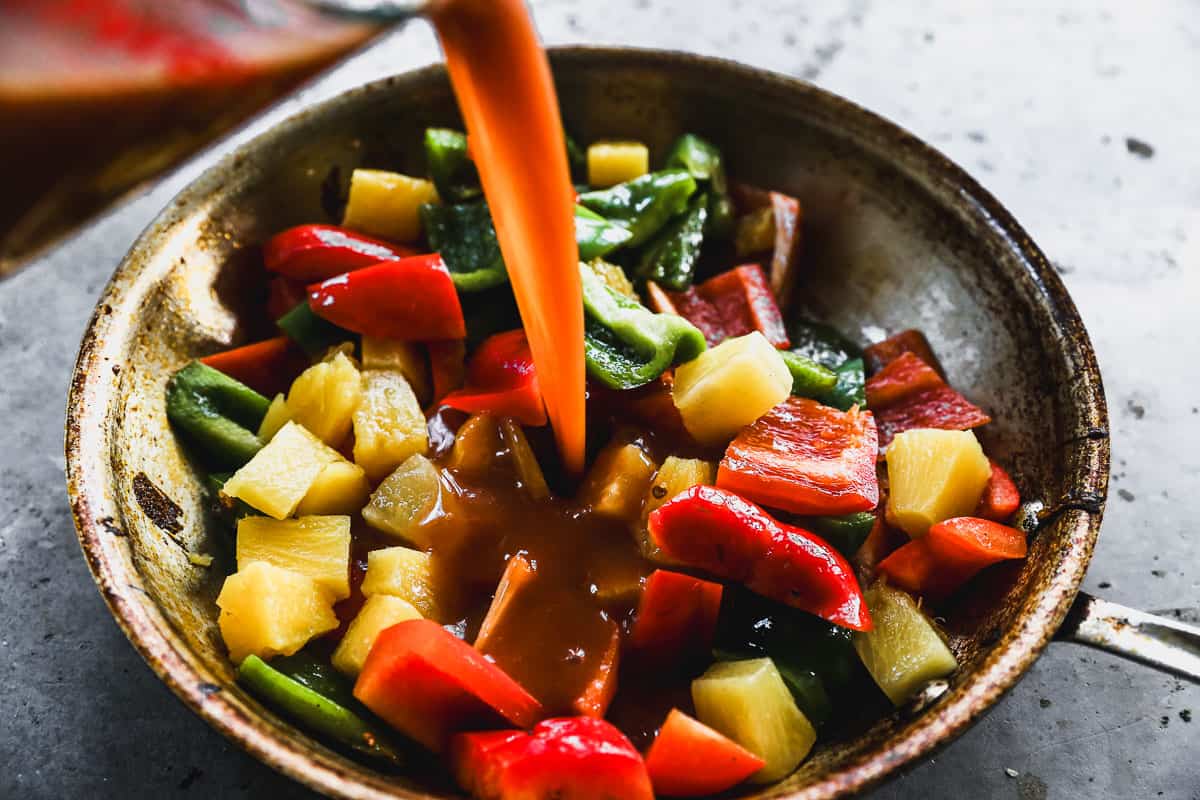
Sauté Veggies: Meanwhile, add the bell peppers and onion to the skillet and saute for 2-3 minutes. Add pineapple.
How to make Sweet and Sour Sauce: Mix the sauce ingredients together in a bowl then pour into the skillet with the veggies. Cook, stirring, until thickened.
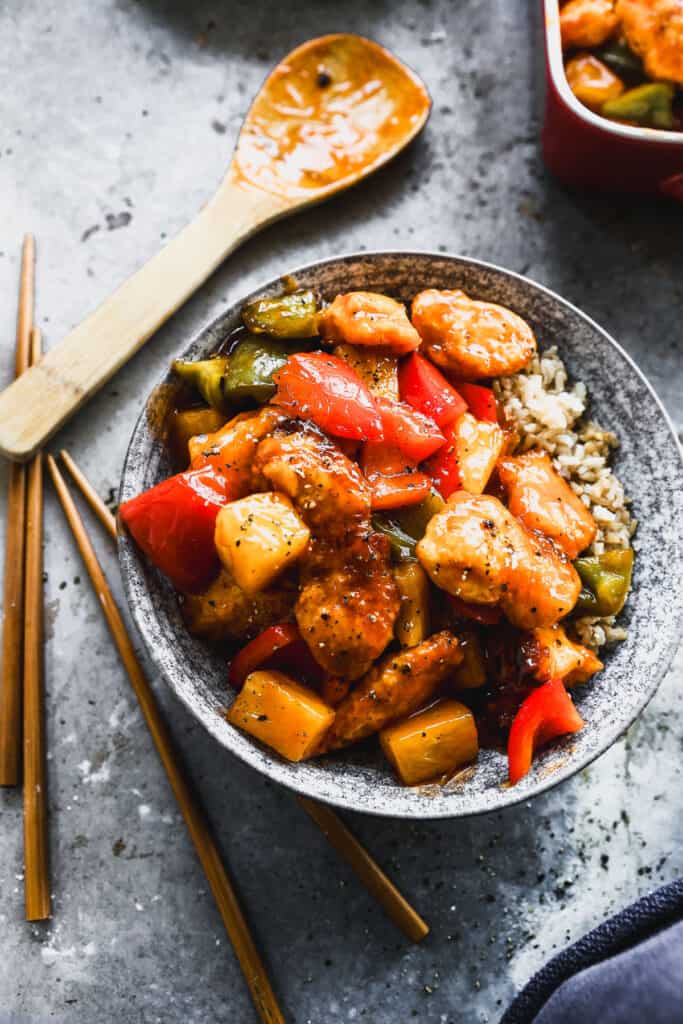
Serve: Remove chicken from oven then pour sauce and veggies over the top. Toss to coat. Serve homemade sweet and sour chicken immediately with hot steamed white or brown rice.
Make Ahead Instructions:
To Make Ahead: Cut the chicken and chop veggies ahead of time, storing seperatly in the fridge. Make the sauce 1 to 2 days a head of time, stored in the fridge. then store it in the fridge. You can also cut up the veggies ahead of time to make this a super fast meal!
Try more of my Chinese-Inspired Favorites:
- Teriyaki Chicken
- Mongolian Beef
- Chow Mein
- Egg Roll in a Bowl
- Lettuce Wraps
- Kung Pao Chicken
- Hibachi Chicken
- Kung Pao Shrimp
Sweet and Sour Chicken
Equipment
Ingredients
- 4 boneless skinless chicken breasts, , cut into 1 inch chunks
- salt and freshly ground black pepper
- 1 cup cornstarch
- 3 large eggs, , beaten
- 1/4 cup oil, (vegetable or canola), or more as needed
- 2 bell peppers, , red and green, chopped into large chunks
- 1/2 sweet onion, , chopped into large chunks
- 1 cup pineapple chunks
- 5 or 6 cups hot cooked rice
Sweet and Sour Sauce:
- 1 cup granulated sugar
- 1/2 cup ketchup
- 1 cup apple cider vinegar, or rice vinegar
- 2 Tablespoons low-sodium soy sauce
- 2 teaspoons garlic salt
- 1 1/2 Tablespoons cornstarch
Instructions
- Preheat oven to 400 degrees F.
- Coat chicken: Cut chicken breasts into 1-inch chunks and season with salt and pepper. Place the cornstarch in a large resealable bag; add the chicken pieces and toss to coat the chicken evenly.
- Dip chicken:Heat the oil in a large skillet over high heat. In a shallow bowl, beat the eggs together. Dip chicken pieces in beaten eggs and place on hot skillet
- Cook: Add chicken pieces to hot pan (may need to cook in batches) and cook for about one minute on each side, until golden and crispy, but not cooked through.
- Bake: Add chicken to a large rimmed baking dish and bake at 400 degrees F for 12-15 minutes or until chicken is cooked through.
- Veggies: Meanwhile, add the bell peppers and onion to the skillet and sauté for 2-3 minutes. Add pineapple.
- Sauce: Mix the sauce ingredients together in a bowl then pour into the skillet with the veggies. Cook, stirring, until thickened.
- Serve: Remove chicken from oven and pour sauce and veggies over the top. Toss to coat. Serve immediately with hot steamed white or brown rice.
Notes
Nutrition
Nutrition information is automatically calculated, so should only be used as an approximation.
Text me new recipe ideas!
Simple, tasty ideas sent once a week. No spam.
Follow Me
*I originally shared this recipe August 2014. Updated January 2019 and March 2024.


Loved this recipe. So much better thank take out!
Husband says it tastes just as good as Chinese take away! The whole family enjoyed it.
Everyone in my family loved this for dinner tonight. We did not have bell pepper’s and it still turned out great. I would recommend when making the sauce to open your windows to let the fragrance dilute from the ACV.
This was DELICIOUS! I used fresh pineapple and only 1/4 cup of Truvia.
This sounds yummy! But I was wondering if it would be okay to just put the cooked chicken into the skillet with the sauce instead of pouring the sauce onto the chicken ? Thank you! 🙂
Sure! I just found that it was such a large amount, it was easier to toss in the baking sheet.
Where’s the original recipe you posted for sweet n sour chicken? I like that one better.
This is the same recipe, I just don’t bake them all together with the sauce, like I used to. 🙂
I made this for dinner tonight, and it tastes great! I was just wondering if the full cup of vinegar is correct. Even after I cooked everything, the sauce still burned my nose when I breathed over my plate. Please let us know!
Thanks Natalie. I do use the whole cup of vinegar. The rice vinegar is even a little more mild, or you could use less next time, if you prefer.
This was so good! We loved it!
I’m so glad! Thanks for coming back to comment. XOX
We are really big fans of Chinese food at our house and my husband thought this was the best sweet and sour chicken he had had! I’ll be saving this recipe and sharing it with others!
Thanks for another great recipe! (We love your kung pao chicken recipe too!)
What a nice compliment from Chinese food connoisseur’s 🙂 . Thanks for your kind comment 🙂
Can you use fresh pineapple?
Yes, absolutely! Enjoy!