This post contains affiliate links.
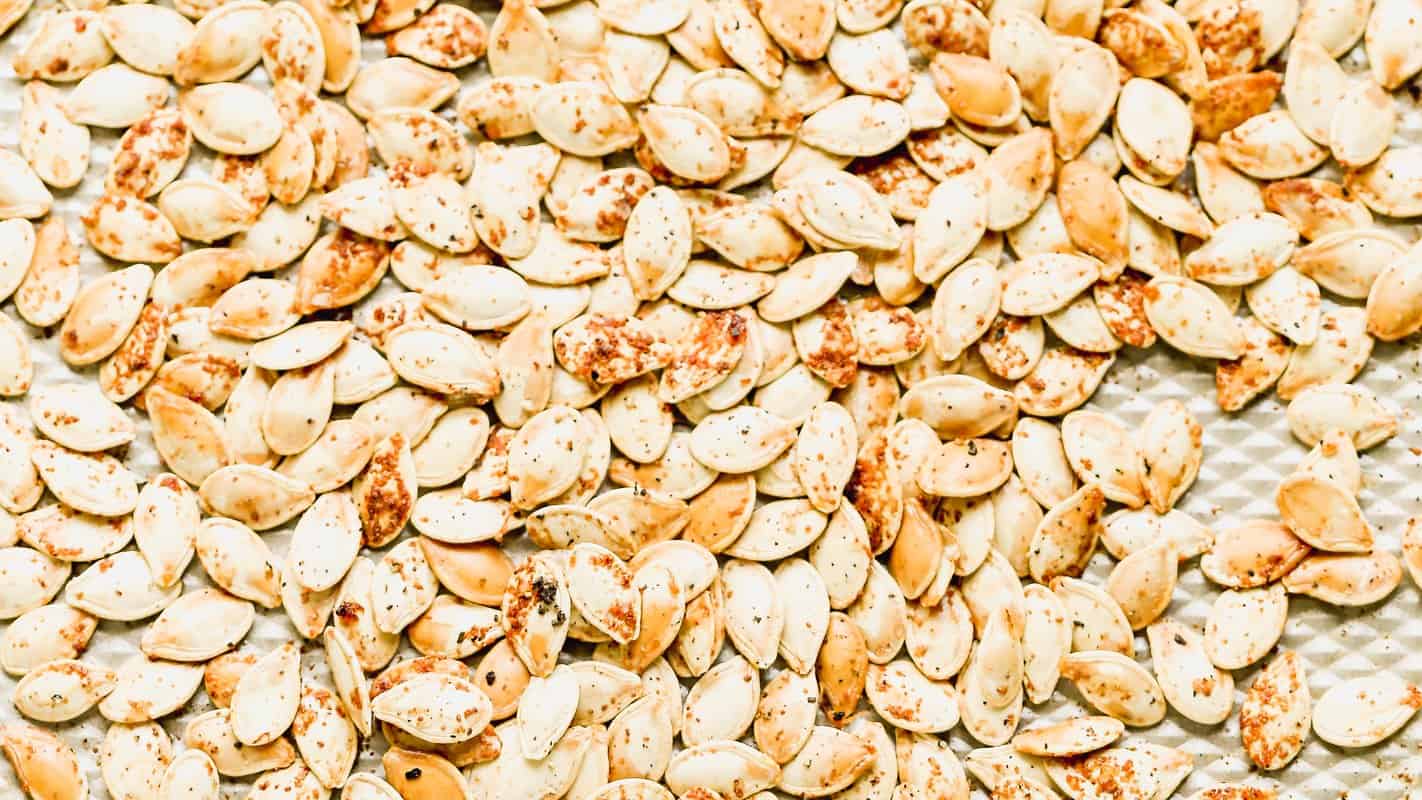
It is carving week, which means a big bowl of pumpkin guts on the counter and a quick decision to make: toss the seeds or roast them. Roast them. More people are choosing to roast them more than ever, and for good reason. They are a free snack hiding inside every jack-o’-lantern, they are naturally crunchy and salty, and kids love helping clean them. Our Roasted Pumpkin Seeds need just 2 cups of seeds (about what you get from one pumpkin), 1 tablespoon of olive oil and salt. After you scoop the seeds, use the rest of the pumpkin for homemade Pumpkin Puree or a fun Dinner in a Pumpkin.
The ingredient list is short, but plenty of batches still come out chewy, scorched in spots or bland. These are the four mistakes that usually cause it, and how to fix each one.
1. Using seeds from the biggest pumpkin in the patch
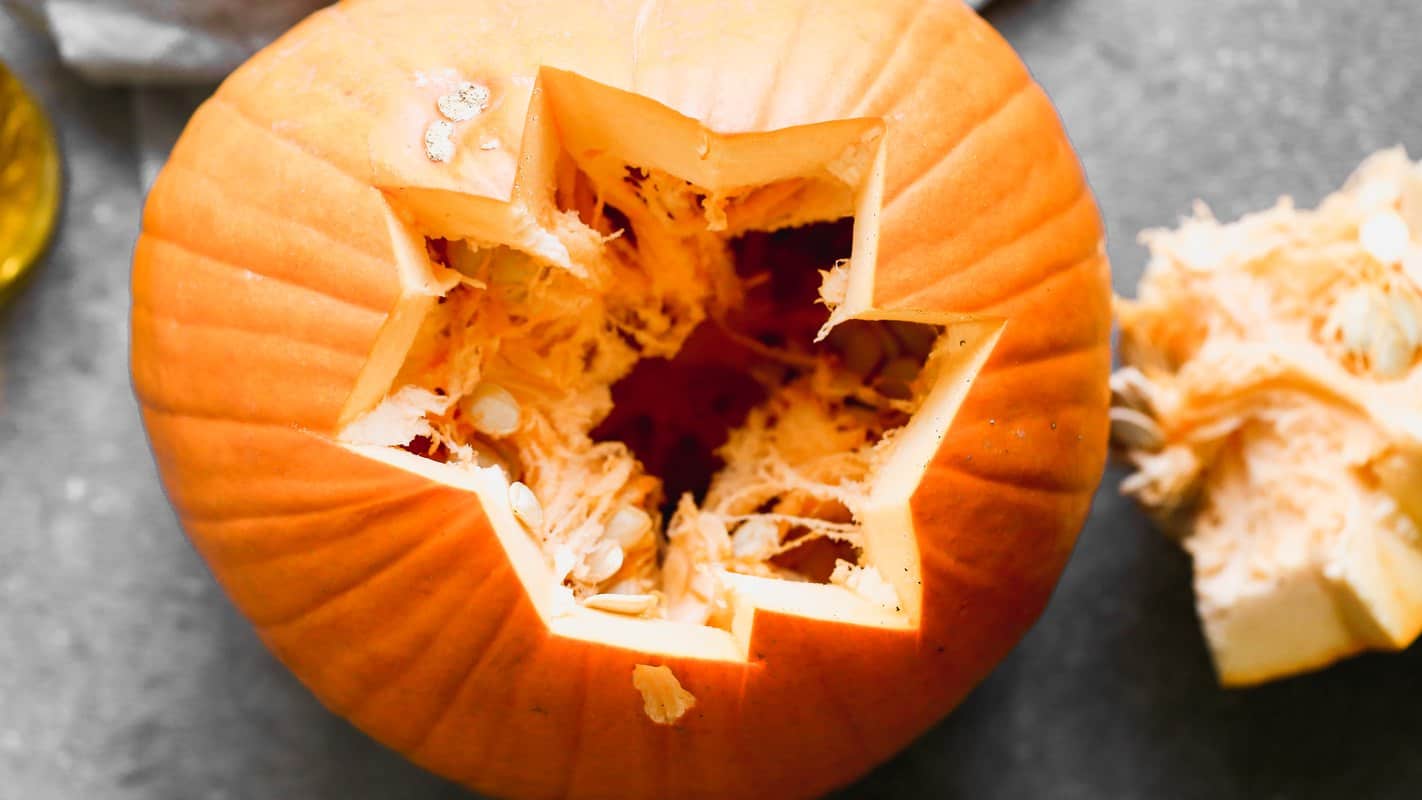
A giant carving pumpkin is perfect for a jack-o’-lantern, but its seeds tend to be large and thick-shelled, and those can roast up tough instead of crisp. Our best tip is to buy a smaller pumpkin so the seeds are not super big. Smaller seeds roast more evenly, crisp all the way through and are easier to snack on by the handful. One pumpkin usually gives you about 2 cups of seeds, which is what the recipe calls for. A smaller pumpkin may give you a little less, so just scale the oil and salt down to match.
Already carved a giant one? Roast those seeds anyway. Just spread them out well, stir them often and plan on the full roasting time. If your seeds are a mix of sizes, roast the biggest ones on their own pan or pull the smaller ones out a few minutes early so nothing over-browns. Turning the seeds into a family project is half the fun, and they pair perfectly with any of our Halloween recipes.
2. Leaving pulp stuck to the seeds
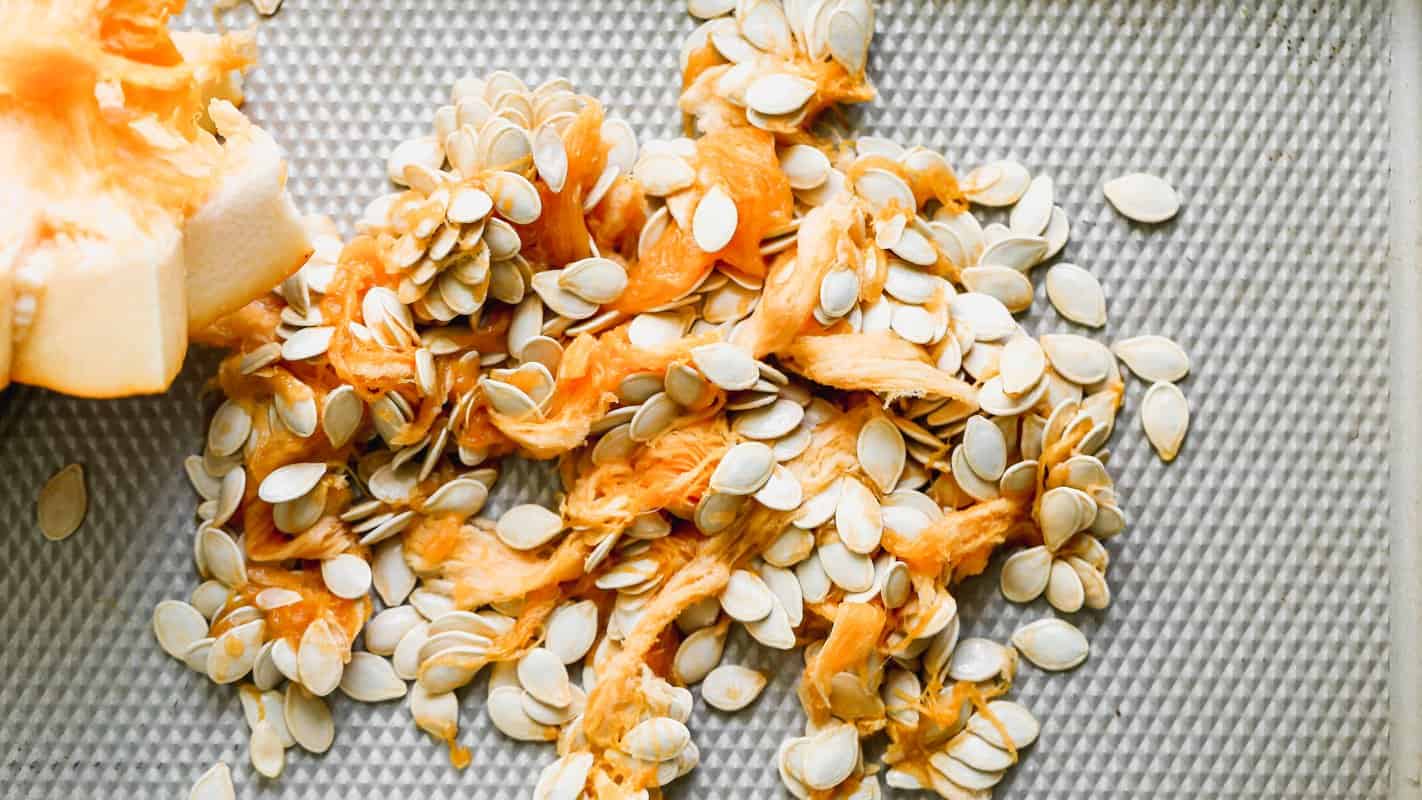
Those orange strings hold a surprising amount of moisture, and any pulp left on the seeds will keep them from drying out. In the oven, the pulp also browns and burns long before the seeds are toasted, which leaves you with bitter, chewy spots. Scoop the seeds into a colander and rinse them well under running water, rubbing them between your fingers until every bit of orange pulp is gone. Some people find it easier to swish them around in a big bowl of water first so the pulp loosens, then finish in the colander.
It takes a few extra minutes, but this is the step that matters most. Clean seeds are dry seeds, and dry seeds are crunchy seeds. While you rinse, pick out any seeds that are cracked or flat and empty, since they brown much faster than the rest. Save the pumpkin flesh for something sweet like a Pumpkin Roll.
3. Roasting the seeds while they are still damp
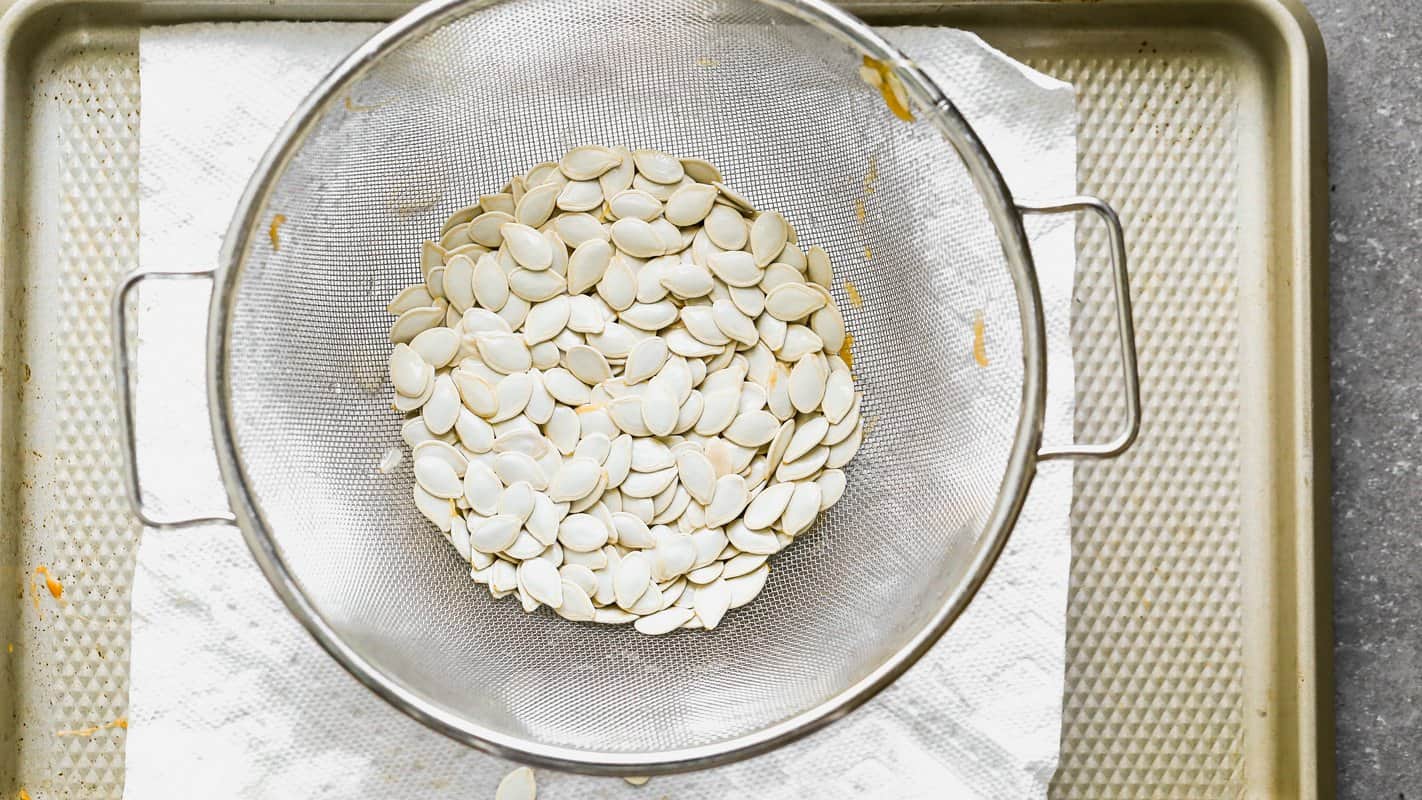
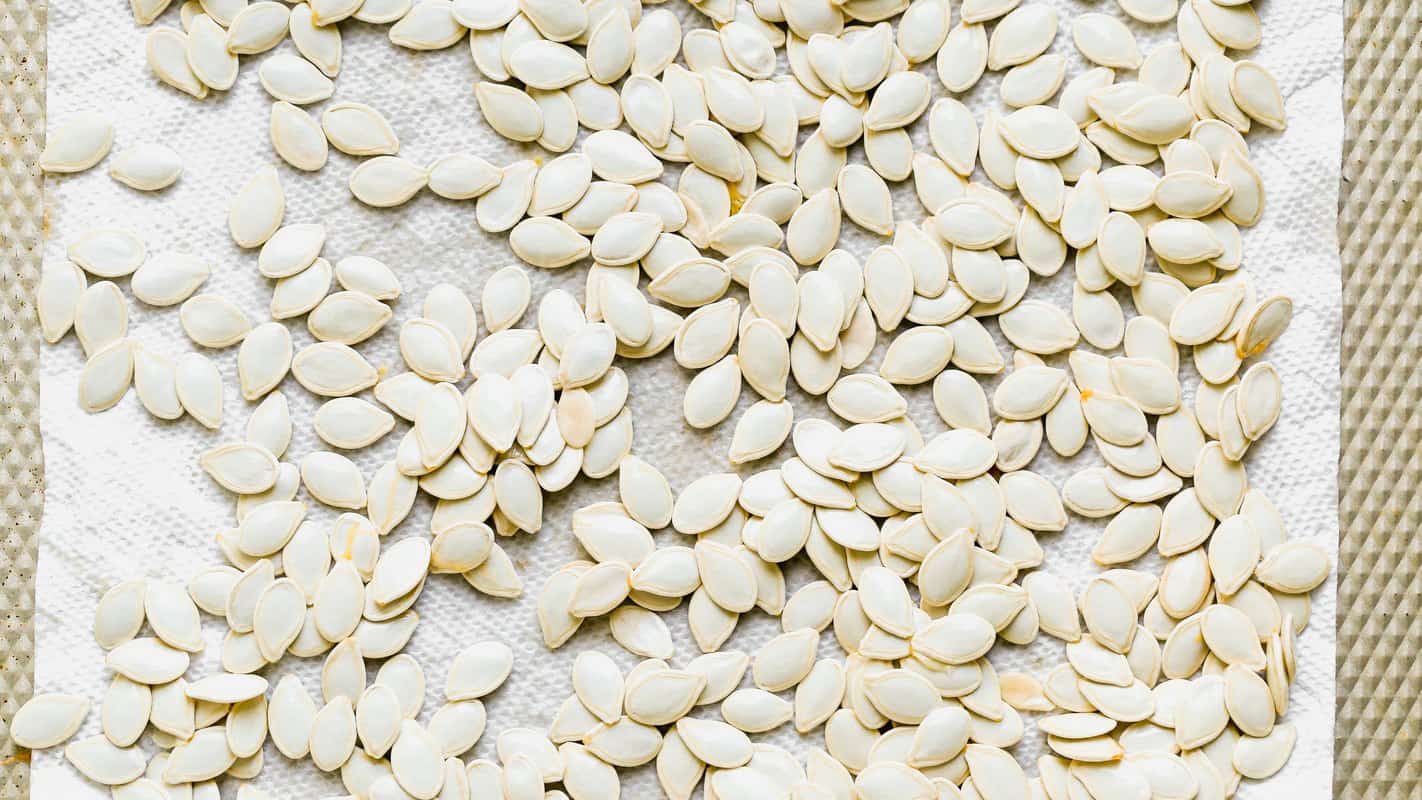
Wet seeds steam in the oven instead of toasting, and that is the fastest route to chewy pumpkin seeds. After rinsing, pat the seeds dry with a towel, spread them out on a baking sheet and let them sit out overnight to dry. Our recipe builds in a full 12 hours of drying time, and it makes a real difference: the shells turn papery and dry, and they crisp up beautifully once they hit the oven.
The easiest way to plan for it is to carve the pumpkin in the evening, leave the seeds out on the counter while everyone sleeps, and roast them the next day. Spread them on paper towels or a clean kitchen towel instead of leaving them piled in a bowl, so air can reach every seed, and give them a quick toss before bed if you think of it. Even a few extra hours of drying beats putting damp seeds straight into the oven.
4. Crowding the pan and cranking up the heat
It is tempting to pile every seed onto one pan and roast them hot and fast, but crowded seeds steam and high heat burns the outsides before the centers are crisp. Spread the seeds in a single layer, drizzle with olive oil, sprinkle with salt and roast low and slow at 300°F for 35 to 45 minutes. Stir every 15 minutes so they toast evenly, and pull them when they are golden.
Toss the seeds with the oil and salt only after they are fully dry so the seasoning sticks instead of sliding off. Keep the seasoning simple: sea salt, seasoned salt or garlic salt, plus a pinch of cayenne pepper if you like them spicy. Let them cool completely, then store them in an airtight container in a cool, dry place for up to 2 weeks, or freeze them for up to 3 months. Snack on them straight from the jar, sprinkle them over homemade granola or use them to top our Whole Roasted Cauliflower. Get all the details in our Roasted Pumpkin Seeds recipe.




 Add us as a trusted site on Google
Follow Me