This post contains affiliate links.
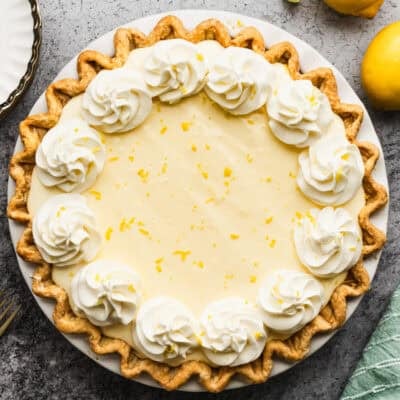
This old fashioned Lemon Chiffon Pie is light, creamy, and has an irresistible fresh lemon flavor. It's easy to make ahead and made with simple ingredients with only 15 minutes of prep!
Great Grandma's Lemon Chiffon Pie

I can trace this this lemon chiffon pie recipe all the way back to my great-great-grandmother from the 1800's–it's so special to me! It's one of those recipes that feels like a little piece of family history in every single bite, and still timeless and delicious. It has a light and creamy fresh lemon filling inside my homemade pie crust. It seriously doesn't get better than this!
If you love lemon desserts, try my Lemon Bars, Lemon Cake, Lemon Mousse, Lemon Meringue Pie, Lemon Cream Pie, Lemon Brownies, and Lemon Tiramisu!
How to make Lemon Chiffon Pie:
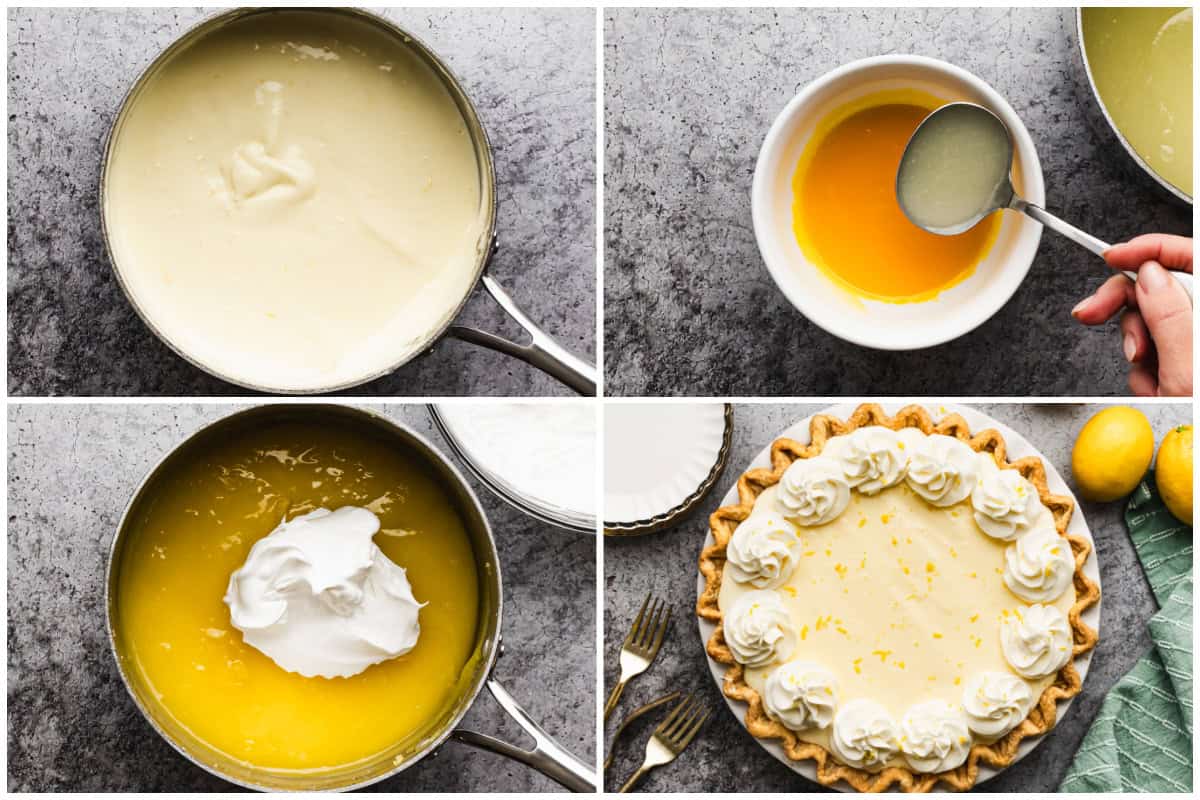
Combine: In a saucepan, mix together water, lemon juice, salt, 1 cup of the sugar, and butter. Stir and bring to a boil. Once it comes to a boil, stir cornstarch and ½ cup of water in a small bowl then pour into the hot mixture, whisking constantly on low heat. Cook until it has thickened.
Separate and Temper Eggs: Separate egg yolks and whites into two separate bowls then beat the egg yolks with a fork. Pour in a large spoonful of the hot mixture from the saucepan into the egg yolks, stirring constantly. Continue stirring while you add a couple more, stirring as you go. Pour the tempered egg yolk into the saucepan, stirring constantly. Remove from heat and stir in lemon zest. Let cool for 10-15 minutes.
Whip Egg Whites: With a hand mixer, beat the egg whites, slowly adding ½ cup sugar as you go. Beat until stiff peaks form then fold the egg whites into the warm mixture in the saucepan.
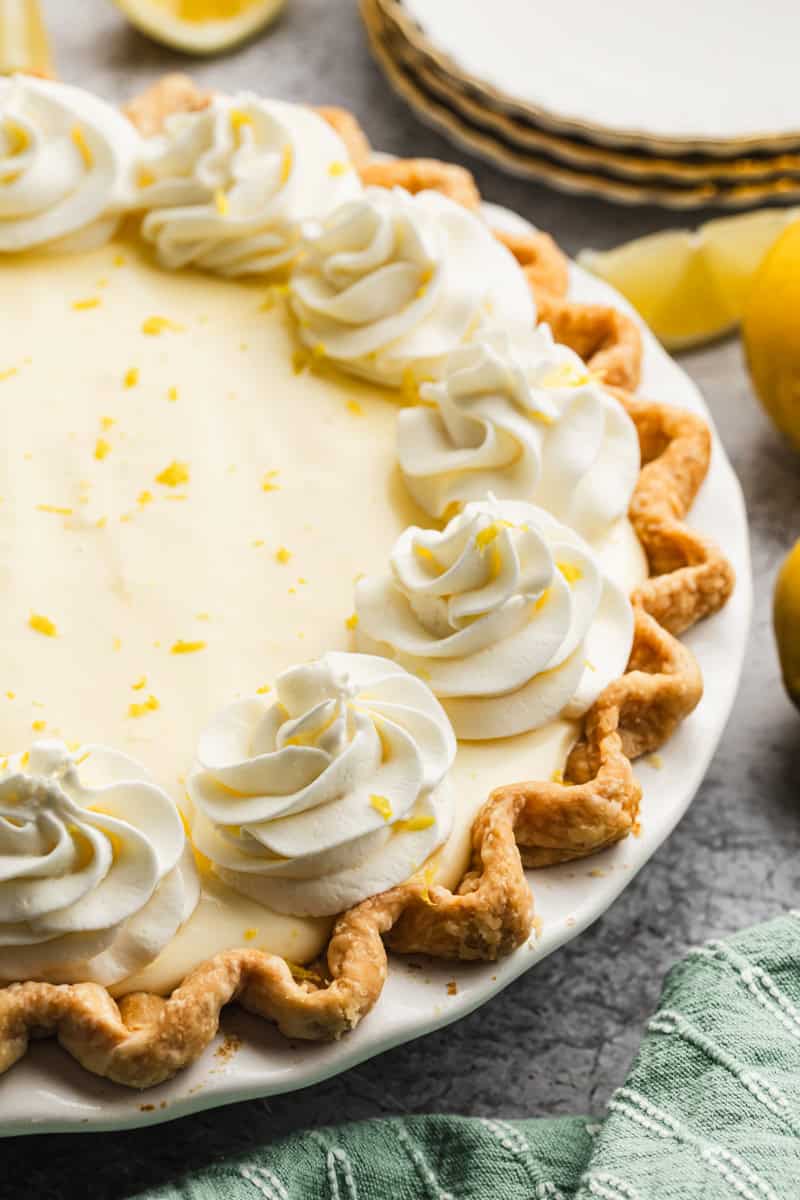
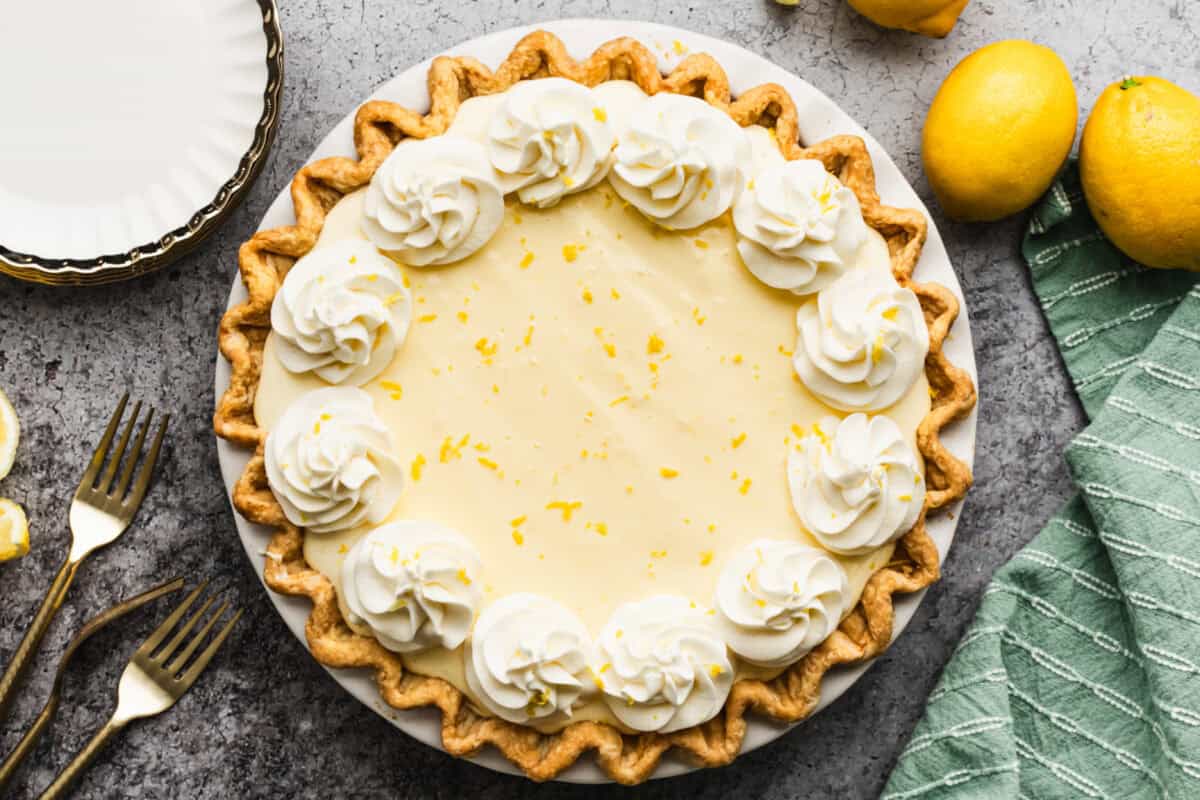
Finish Pie: Pour lemon pie filling into a cooled pie shell then refrigerate for at least 2 hours. I recommend placing a piece of wax or parchment paper on top of the pie (plastic wrap and tinfoil will pull some off of the top). Top this no bake lemon chiffon pie with whipped cream before serving.
Lemon Chiffon Pie
Ingredients
- 1 9 inch baked pie shell
- 1 1/2 cups water
- 1/2 cup lemon juice
- dash of salt
- 1 1/2 cups granulated sugar, , divided
- 1/2 cup butter
- 5 Tablespoons cornstartch + ½ cup water
- 3 large eggs, , yolks and whites separated
- lemon zest, , from one small lemon
- fresh whipped cream, , for topping
Instructions
- Add 1 ½ cups water, lemon juice, salt, 1 cup sugar, and butter to a large saucepan. Bring mixture to a boil.1 ½ cups water, ½ cup lemon juice, dash of salt, ½ cup butter
- While waiting for mixture to boil, stir cornstarch and ½ cup of water together in a small bowl. Stir into saucepan and turn heat to low. Cook until thickened.5 Tablespoons cornstartch + ½ cup water
- Separate the egg yolks and whites into two separate bowls. Beat the egg yolks with a fork.3 large eggs
- Add a large spoonful of the hot mixture from the saucepan, to the egg yolks and stir well. Continue slowly adding a few more spoonfuls, stirring after each addition to temper the eggs.
- Add the tempered egg mixture to the saucepan. Remove from heat and stir in lemon zest. Allow to cool for 10-15 minutes.lemon zest
- Beat the egg whites with electric beaters. Slowly add ½ cup sugar as you go. Beat until stiff peaks form.
- Fold egg whites into the mixture in the saucepan.
- Pour filling into cooled pie shell. Chill in refrigerator for at least 2 hours. I like to place a piece of wax or parchment paper gently over the top of the pie (if you use plastic wrap or tinfoil it will pull some of the topping off when you remove it).1 9 inch baked pie shell
- Top with freshly whipped cream.
Notes
Nutrition
Nutrition information is automatically calculated, so should only be used as an approximation.
Text me new recipe ideas!
Simple, tasty ideas sent once a week. No spam.
Follow Me
*I originally shared this recipe in November 2013. Updated November 2018 and March 2026.


This was my first try at a chiffon pie. Im not sure what I was expecting, but this was not it. My son loved it! So I think its just me. The pie turned out great! The recipe is easy and I enjoyed putting it together. But sadly, it tastes like raw eggs to me. The lemon filling was AMAZING, until the egg whites went in. Then, the game changed. I was sooo disappointed! I will stick to a meringue next time, so the egg whites are cooked and I can enjoy the lemon pudding without the raw flavor, and the worry of sickness.
Followed the to the T . The pie tasted amazing, it just would not set even after being in the fridge overnight. Will not make again.
This pie is delicious, and it set up just fine for me even though my egg whites never quite got to the stiff peak stage. However, I mixed the cornstarch with the sugar and then added all the other ingredients. It didn’t make sense to me to mix the cornstarch with water. All similar recipes I’ve ever done (puddings, pie fillings) mix the cornstarch with the sugar first.
Also I used store-bought graham cracker crusts, and this recipe was enough to fill two of them.
With my minor changes, definitely a keeper!
after reading comments, I agree that the instructions should say to cook the mixture after adding the eggs. and needs to be corrected. The egg yolks need to cook in the mixture.
You can try it that way, but this is a family recipe generations old, so I published it as it has been passed down in my family.
This is deliciously creamy and lemony. It’s a keeper in our family.
I am a very experienced baker and home cook. I made this following the recipe to the “T” and it never set. Very disappointing especially with the price of food these days. Flavor was good but I will not make this one again. I agree with some other comments, somewhere the measurements are off.
I made it with pie dough crust. It turned out amazingly
I read in another recipe that you have to cook the mixture to simmer after adding the egg yolks. Mine set up just fine using this method.
IT IS DELICIOUS MADE IT OFTEN, NO PROBLEMS. THANKS!
Unfortunately this didn’t turn out well for me. The problem for a fairly novice dessert maker — though not an inexperienced cook — is that an instruction that says cook until thickened without an idea of HOW thickened wasn’t sufficient for me. The pie tasted DELICIOUS but didn’t set.
Followed steps exactly as stated and this never set. Flavor was good but definitely not the presentation I was looking for. Dumped it and started again with a different recipe.