
Instant Pot Apple Crisp is a very easy Instant Pot dessert recipe made with Granny Smith apples and simple pantry ingredients.
This is the first IP dessert recipe on my site! But I have tons of easy Instant Pot recipes including Instant Pot Beef Stroganoff, Instant Pot Chicken and Rice, and Instant Pot Ranch Chicken Pasta.
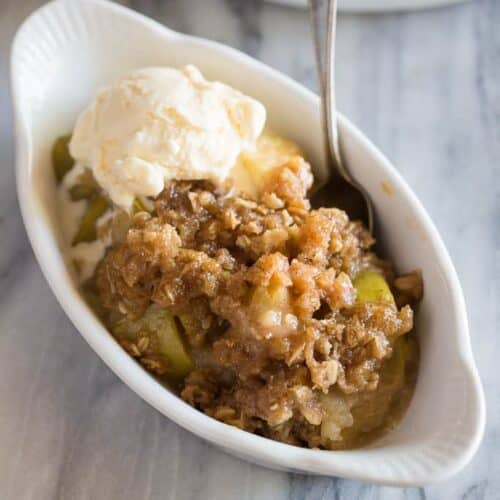
Instant Pot Apple Crisp
If you're looking for a quick and easy dessert recipe to throw together in your instant pot, this recipe will hit the spot! We enjoy apple crisp all year long (usually using this recipe) and I love that it uses basic ingredients you hopefully already have on hand!
Who can say no to a warm cinnamon apple dessert with a crumble oat topping? This is one of my favorite flavor combinations!
How to make Apple Crisp in the Instant Pot:
- Add butter, lemon juice, vanilla, brown sugar, cinnamon and salt to the Instant Pot and stir to combine.
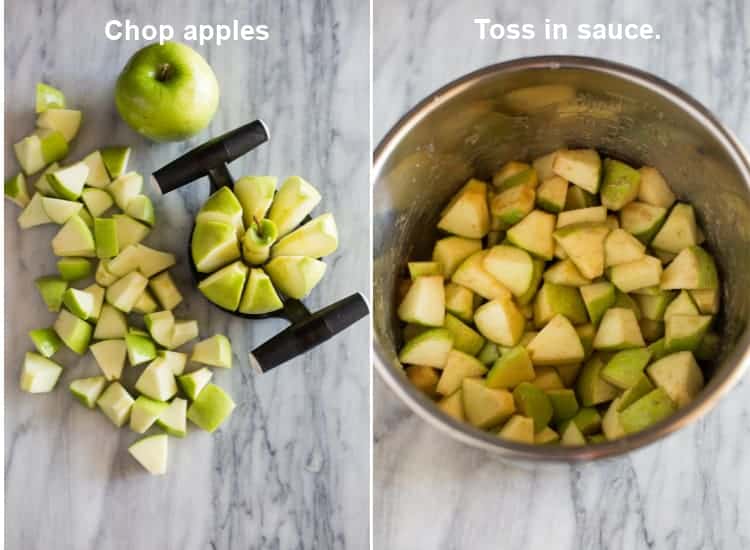
- Add chopped apples and toss to coat.
- Add water.
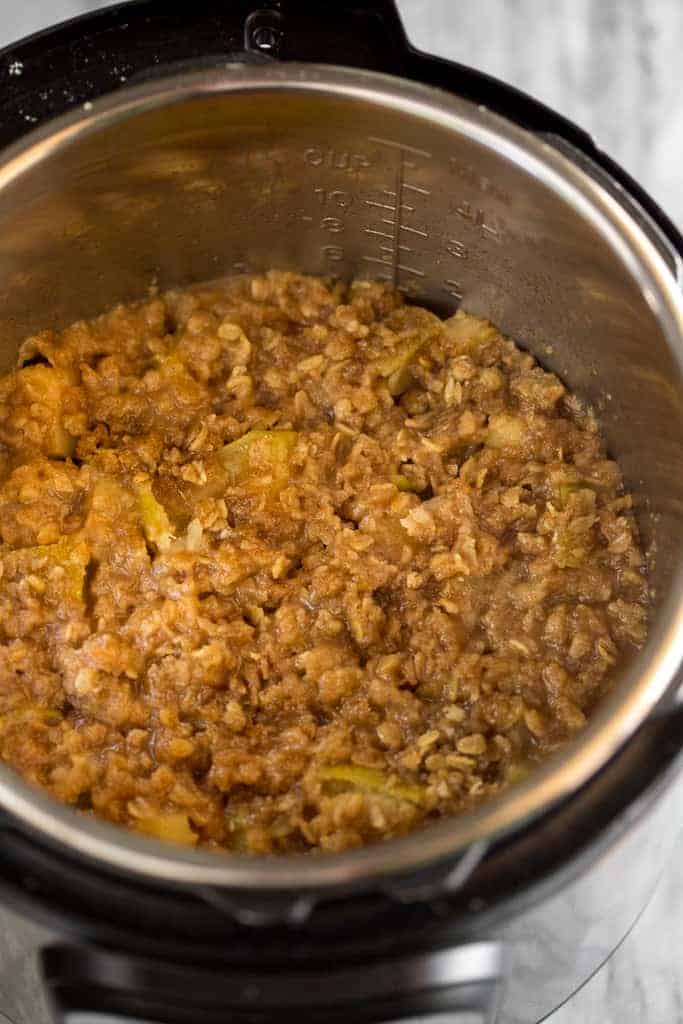
- Make crumb topping. Combine the crumb topping ingredients in a bowl using a fork or pastry blender until it resembles small crumbs. Sprinkle topping over the apples.

- Cook on high pressure.
- Quick release.
Tips for cooking apples in the Instant Pot:
If you've ever made applesauce in the instant pot then you know how quickly it can turn apples to mush, which is great for applesauce but not ideal for apple crisp! We're looking for tender apple texture, not mushy.
Follow these two steps, and you wont go wrong:
- Cut the apples into large chunks, so they don't cook as quickly. I use a handheld apple slicer, which cuts the apples into about 1 inch slices. From there I chop each slice in thirds, to create about 1 inch chunks of apple.
- Only pressure cook them for 1 minute, and use a quick release when the timer beeps.
What type of apples are best for making Apple Crisp?
Firm, crisp, tart apples are best for baking, and best for this apple crisp recipe. Some good options are Granny Smith, Johnathan, Jonagold, and Pink Lady.
Does Apple Crisp taste as good made in the Instant Pot?
This is the dilemma, and since I try to always keep it real with you all, I'm going to give you my very honest opinion! Apple crisp is BEST, made in the oven. (Just check out the hundred of comments my original Apple Crisp recipe has!). The oven is the best way to get the perfect crumble topping! The apples also cook perfectly and in a delicious sauce that develops and thickens as bakes.
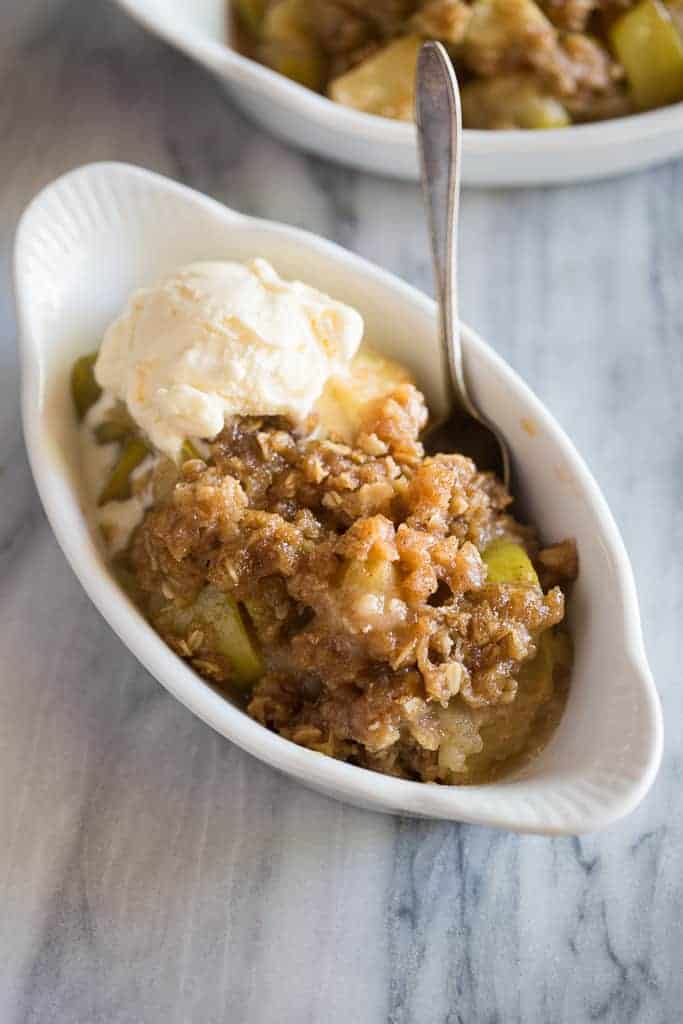
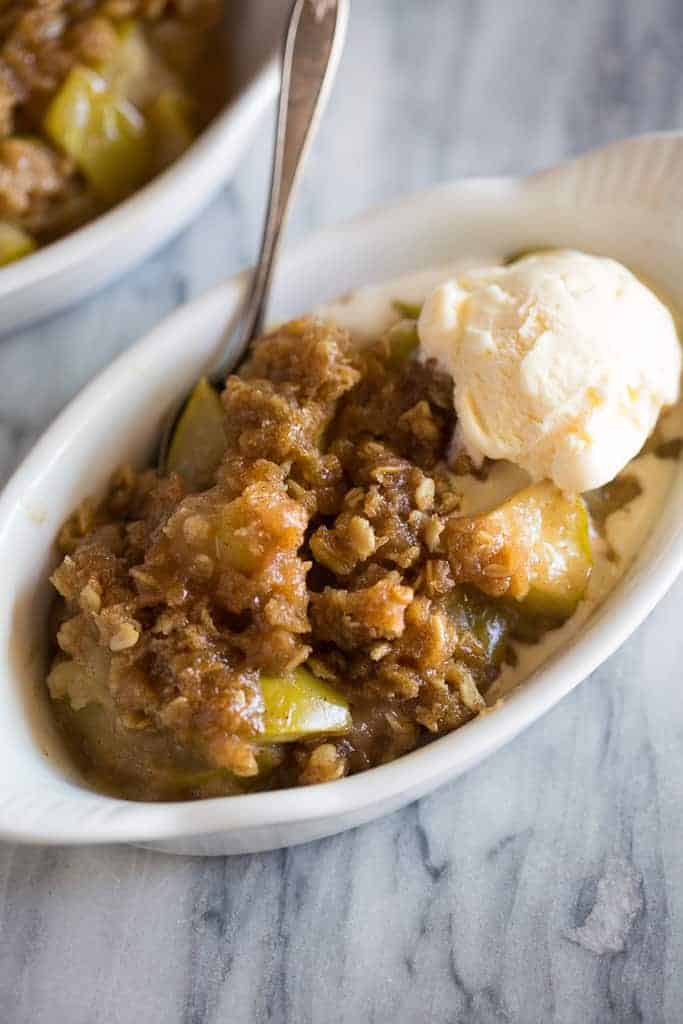
This Instant Pot Apple Crisp uses basically the same recipe, just adapted for the instant pot! It's fast and easy, and the flavor is completely delicious! The biggest difference is that the topping doesn't “crisp” like it does in the oven, which is why I recommend broiling it before eating. I spoon servings into small, oven-safe dishes (don't stick the instant pot pot under the broiler!) and broil them for a minute or two to crisp the topping a little.
Storing and Freezing:
This recipe is best enjoyed warm and fresh, but leftovers can be stored in the fridge for 4-5 days. I have not tested freezing it, but I'm sure it would work.
LOOKING FOR MORE INSTANT POT RECIPES? SOME OF MY FAVORITES INCLUDE:
FOLLOW ME on FACEBOOK, INSTAGRAM and PINTEREST for more great recipes!
Recipe
Instant Pot Apple Crisp
Equipment
Ingredients
For the crump topping:
- 1/2 cup all-purpose flour
- 1/2 cup old-fashioned rolled oats
- 1/2 cup light brown sugar
- 1/2 teaspoon ground cinnamon
- dash of salt
- 6 Tbsp unsalted butter , cut into small pieces
For the Apple filling:
- 4 small Granny Smith apples , chopped into 1 inch chunks
- 2 Tablespoons butter , melted
- 1 Tablespoon lemon juice
- 1/2 teaspoon vanilla extract
- 1/4 cup light brown sugar
- 1/2 teaspoon ground cinnamon
- dash of salt
- 1 cup water
Instructions
- In a medium size bowl combine the crumb topping ingredients with a fork or pastry blender until it resembles small crumbs.
- Refrigerate while you prepare the apple filling.
- Spray IP with non-stick cooking spray.
- Add melted butter, lemon juice, vanilla, brown sugar, cinnamon and salt and stir to combine. Add apples and toss to coat. Pour in water.
- Sprinkle crumb topping evenly over the apples.
- Cook on high pressure (manual for 1 minute).
- When timer beeps, turn the valve to quick release the pressure/steam. Start slowly to be sure only steam comes out, and then fully release it.
- Optional: Spoon servings into oven-proof dish and broil for 1-2 minutes, to crisp the topping, if desired
Nutrition
HAVE YOU TRIED THIS RECIPE?!
RATE THIS RECIPE AND COMMENT BELOW! I WOULD LOVE TO HEAR YOUR EXPERIENCE.
This post contains affiliate links.


My family loved this. Definitely will be making this again. Thanks a bunch for the recipe!
I should have read all of the comments before preparing this. I now have closer to chunky applesauce with some oats. I peeled the apples, but did everything else according to the recipe. The topping all sank to the bottom so there was noting for the air fryer to work on. Eatable, and I may be able to resurect it by putting just the apples back in and adding topping.
I used apple juice in place of water. Recipe was delicious. Also peeled the apples.
Love that idea. I will try that with juice.
It was good overall but had a lot of liquid. I did a pot in pot, was afraid of the “burn.” I wouldn’t add a whole cup of water into the recipe again.
I didn’t add the cup of water and added an extra apple. It was plenty of liquid once I opened the pot. Broiling helped the liquid level too. I also peeled the apples- helped with the bitterness.
Super yummy!
I followed the recipe to a T as well but I peeled the apples…and received the burn notice as well about 6 minutes into building pressure.
Looks like delicious apple oatmeal.
I did not broil the topping, but it was still very good. This recipe is a keeper!
Not a fan. Somehow it is too sweet and yet bitter at the same time. Maybe it was from the apple peels, didn’t care for them. Not nearly enough oats in the topping. Won’t be making it again.
I think you were supposed to peel the apples!
I did not peel the apples. I loved this recipe and my first try cooking something like this in an Instant Pot. Turned out very very well and tasted lovely.
Finger licking good and bowl scraping awesome!
Yummy!!!! Thanks for sharing!
We made this for a quick Sunday night treat and it was delicious! I didn’t end up broiling to topping so it wasn’t “crispy” but it still tasted amazing.
Wonderful, thank you for sharing!