This post contains affiliate links.
You wont believe how easy and DELICIOUS homemade Eggnog is, and this recipe really is the best! Thick and creamy with the perfect mild flavor and hint of nutmeg. You'll never buy store-bought eggnog again!
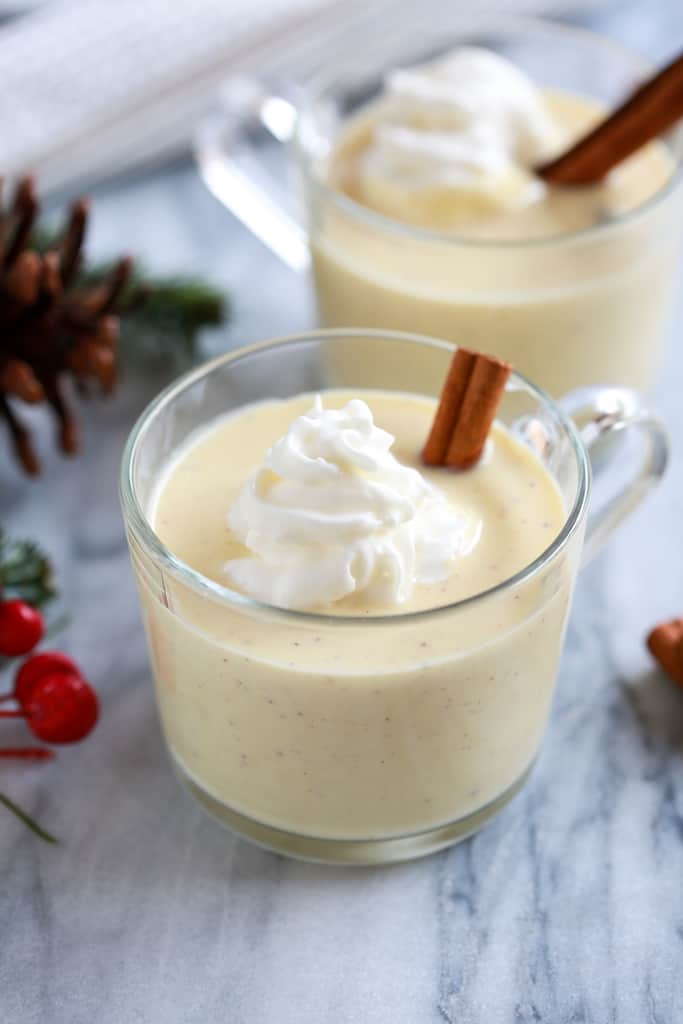
Eggnog
I absolutely love eggnog! I have nothing against store-bought eggnog–we have it all the time in our fridge this time of year–but this homemade eggnog recipe is truly what dreams are made of! If you've ever thought you didn't like it, you just have to try it made from scratch.
Several years ago I sought out to make homemade eggnog. My first attempt was not a success and left my husband cringing. Let's just say that the completely “raw egg” method of making eggnog is just not for me.
I pressed forward, determined to succeed, and ended up loving this recipe from Cuisine at Home. I used ground nutmeg instead of fresh, because I always have ground on hand. I also ignored their ice-water bath suggestion and just refrigerated it instead.
The end result was liquid gold, and it's become our family's favorite eggnog recipe ever since! Seriously, this homemade recipe will “WOW” even the biggest eggnog snob! For a fun flavor twist, try my Pumpkin Spice Eggnog recipe!
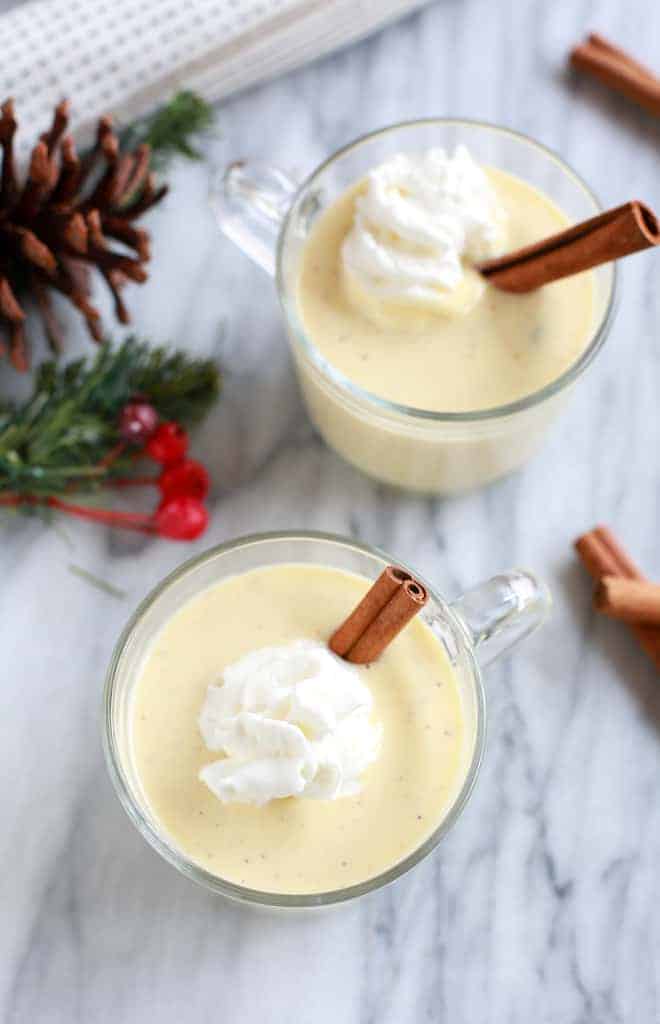
This eggnog recipe is thick, sweet, creamy and smooth, with the perfect flavor. It doesn't contain alcohol (if you'd like to add some, read on for my suggestions), but we are non-alcohol drinkers at my house, and I wanted an eggnog recipe my kids can enjoy too.
How to make eggnog:
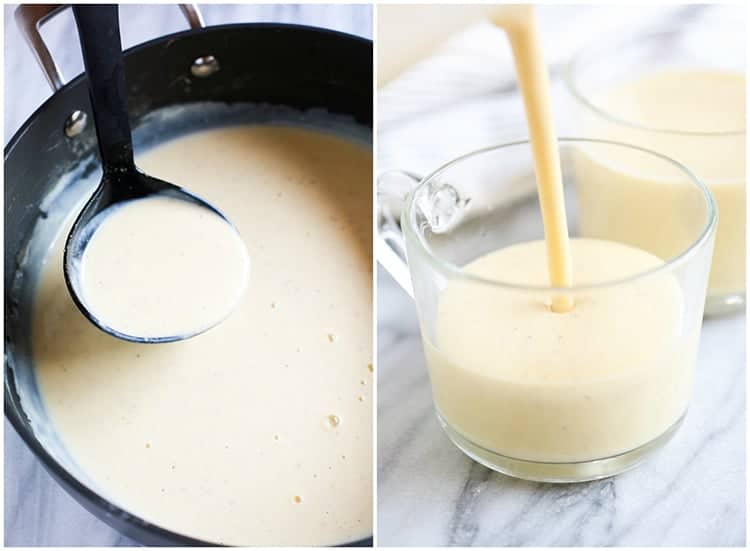
Start by whisking the egg yolk and sugar together in a small bowl. Then, in a saucepan over medium-high heat, combine cream, milk, salt, and nutmeg and stir the mixture until it just reaches a simmer. Next temper the eggs by adding small spoonfuls of the hot mixture to the egg mixture.
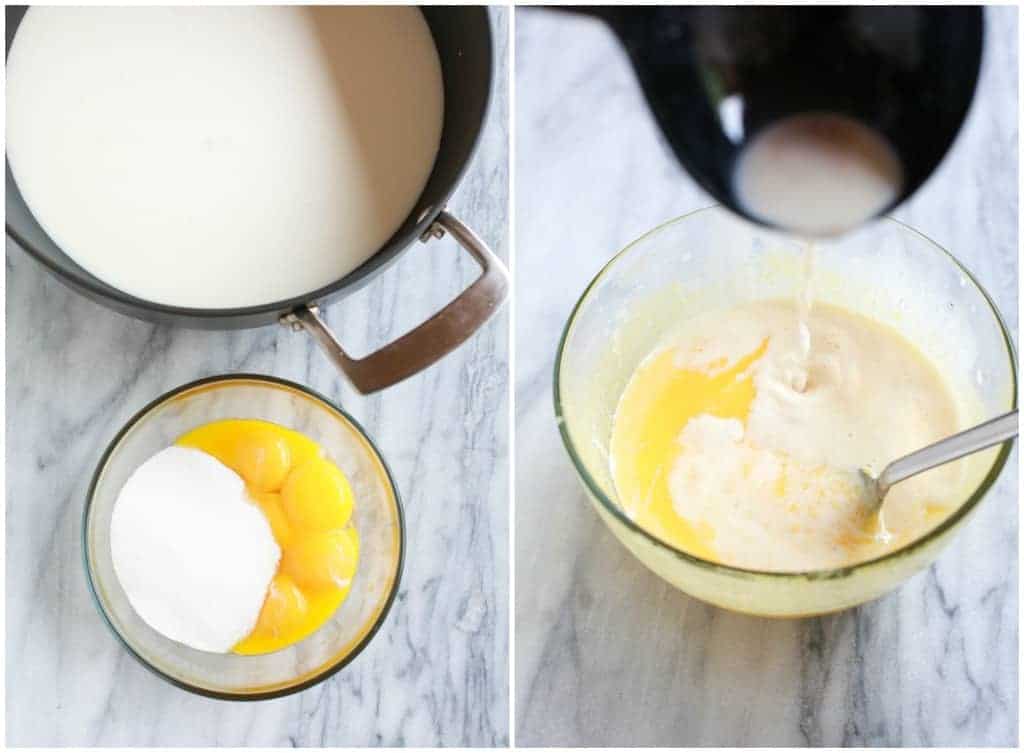
Stir each spoonful and once most of the hot mixture has been added, add the entire mixture back to the saucepan. Continue cooking and whisking for just another minute or two until it barely thickens. It will continue to thicken as it cools. Then remove it from the heat and add the vanilla. Refrigerate the eggnog mixture until chilled.
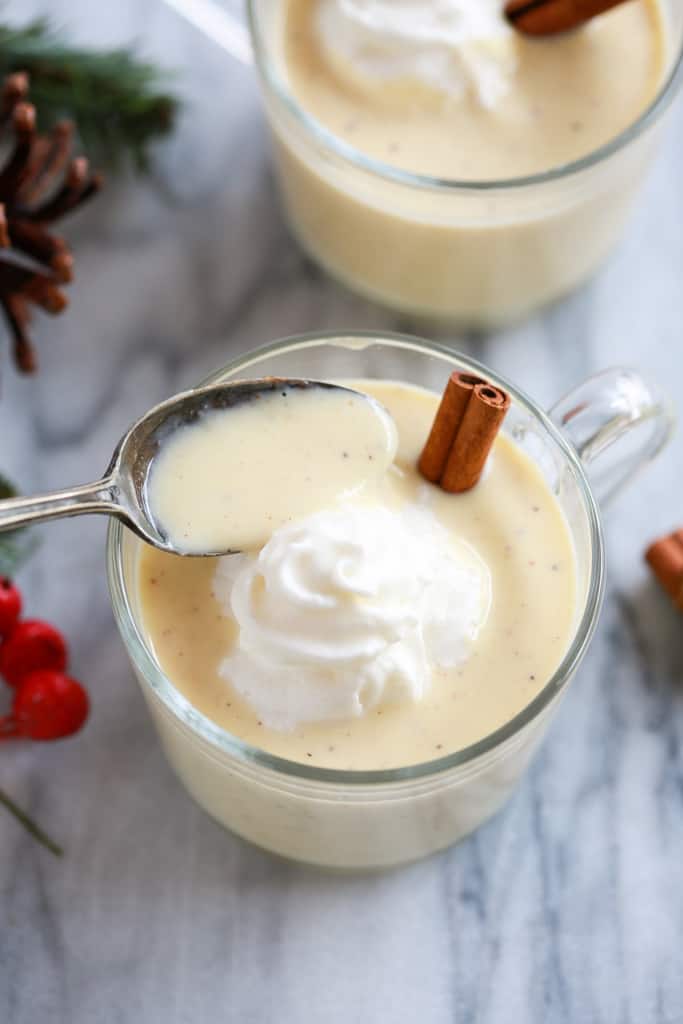
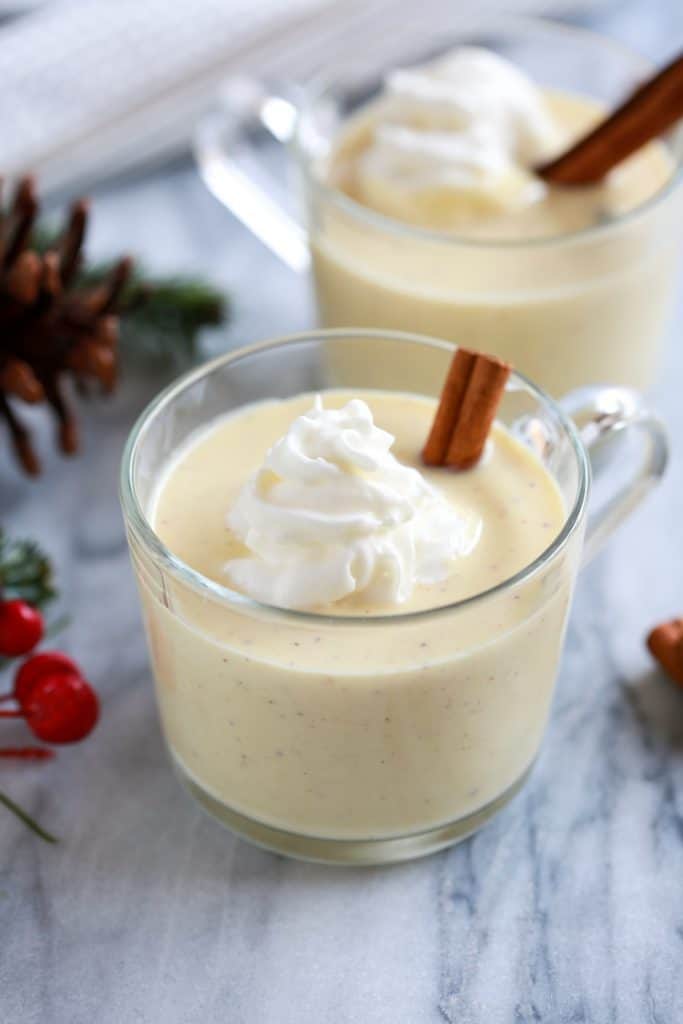
We like to serve it with a some whipped cream and an extra little dash of cinnamon and nutmeg on top.
What type of alcohol goes in eggnog?
If you would like to add alcohol to your eggnog, choose a drink with a high alcohol concentration to help counterbalance the sweetness of the eggnog. Common choices of alcohol to add to eggnog include brandy, rum, bourbon or whisky.
Don't miss my Eggnog French Toast!
You can also FOLLOW ME on FACEBOOK, TWITTER, INSTAGRAM and PINTEREST for more great recipes!
Homemade Eggnog
Ingredients
- 6 large egg yolks
- 1/2 cup granulated sugar
- 1 cup heavy whipping cream
- 2 cups milk
- 1/2 teaspoon ground nutmeg
- pinch of salt
- 1/4 teaspoon vanilla extract
- ground cinnamon, , for topping
- alcohol, optional, see note
Instructions
- Whisk the egg yolks and sugar together in a medium bowl until light and creamy.
- In a saucepan over medium-high heat, combine the cream, milk, nutmeg and salt. Stir often until mixture reaches a bare simmer.
- Add a big spoonful of the hot milk to the egg mixture, whisking vigorously. Repeat, adding a big spoonful at a time, to temper the eggs.
- Once most of the hot milk has been added to the eggs, pour the mixture back into the saucepan on the stove.
- Whisk constantly for a minute or so, until the mixture is just slightly thickened (or until it reaches about 160 degrees F on a thermometer). It will thicken more as it cools.
- Remove from heat and stir in the vanilla, and alcohol*, if using.
- Pour the eggnog through a fine mesh strainer into a pitcher or other container and cover with plastic wrap.
- Refrigerate until chilled. It will thicken as it cools. If you want a thinner, completely smooth consistency, you can add the entire mixture to a blender with 1 or 2 tablespoons of milk and blend until smooth.
- Serve with a sprinkle of cinnamon or nutmeg, and fresh whipped cream, if desired.
- Store homemade eggnog in the fridge for up to one week.
Notes
Nutrition
Nutrition information is automatically calculated, so should only be used as an approximation.
Text me new recipe ideas!
Simple, tasty ideas sent once a week. No spam.
Have you tried this recipe?!
RATE and COMMENT below! I would love to hear your experience.
This is my second time making this and it is so good! I made homemade whip cream with it and it literally tastes like ice cream!!
Can I ask how you made whipped cream from
This? Wouldn’t the added milk and ingredients to the cream make the eggnog not able to whip up into a fluffy whip cream? Ty! 🙂 I’d love to learn
She made whipped cream to accompany the drink.
You add the whipped cream to top it off at the end when your put it in your glass.
If you’d like eggnog flavored whipped cream you can add eggnog syrup or extract instead of vanilla to your whipping cream
Ummm, it’s exactly the same recipe for an ice cream base that NYT Cooking uses. Unfrozen nutmeg ice cream.
That’s because the custard for homemade ice cream is the same as the custard for egg nog, pudding, custard pie.
I made this eggnog for Christmas Eve. It is out of this world delicious!
Oh. My. Word. So delicious and so easy! As others have said…I’ll never buy eggnog again! Thank you so much for sharing!
Oh wow!!!! This is awesome!!!! My husband loved it!!
My wife made your recipe for the first time yesterday, on Christmas. It was wonderful. Thank you for sharing your expertise, Lauren.
My husband loves Eggnog so I decided to try this recipe as we always have the ingredients on hand, which is not the case for store bought eggnog. Anyway… the recipe was easy to follow…I used stevia instead of sugar and half n half instead of cream and it is pure Heaven! I let it sit in the fridge overnight and it was so thick I added about 1/2 cup milk and shook it in the mason jar before serving! Thank you!!
Soooo good! Mine ended up pretty thick, so more like a custard but it was so yummy!!
Tastes great ty for the recipe. I’m curious though, has everyone been able to get 6 serves out of this? 🙂
When can I add rum to the eggnog
At the very end, to taste.
Hubby and son LOVE egg nog at Christmas. They have very high standards and tried hard to find a great egg nog. Couldn’t find any that met their standards this year so they were trying all brands. On Christmas Eve, all stores were sold out. I have never made egg nog and thought it might be a long and difficult task, but I thought I would try for them. Boy was I wrong. This recipe was extremely easy and it passed the taste test with my guys. They thought it was “excellent” and since they have been drinking just about every brand of egg nog for years I think that is a very high compliment. No more store bought egg nog for us. I will enjoy making this part of our holiday tradition.
LOVE LOVE LOVE it! Doubled the recipe and it turned out perfect! This will be my “go to” for every holiday season in the future! Mahalo for sharing and mele kalikimaka!
5 Star 🌟 it was amazing the taste of the eggnog was delicious and so simple to follow the directions 😋 making this one again! My very first time making homemade eggnog. Thank you for the recipe. Homemade is the B E S T. Irene from Port Huron Michigan Happy Holiday and FELIZ NAVIDAD Happy New Year ❄❄️
Delicious! This was my first time ever making eggnog from scratch. Made a few changes to the recipe: used 3 cups heavy cream and 1 cup half and half. Also used 1.5 fresh vanilla beans instead of vanilla extract and added 3 tbsp of maple syrup and replaced white sugar with turbinado. I love really really rich foods, so you can understand why I made these changes. Making these changes makes the egg nog really thick, but we are going to booze it up after chilled to thin it out for the adults.
I’ve made this as a Christmas treat the past few nights – eggnog never lasts long around here. 1st batch – VERY thick and kind of lumpy – but very tasty. I strained it and it was quite enjoyable, enough that I tried again. I thought the heat might’ve been too high. It wasn’t lumpy during the tempering process. Only upon serving. 2nd batch I added a bit more milk than indicated in the recipe and turned my heat down slightly to a more medium than medium-high setting. Still a bit thick but not lumpy. I have two small children and a pregnant sister, so getting it to an appropriate temp was an absolute MUST. The third times the charm! I guess the trick here is to start cooling it immediately after cooking. Do not make my mistake and cool to room temp and then refrigerate. Good news is it’s December and I just put it outside for a quick cool down instead of straight in the fridge. Absolute perfection third time around.